|
Timeline
January to December 2008 - 'A Year In Home Cockpit Building'
One hell of a year. Got a lot done and accomplished, but there's still
a way to go. The small refinements and upgrades seem to
take the most time :o)) January
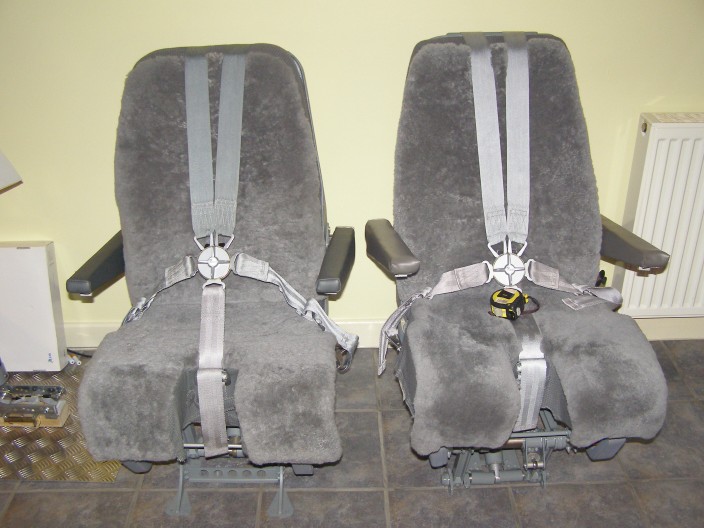
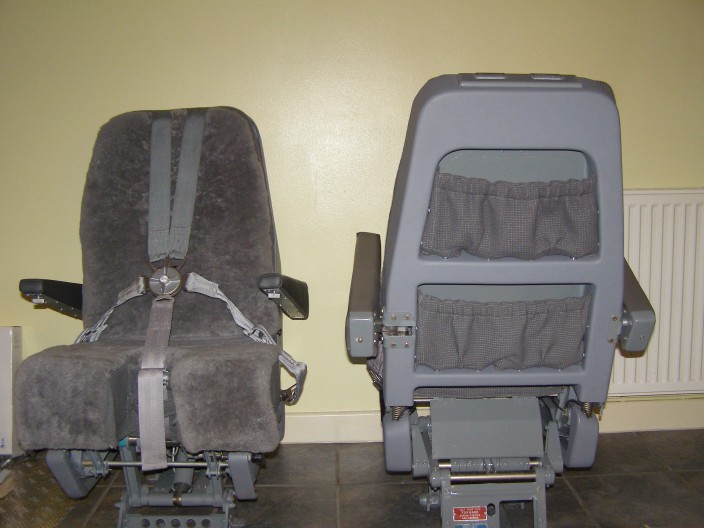
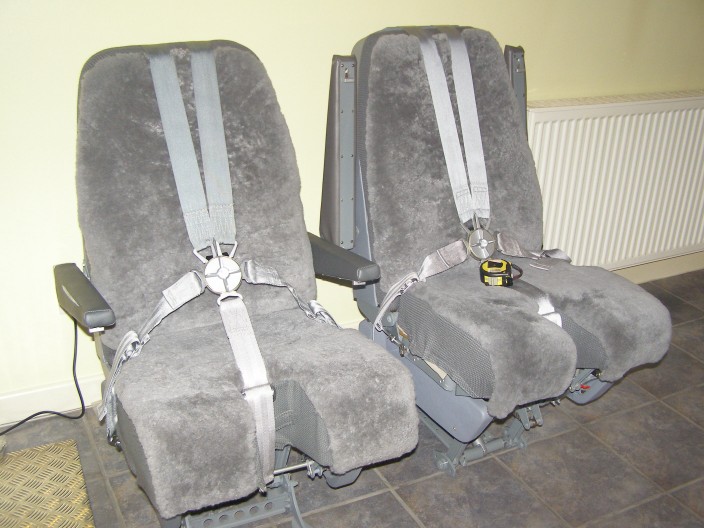
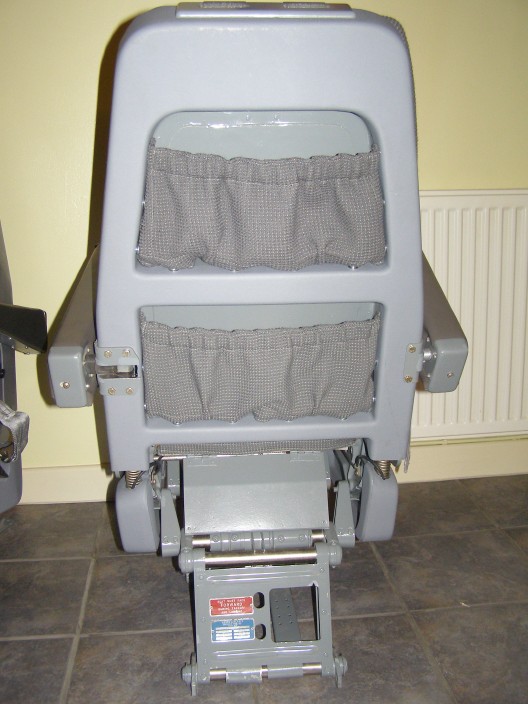
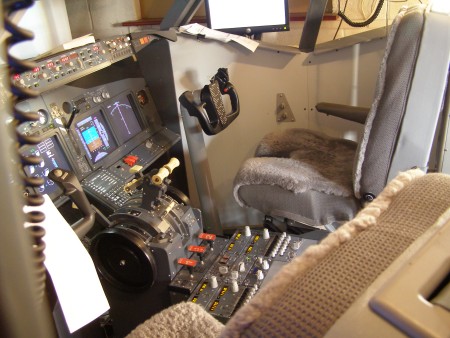
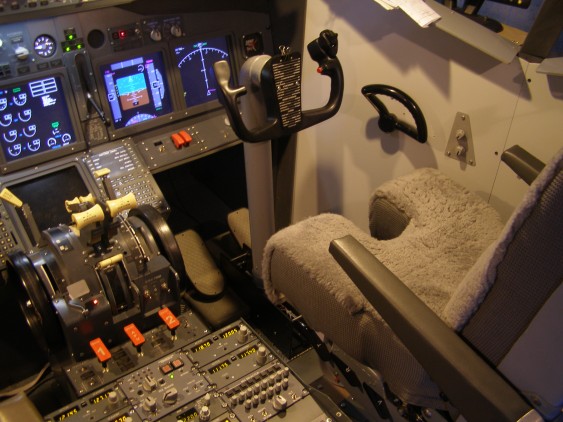
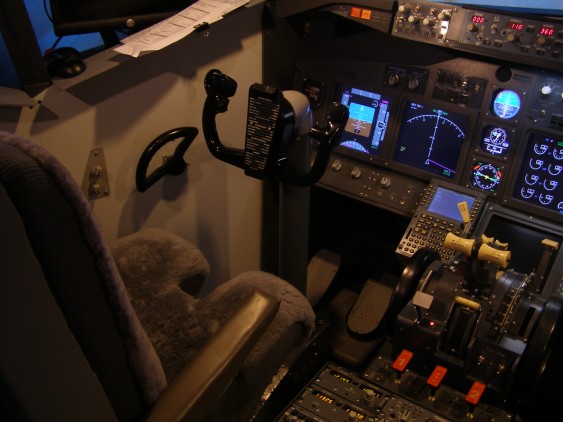
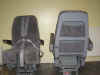
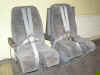
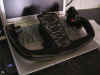
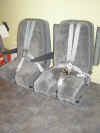
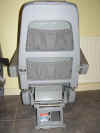
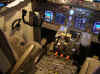
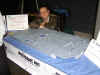
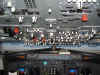
2008, Managed to get hold of some real sweet Boeing 737 Seats from
Andy McCall. A 'matching pair' - so to speak :o)) Madame bought me the
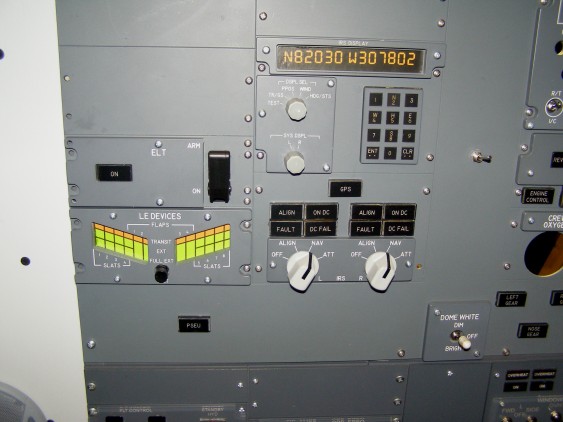
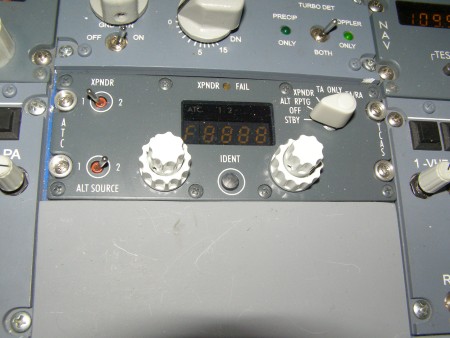
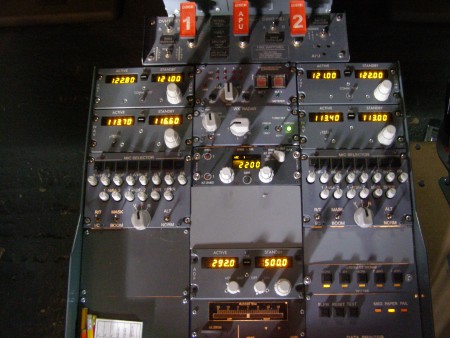
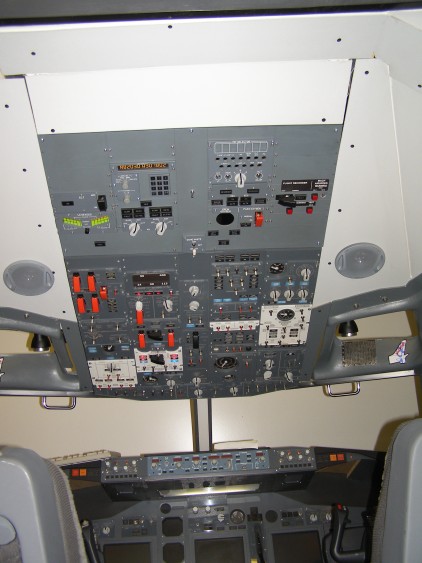
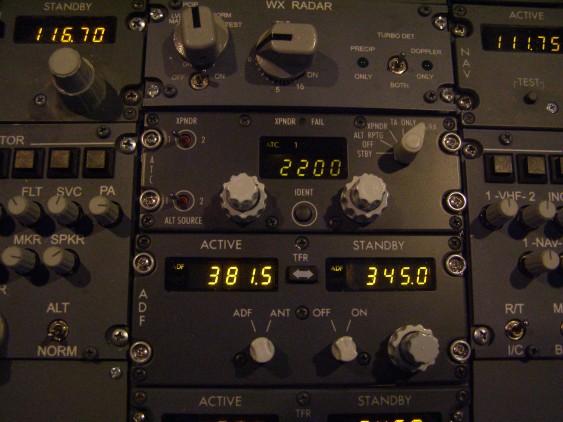
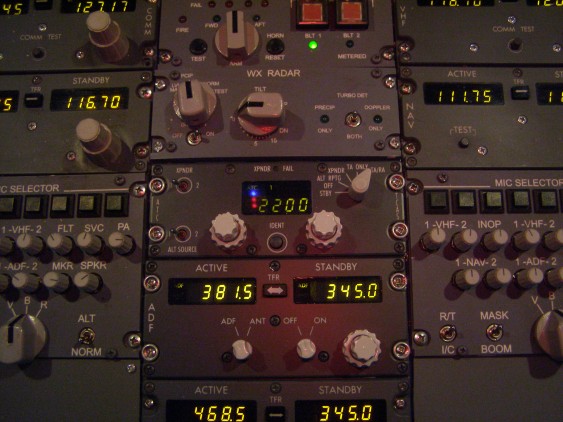
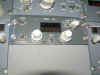
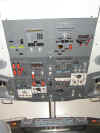
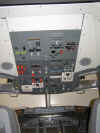
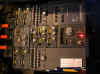
CPFlight Transponder for Christmas and that was installed. Also started
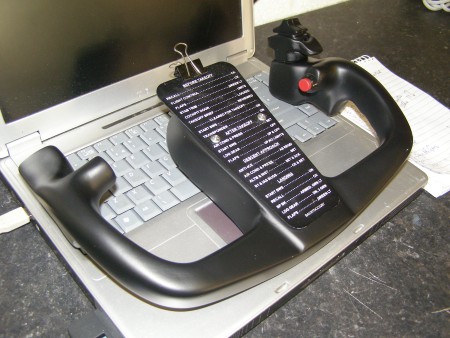
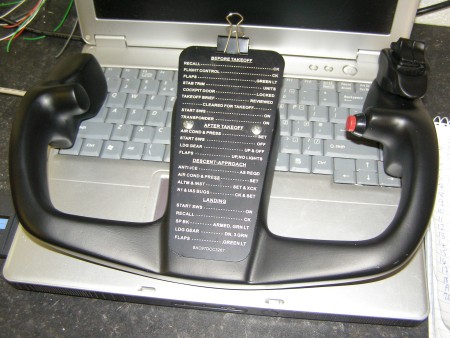
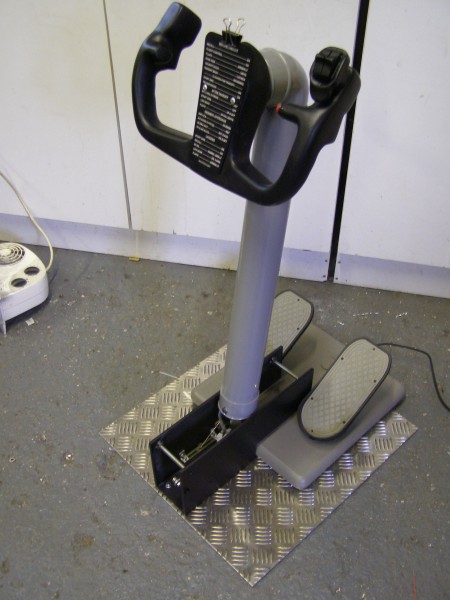
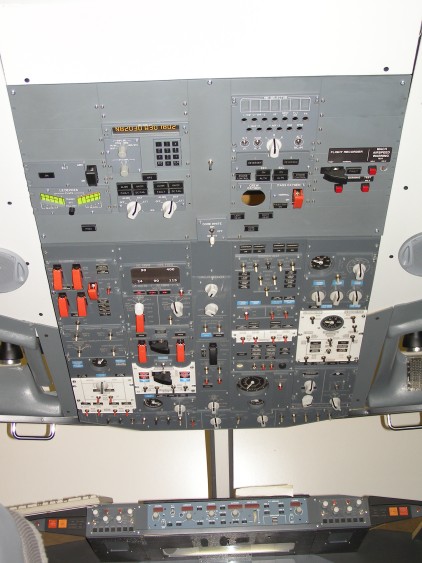
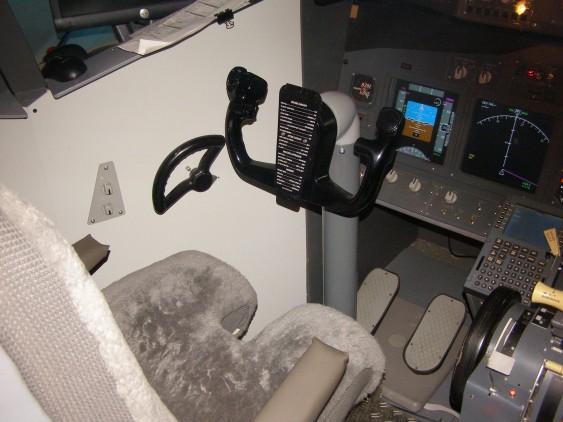
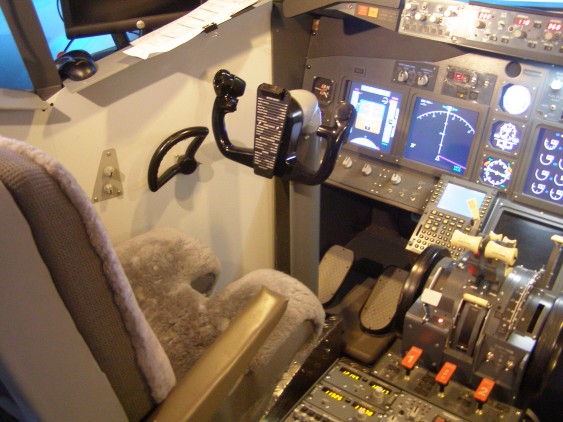
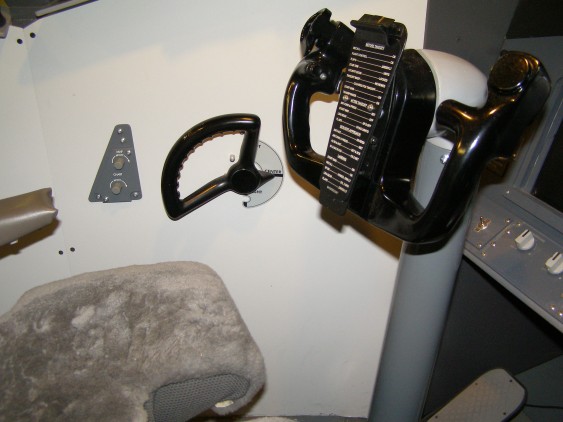
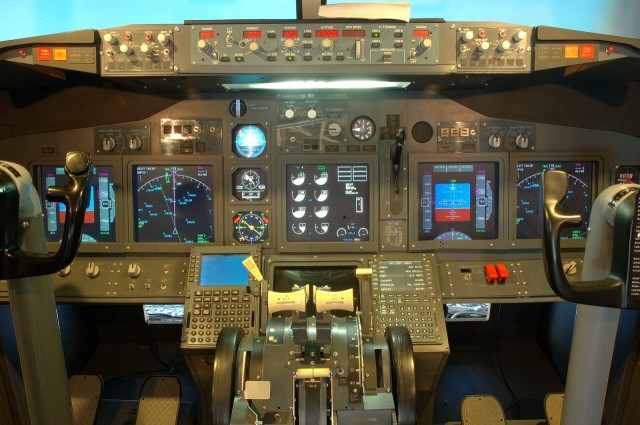
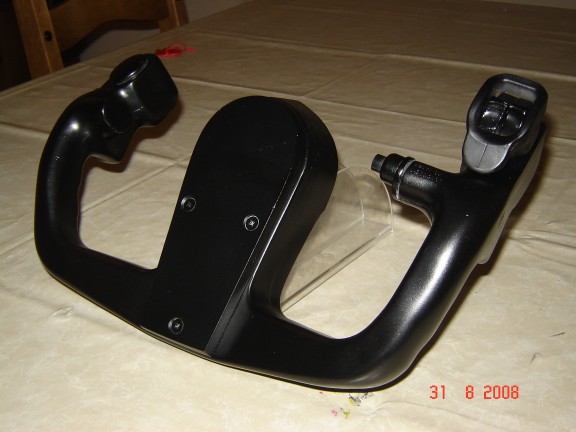
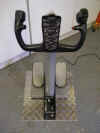
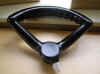
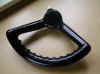
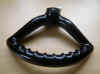
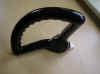
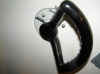
on the Rear Overhead Panel as well. Fibreglass 737 Yoke arrived from Dodiano
in El Salvador, so work began on the Prototype Yoke. See the TECHNICAL
Page


February
2008,
March
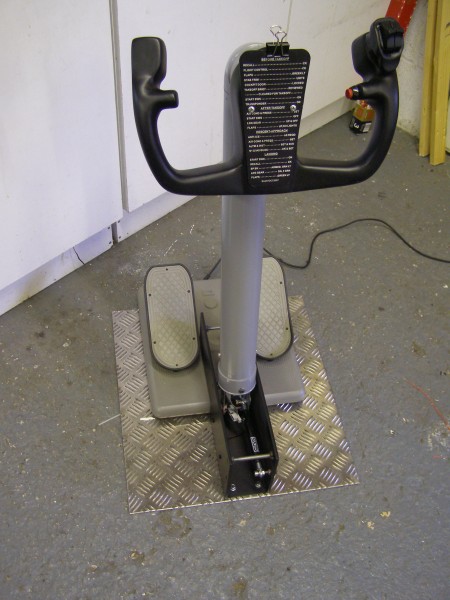
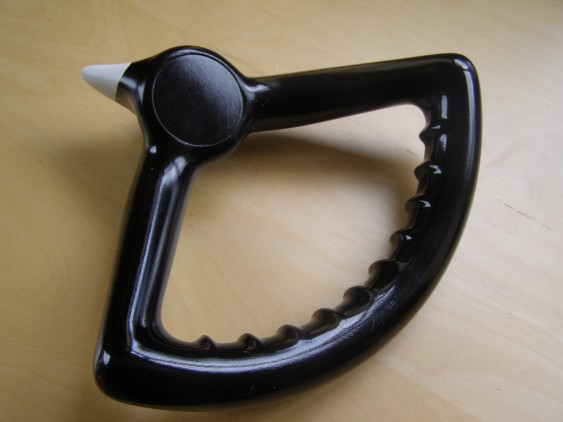
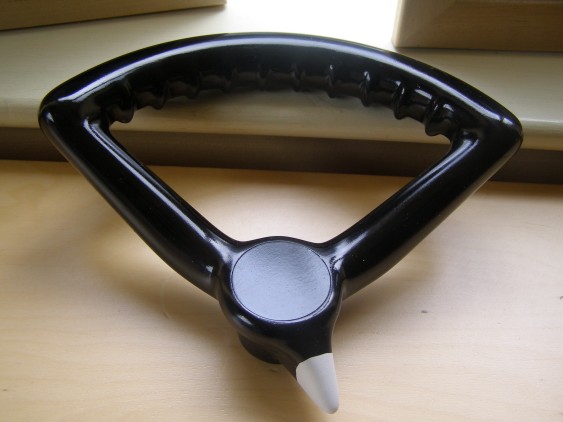
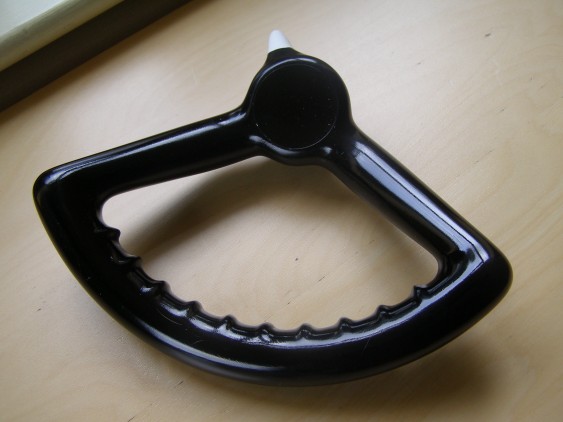
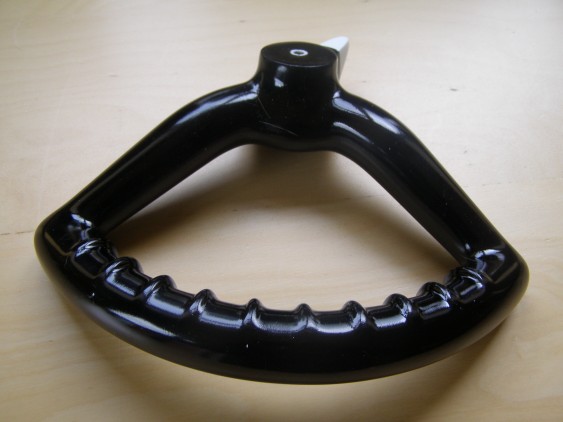
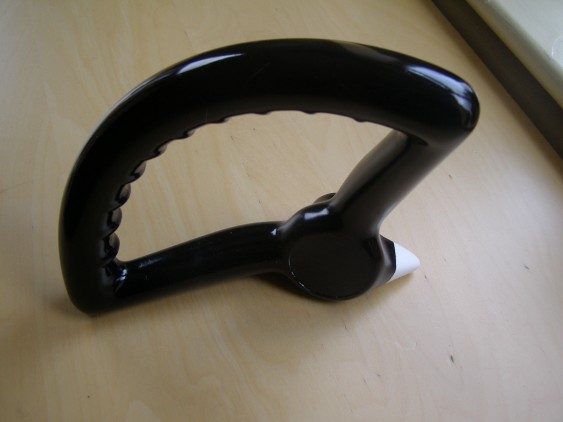
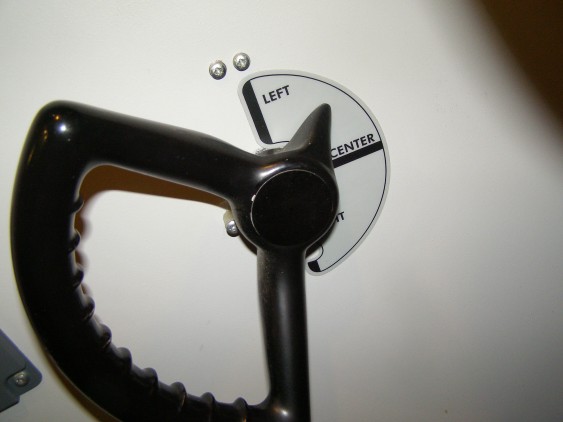
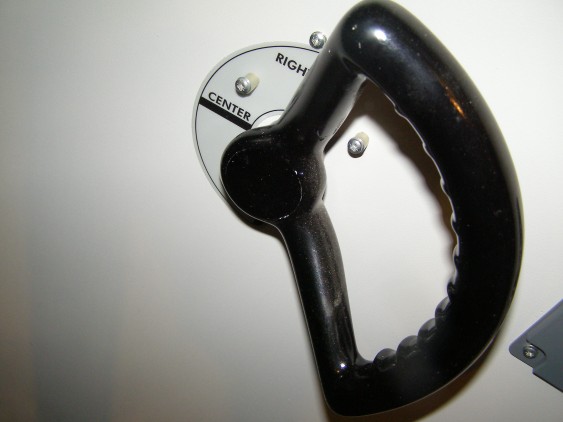
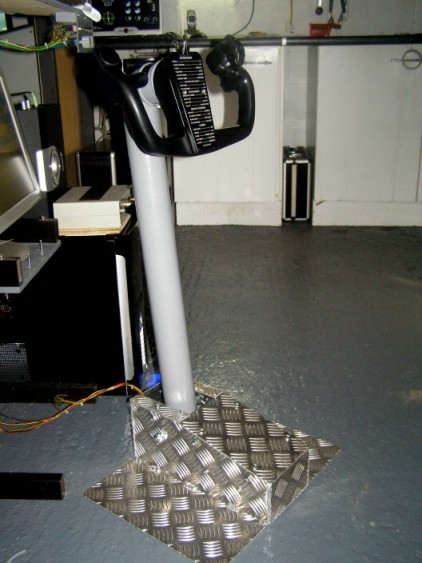
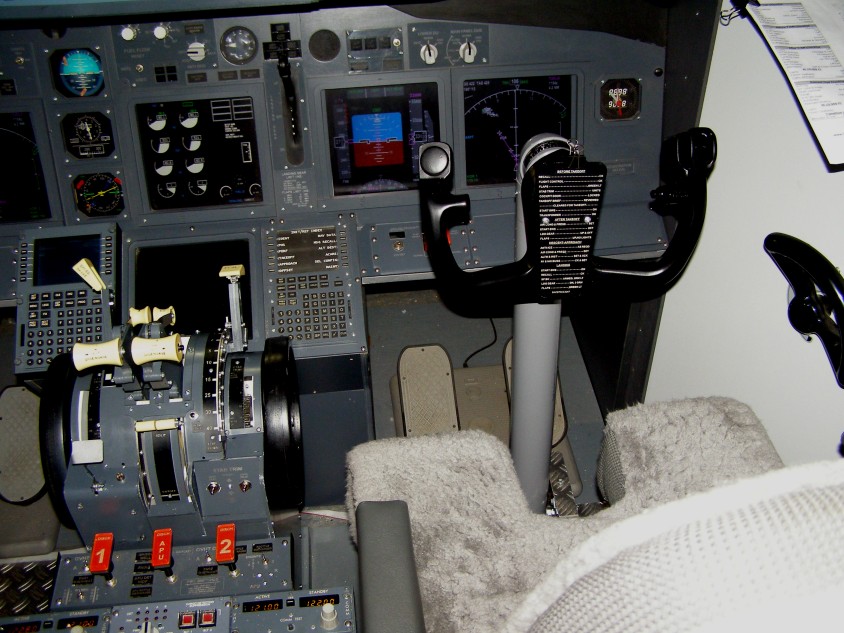
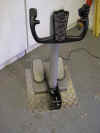
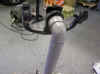
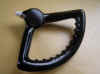
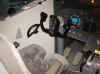
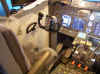
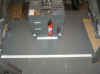
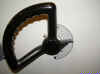
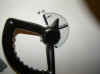
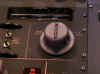
2008, In March the Second Steering Tiller handle arrived from Dieter
Jakob at ROUTECH. There was quite a debate about this, but no
problem, in it went and now we can steer the aircraft from either side
of the cockpit.
I have to give it to him - EXCELLENT QUALITY DIETER.


   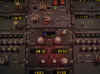 April
2008, April
saw the addition of the CPFlight ADF. I already had a Flight Illusion
ADF but I the 'strongclik' system made changing frequencies over a
long range hard work. CPFlight now ADF1 and F/I ADF2.
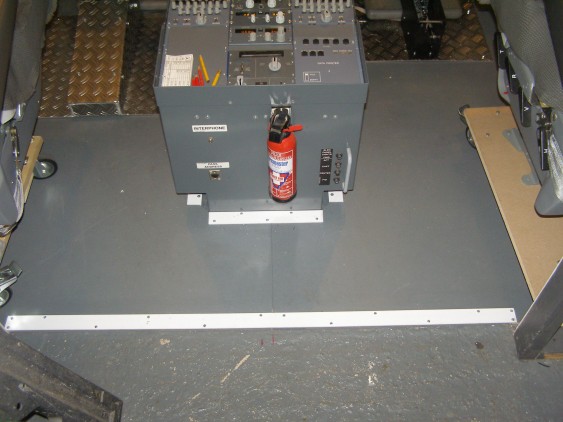
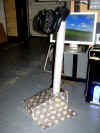
Finally got round to putting the floor in. Got to sort the
seat rails ! April
2008, April
saw the addition of the CPFlight ADF. I already had a Flight Illusion
ADF but I the 'strongclik' system made changing frequencies over a
long range hard work. CPFlight now ADF1 and F/I ADF2.
Finally got round to putting the floor in. Got to sort the
seat rails !
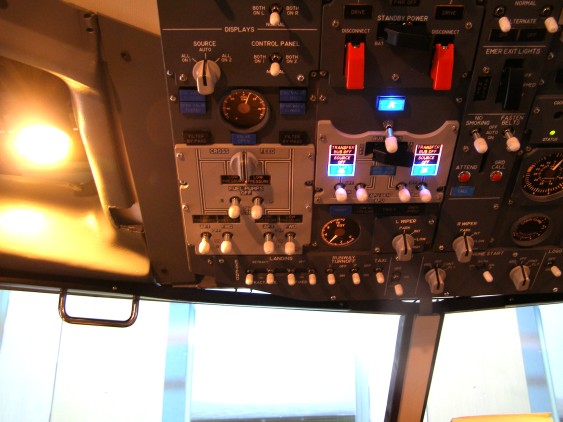
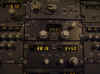
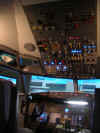
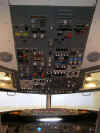
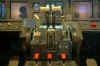
May
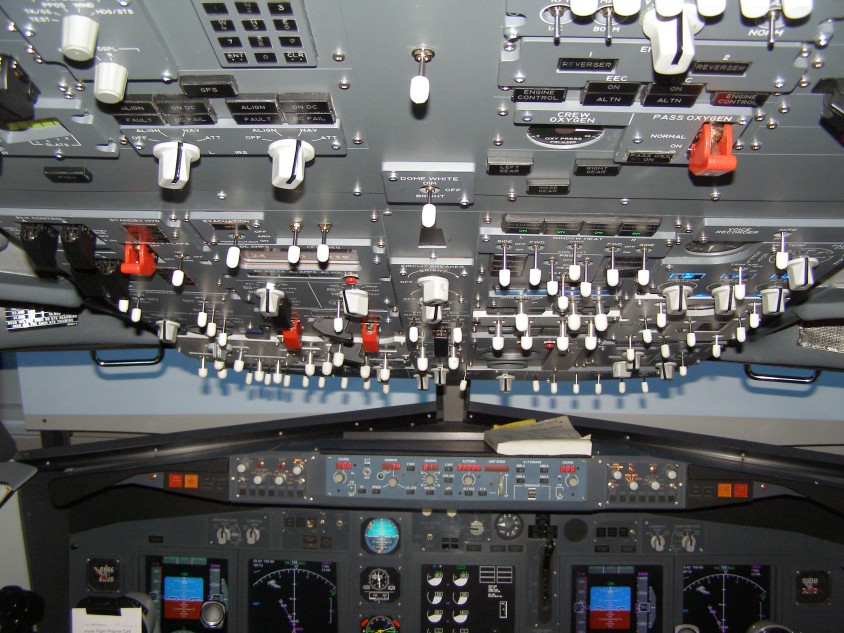
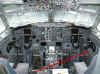
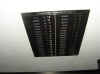
2008, In May I fitted the new
SimMotion Overhead Panel. I am very pleased with the effect and
operation.

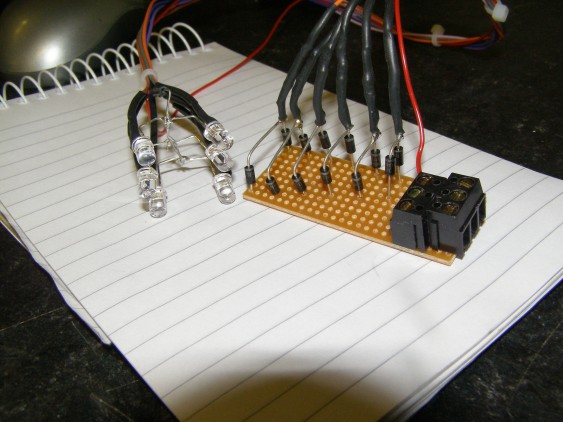
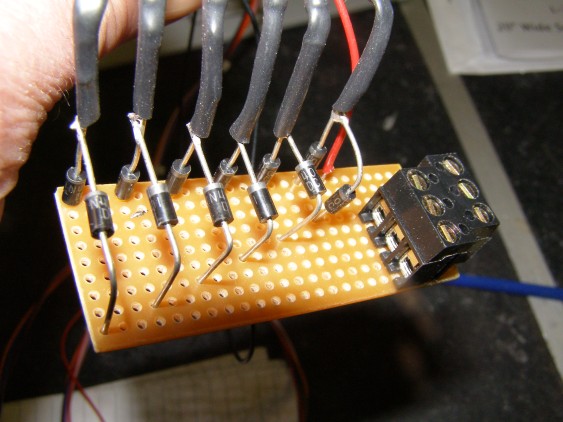
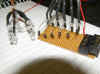
June
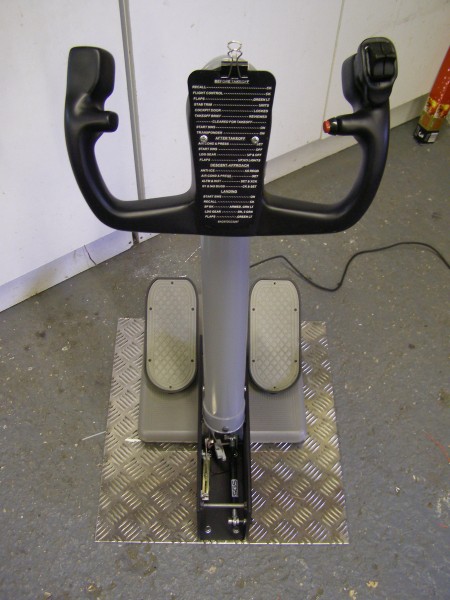
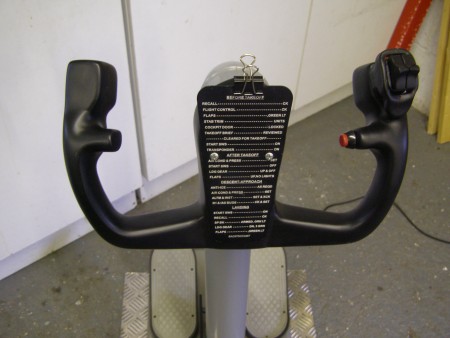
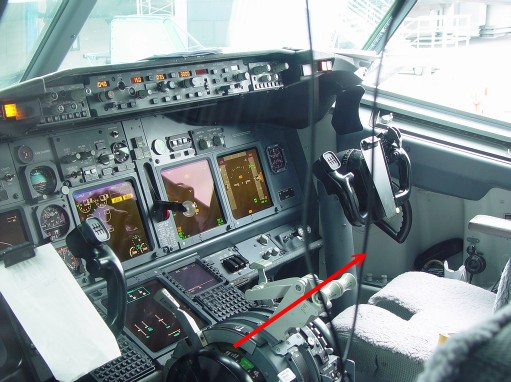
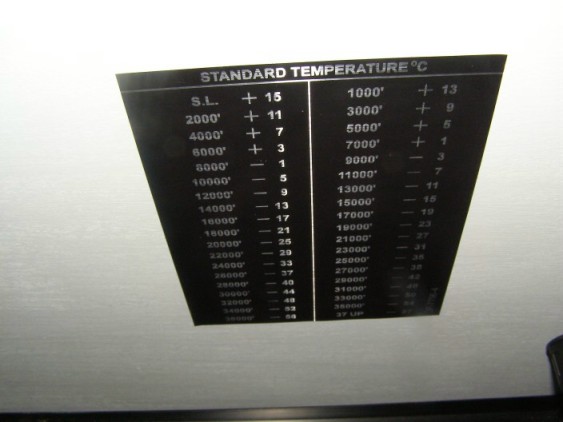
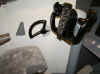
2008, June saw the addition of the Tiller Decals
from Lausitz Aviation and the completion of the boards for the 6
packs.

July
2008
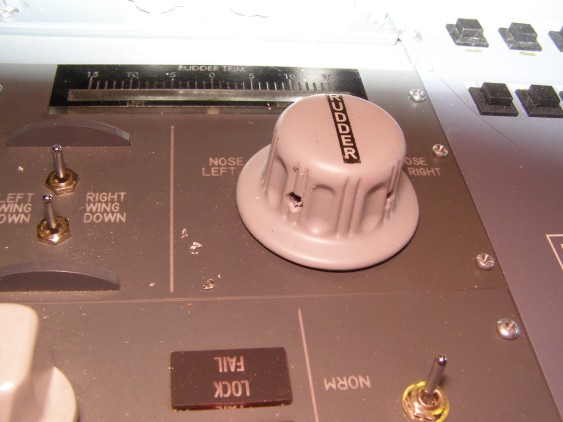
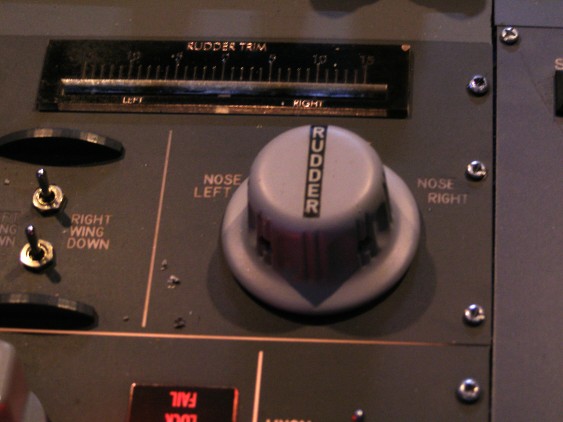
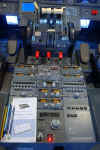
2008, Rudder Trim Knob &
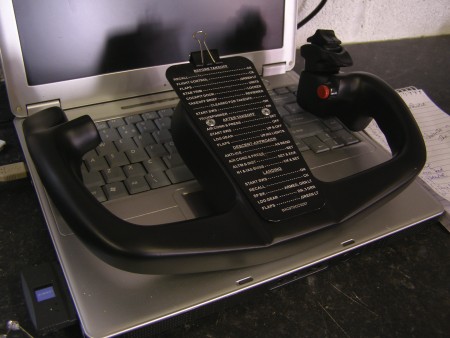
Crossfeed valve knobs arrived from Nihad. Dodiano's Glass fibre Yoke
is OK, but it can't take the Punishment, so found another supplier in
Holland. Got the Lightswitch Plates from Phil744 - lovely.
.


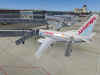
 August
2008, Awarded www.mycockpits.org
'Featured Builder' Award and also Featured in PCPilot Magazine.
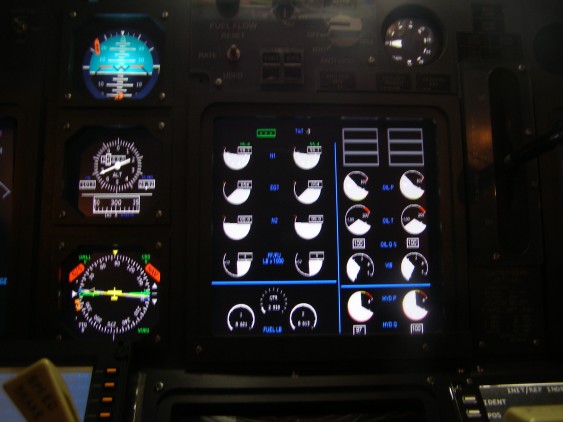
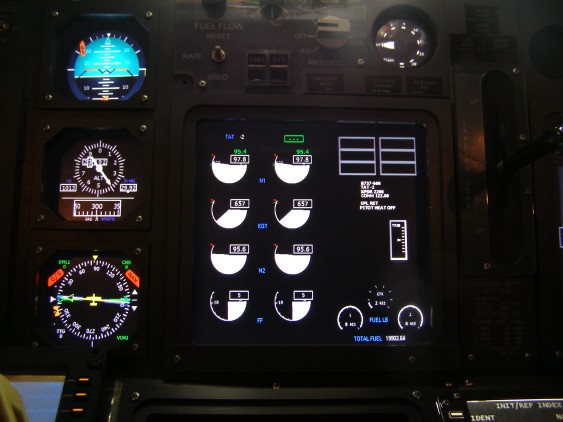
Installed the latest version of FSXpand
for my Eicas and Standby Instruments. Second Yoke arrived from
SAID in Holland. Also installed AES from AEROSOFT.
I'm amazed by the level of realism it adds. This years
best ADD ON. Read about it HERE. 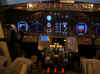


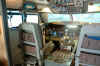


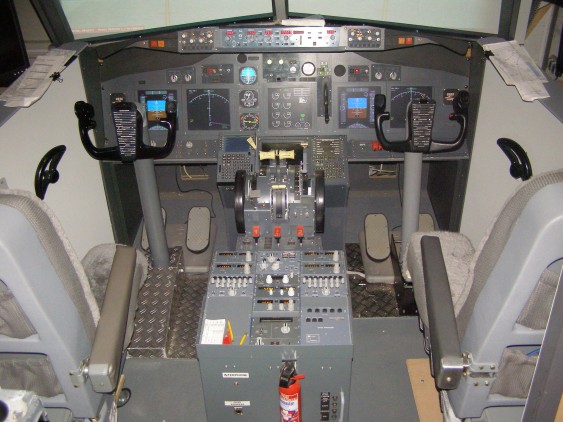
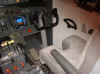
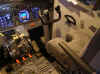
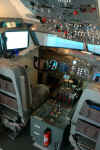
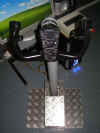
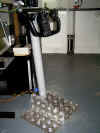
  September
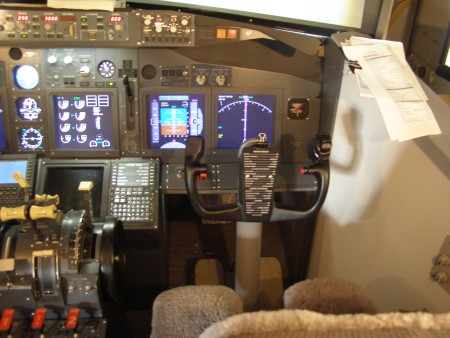
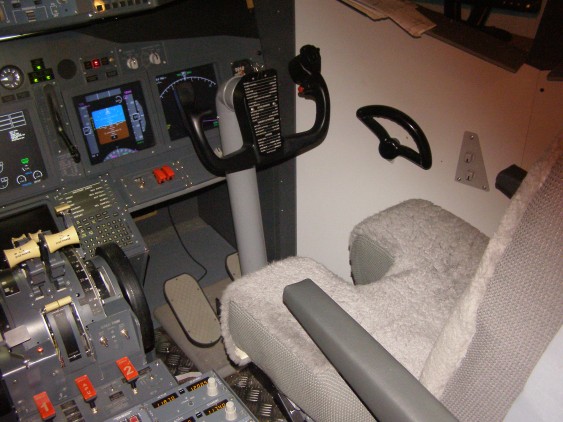
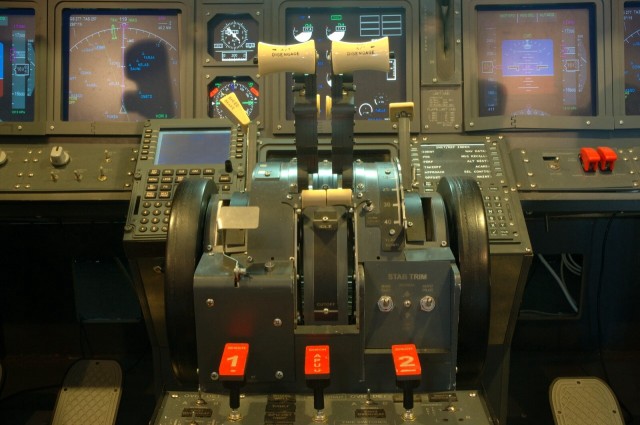
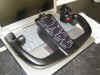
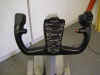
2008, Built and Installed the
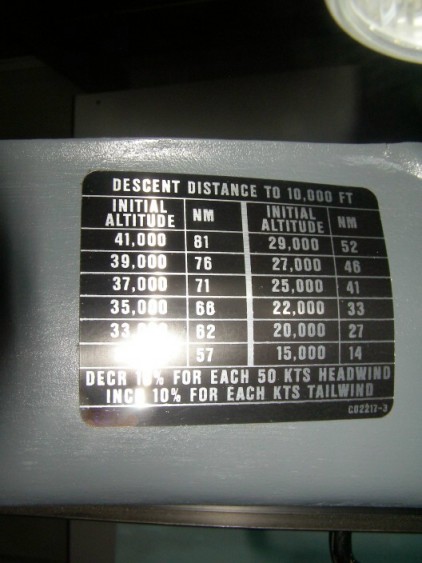
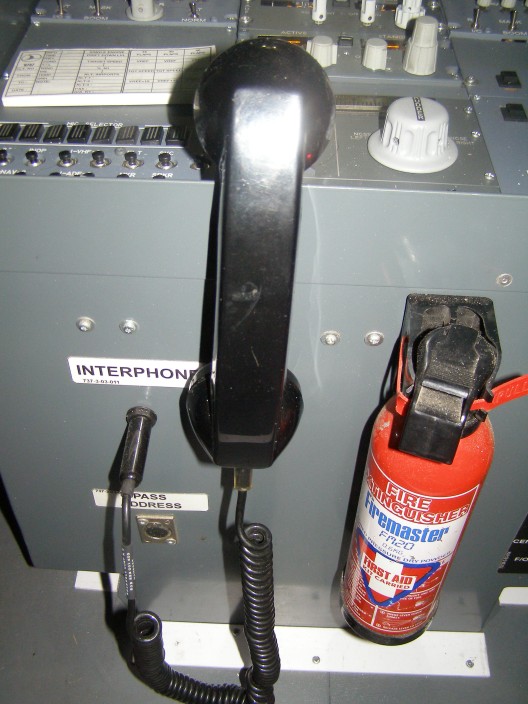
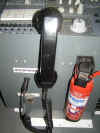
second Control Column and Yoke. Also bought some 'Bits and Bobs'
from Nick at the Airline Pilots Historical Society to add to the
'Authenticity' :o)) The Interphone actually allows me to scream
abuse at the passengers. Also thanks chaps, 91,000 distinct
visits to my website in the last year. September
2008, Built and Installed the
second Control Column and Yoke. Also bought some 'Bits and Bobs'
from Nick at the Airline Pilots Historical Society to add to the
'Authenticity' :o)) The Interphone actually allows me to scream
abuse at the passengers. Also thanks chaps, 91,000 distinct
visits to my website in the last year.
October
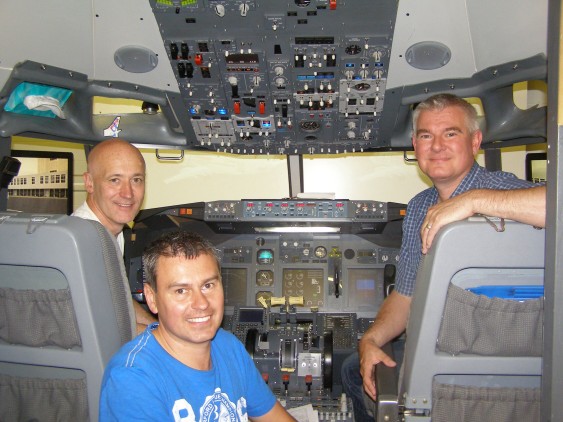
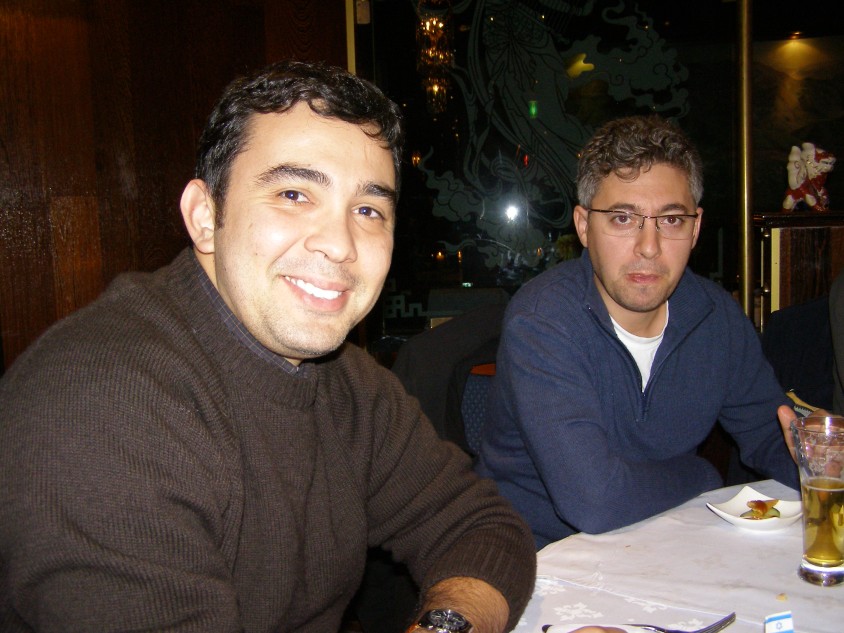
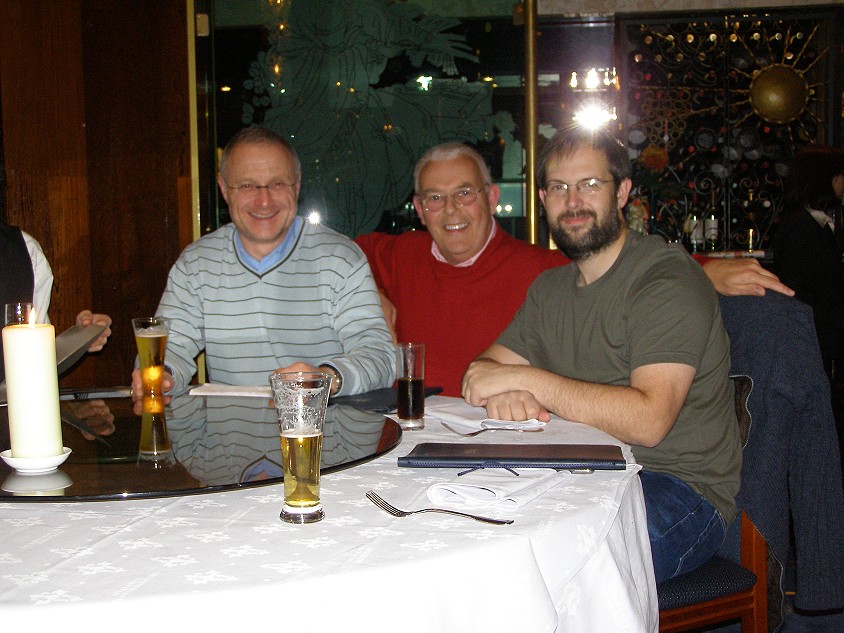
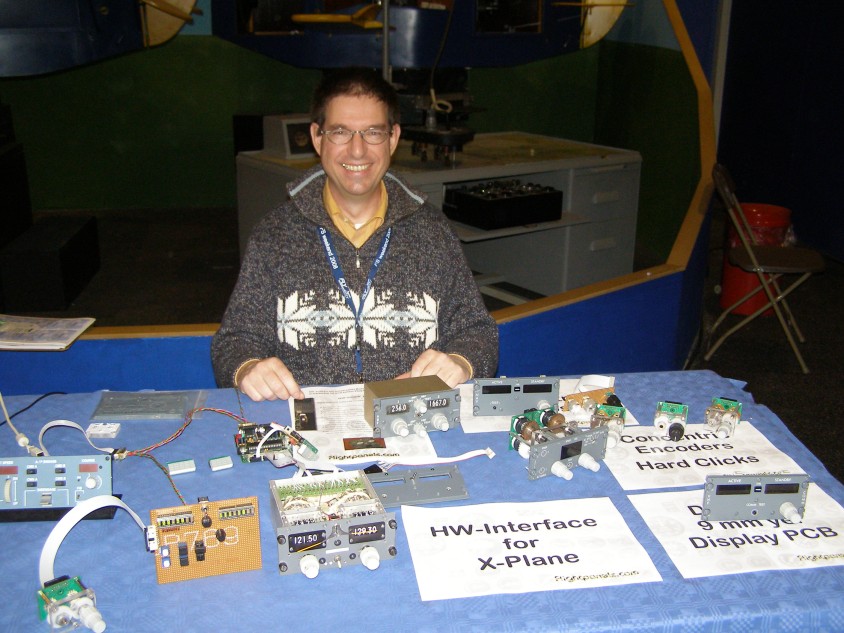
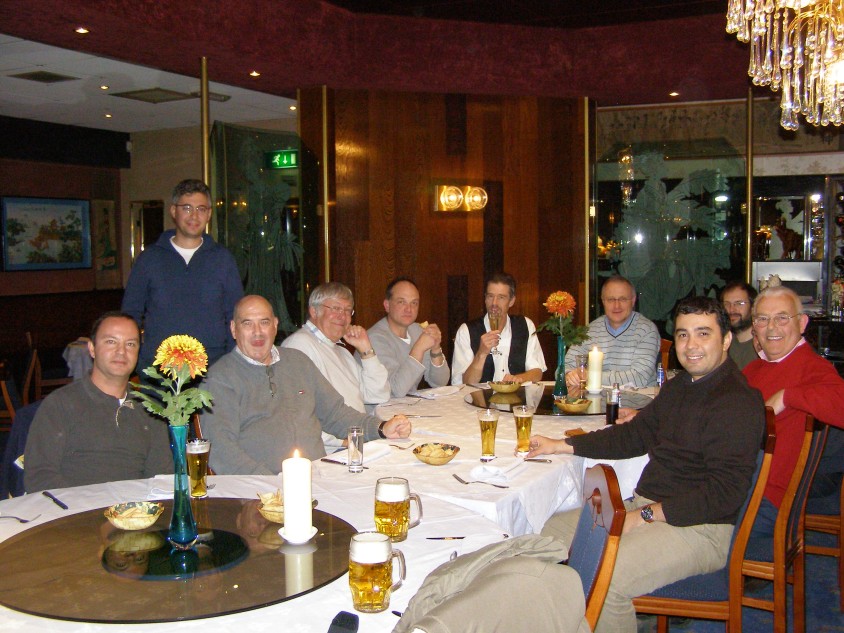
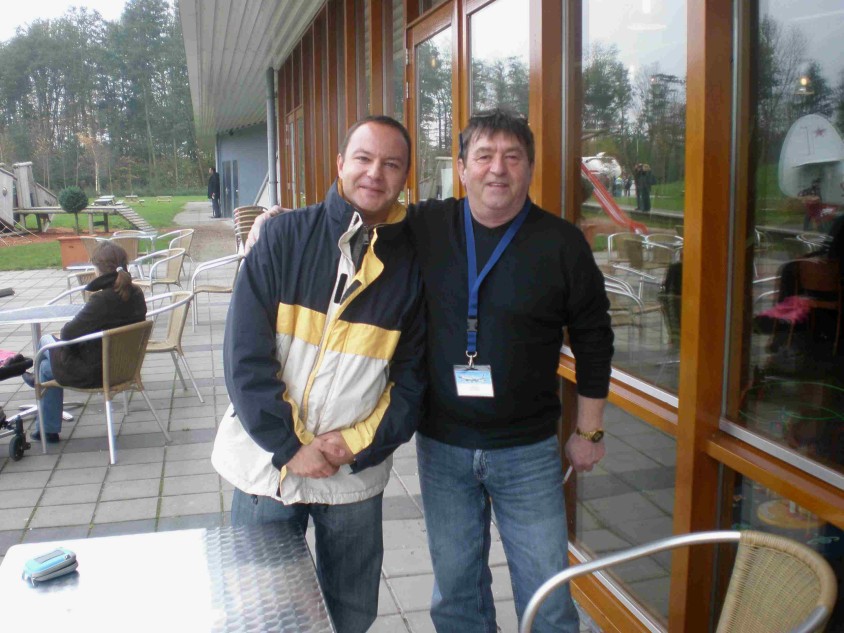
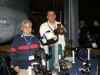
2008, Holidays :o)) November
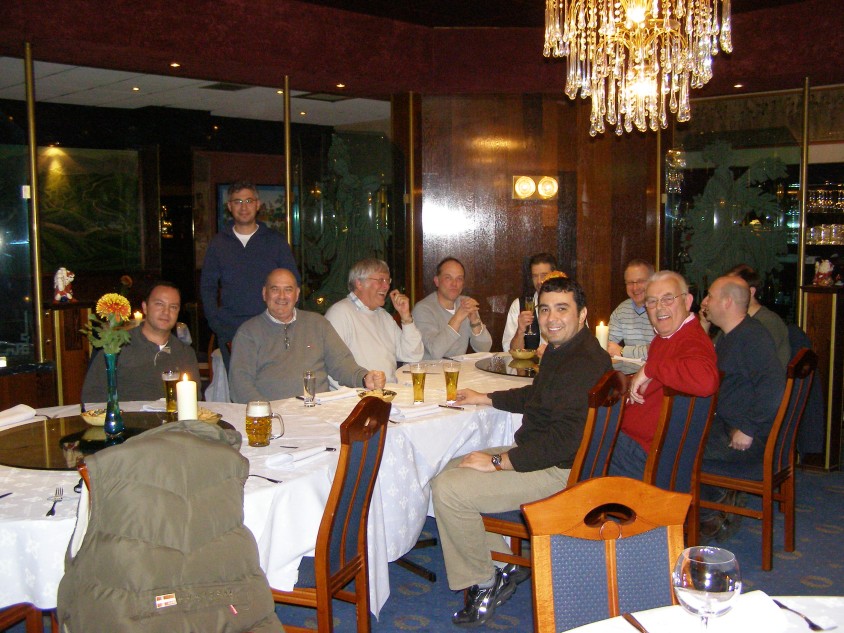
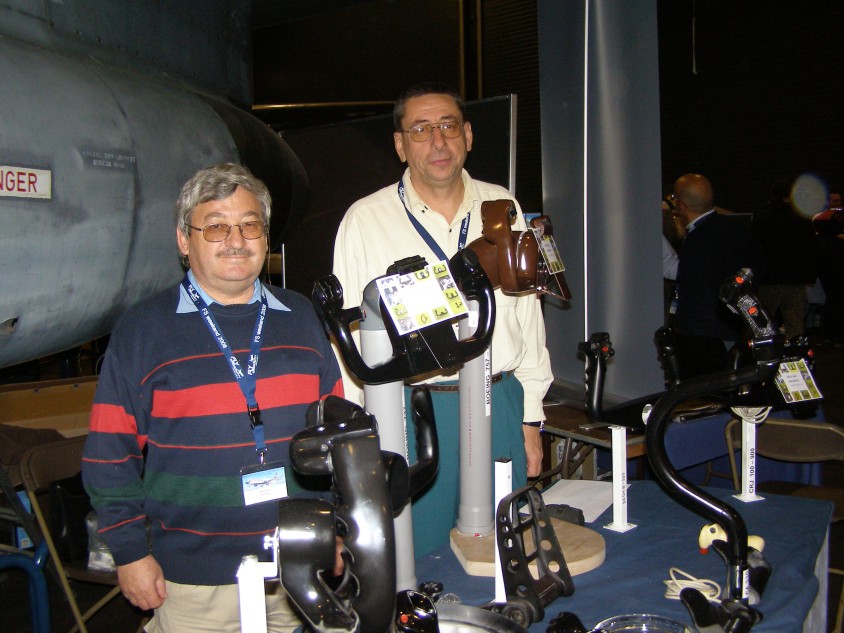
2008, We're all Off to Lelystad for the FSWEEKEND. Excellent
time. My thanks to Gert Heijnis, Alan Watson, David Bullock,
Baris Imer Oral Barkay, Orpan, Peter Dowson, Peter Wilshire, the www.mycockpit.org
team, Said and Dieter Jakob.


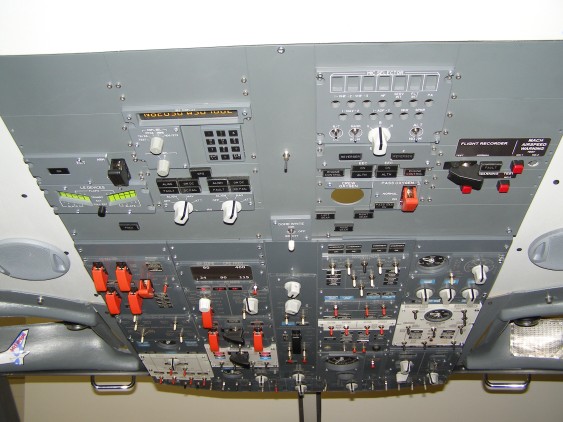
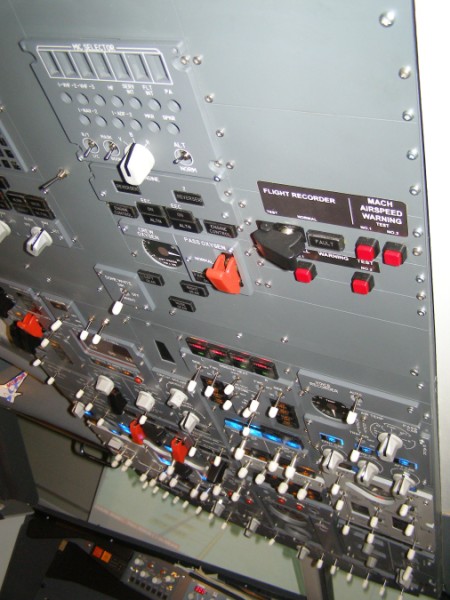
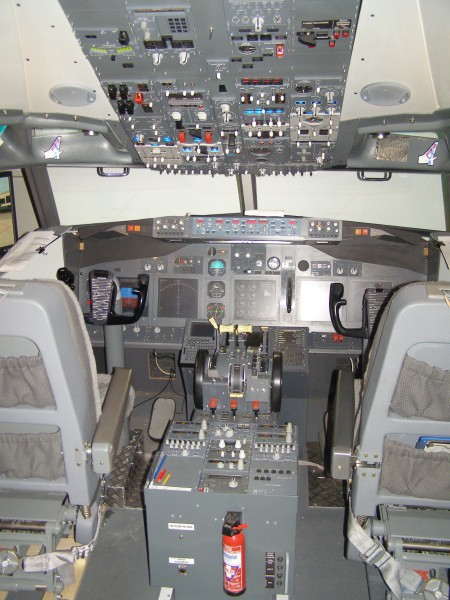
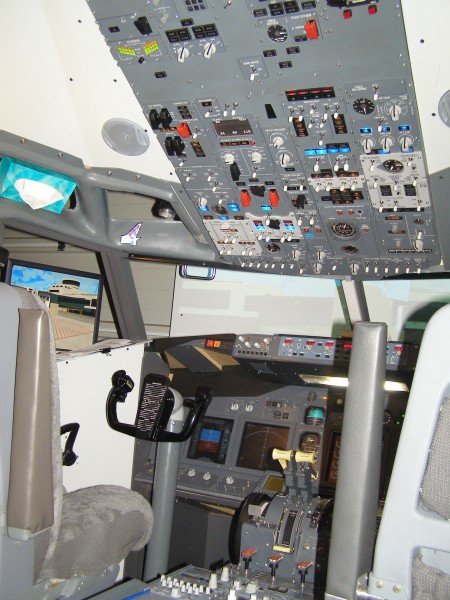
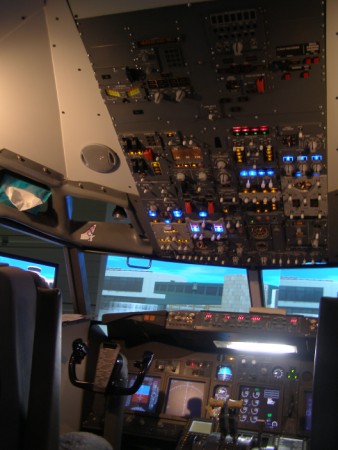
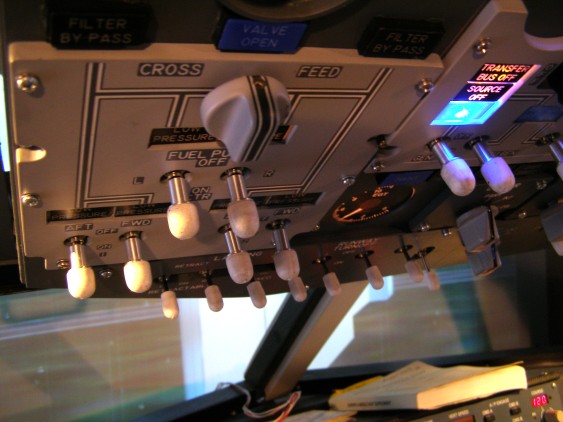
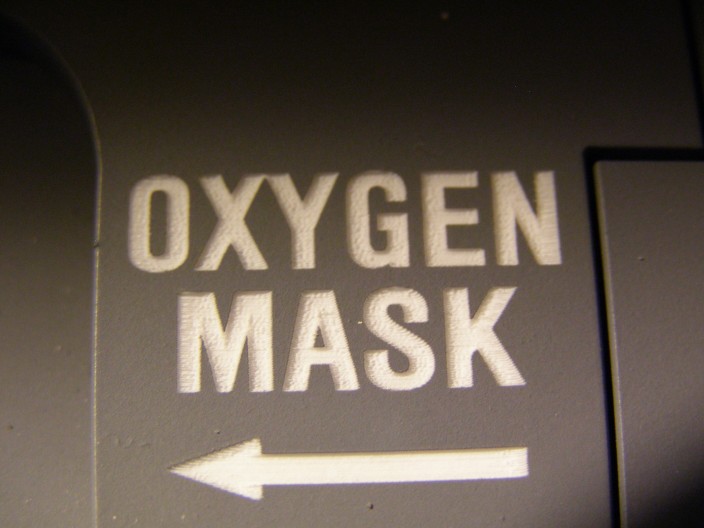
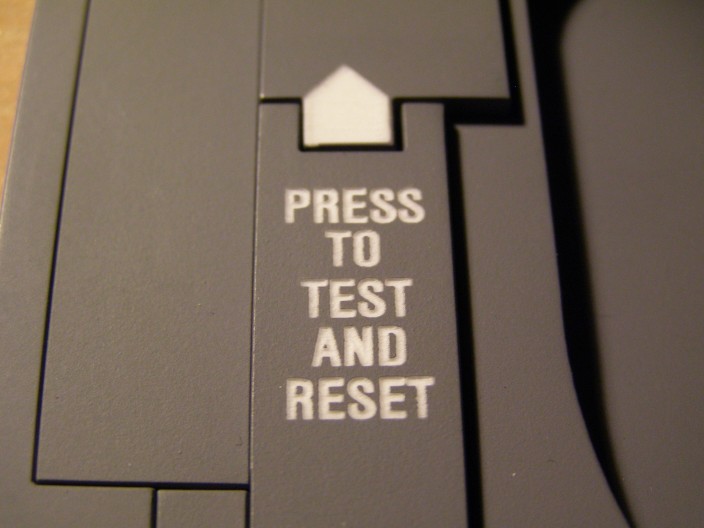
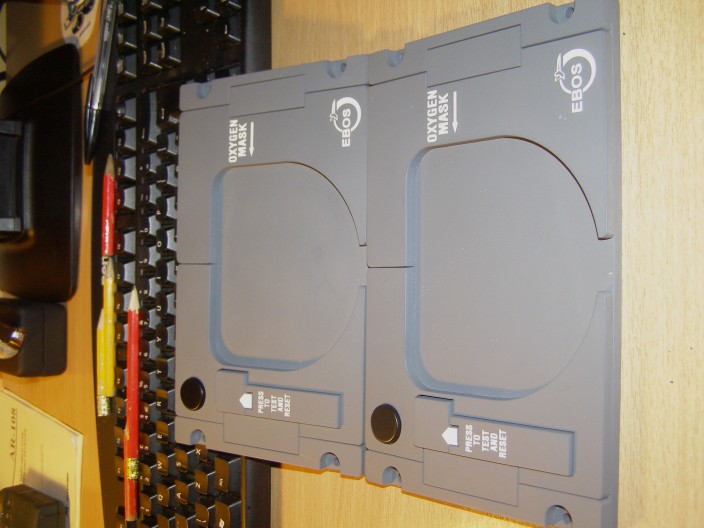
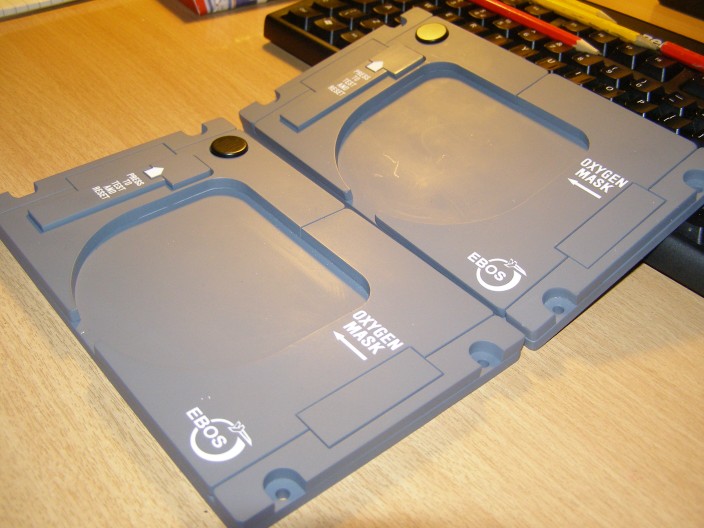
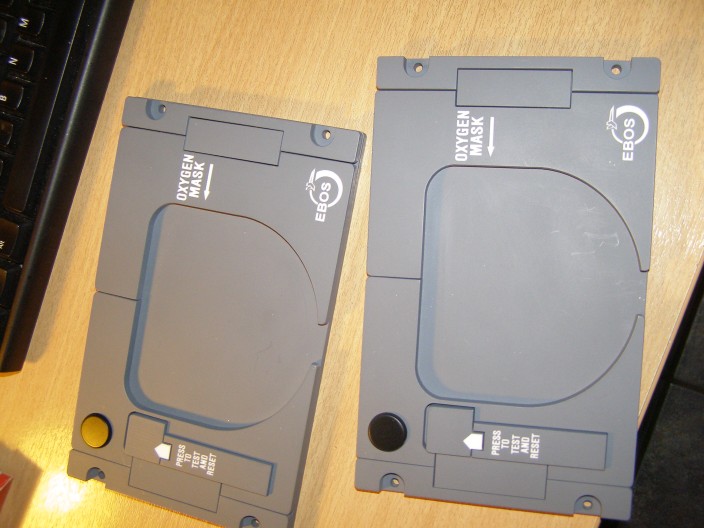
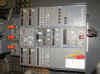
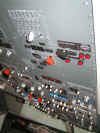
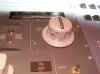
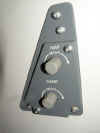
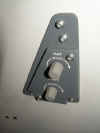
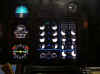
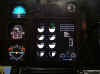
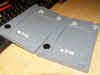
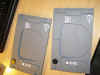
December
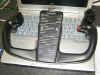
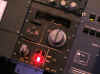
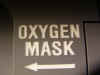
2008, the Oxy Panels Arrived from Joe Cygan at Innovative
Flight Simulator Products - F*****G STUNNING ! 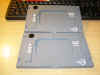


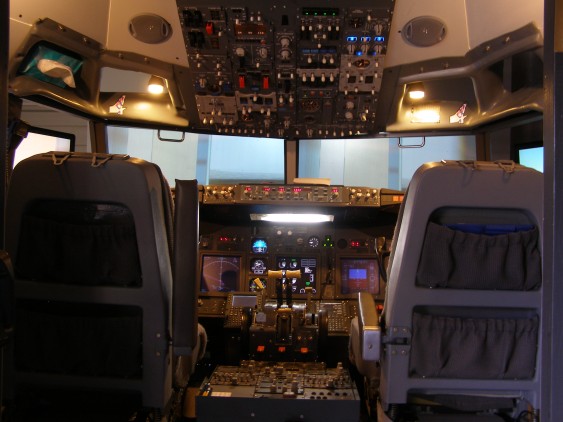
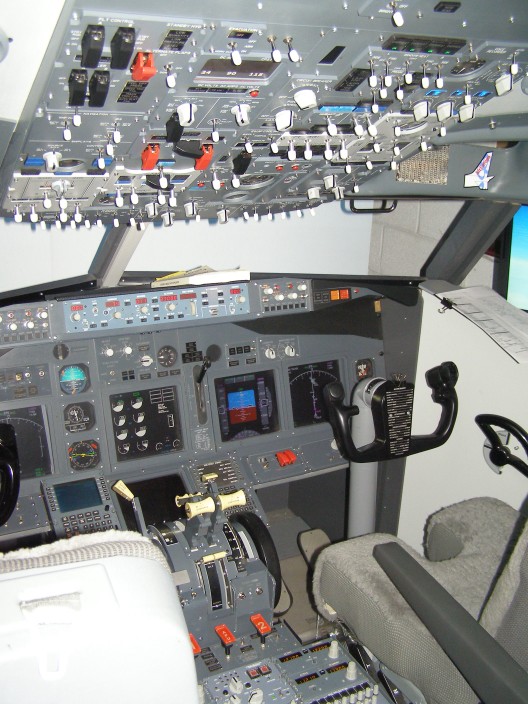
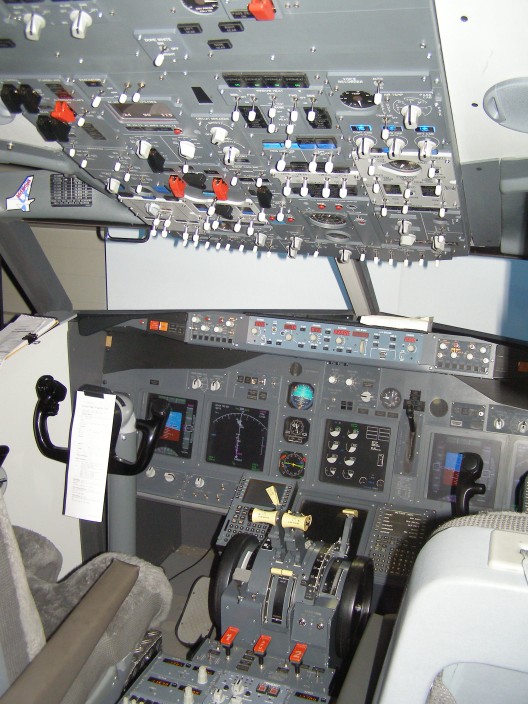
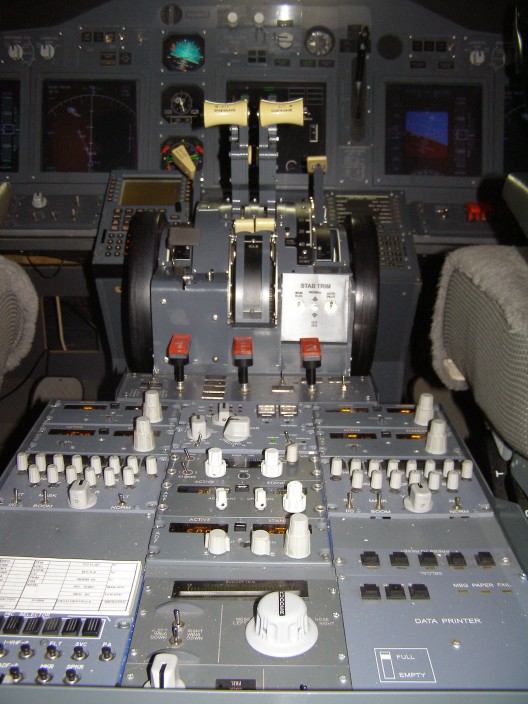
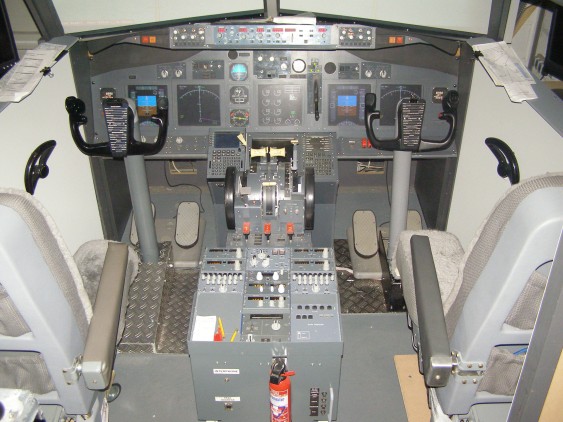
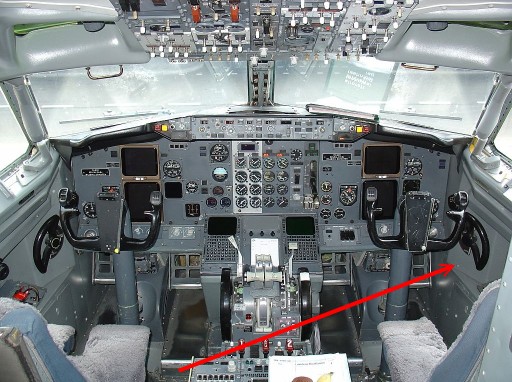
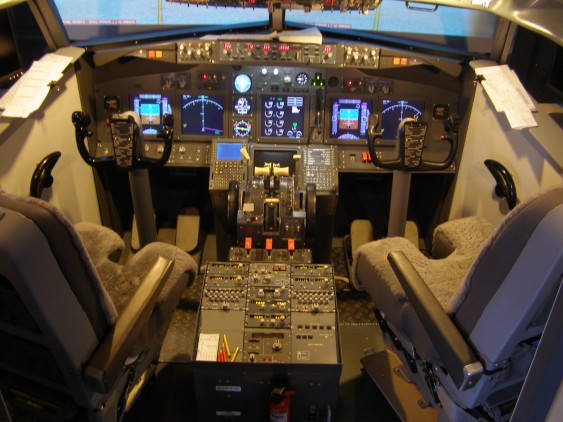
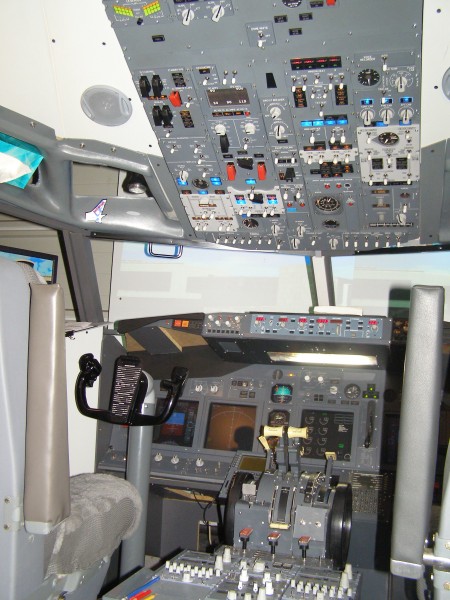
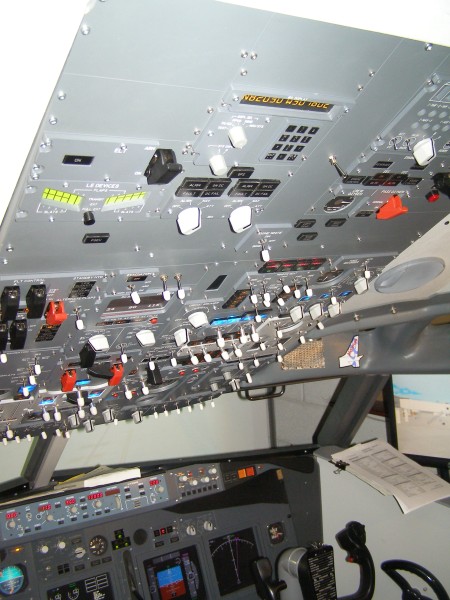
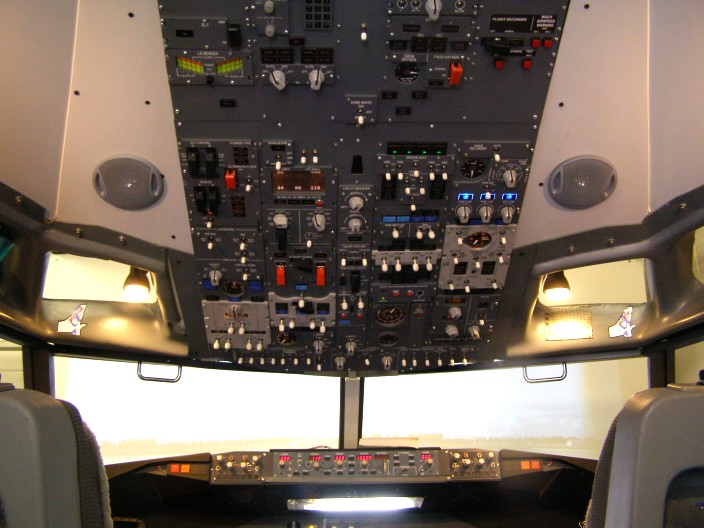
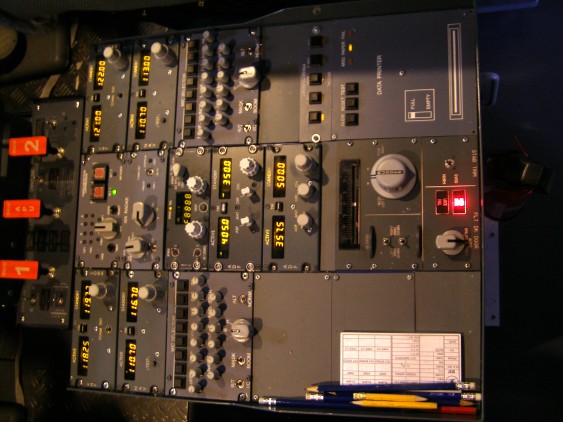
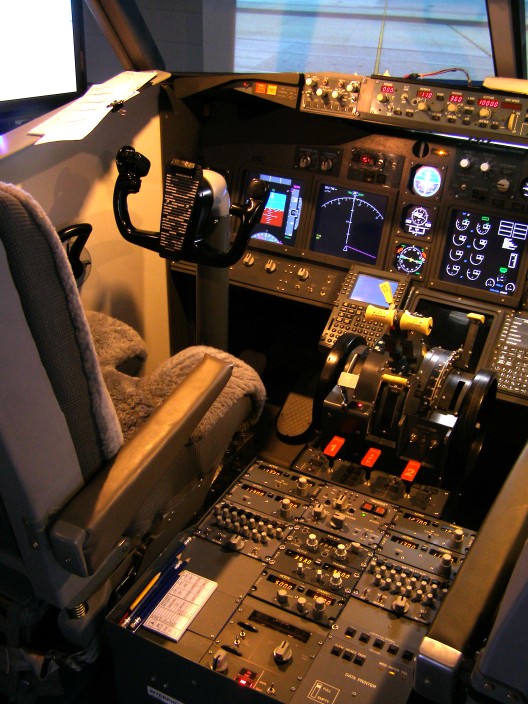
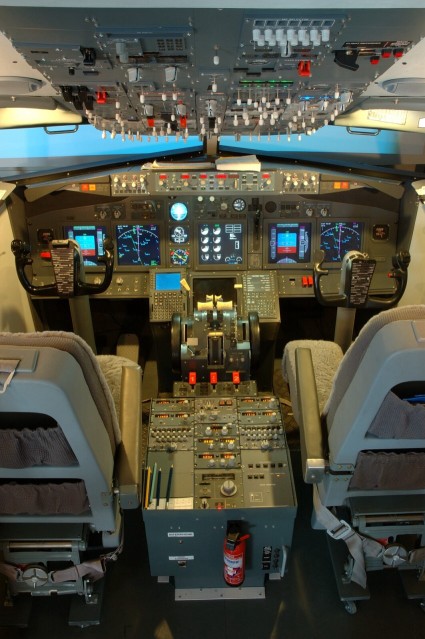
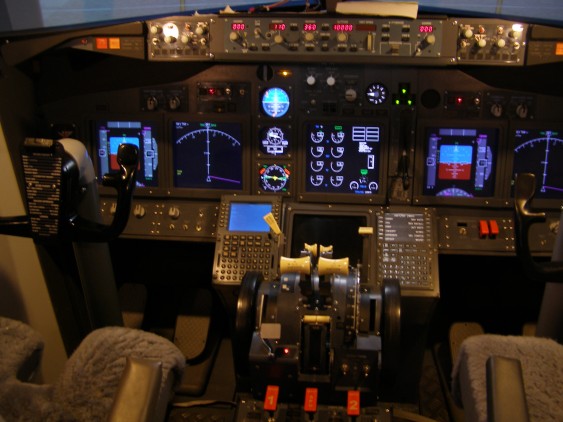
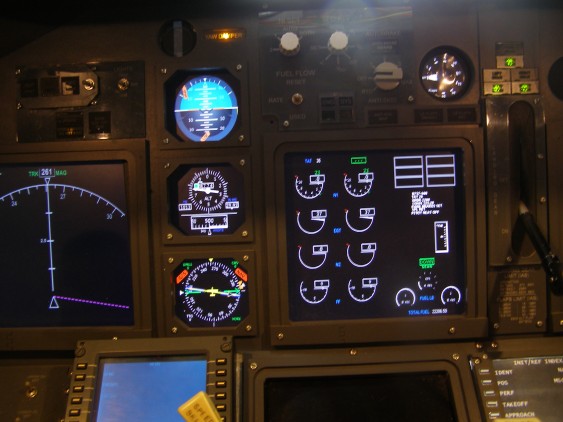
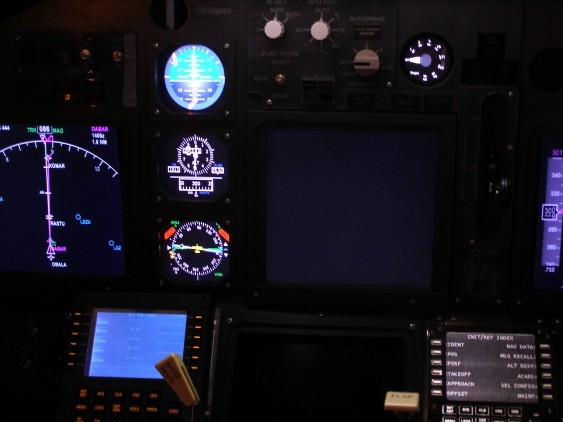
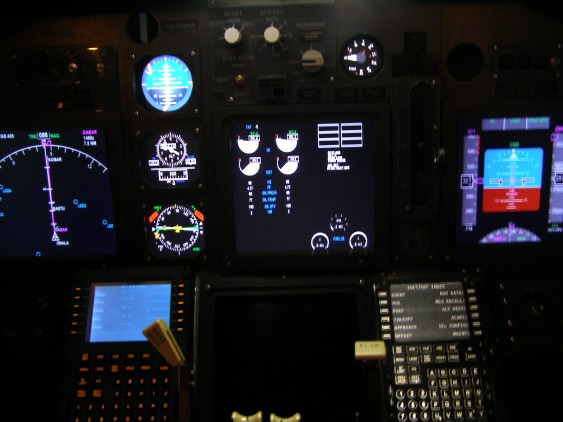
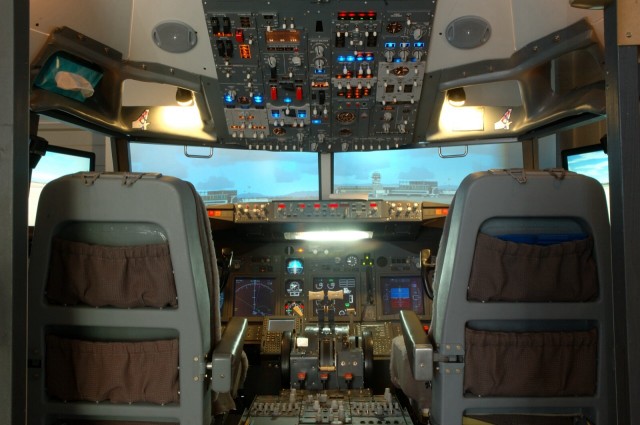
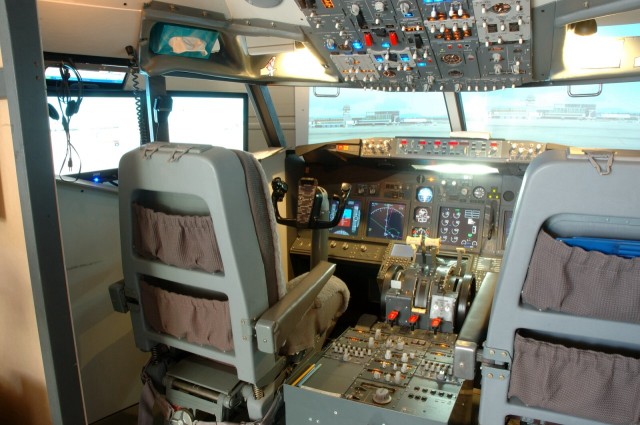
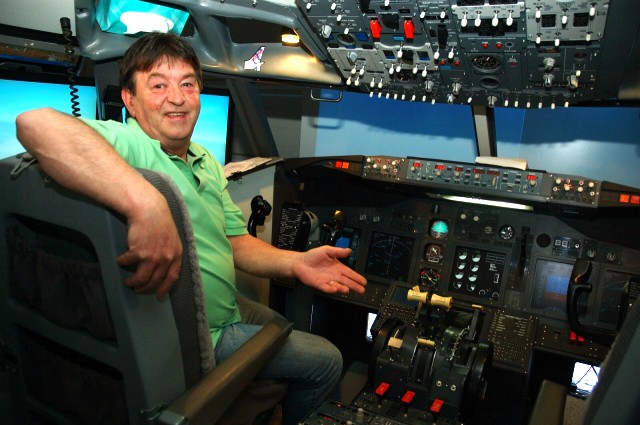
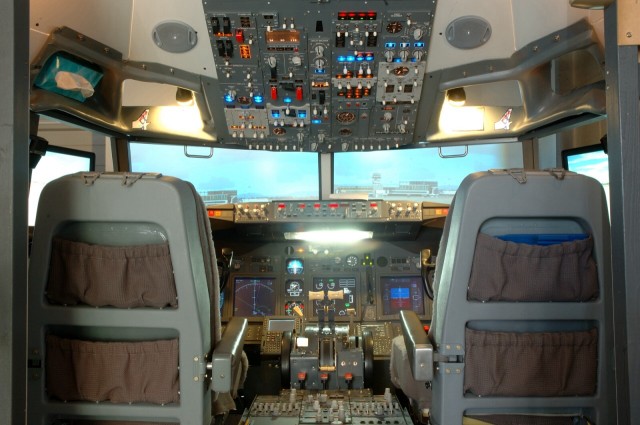
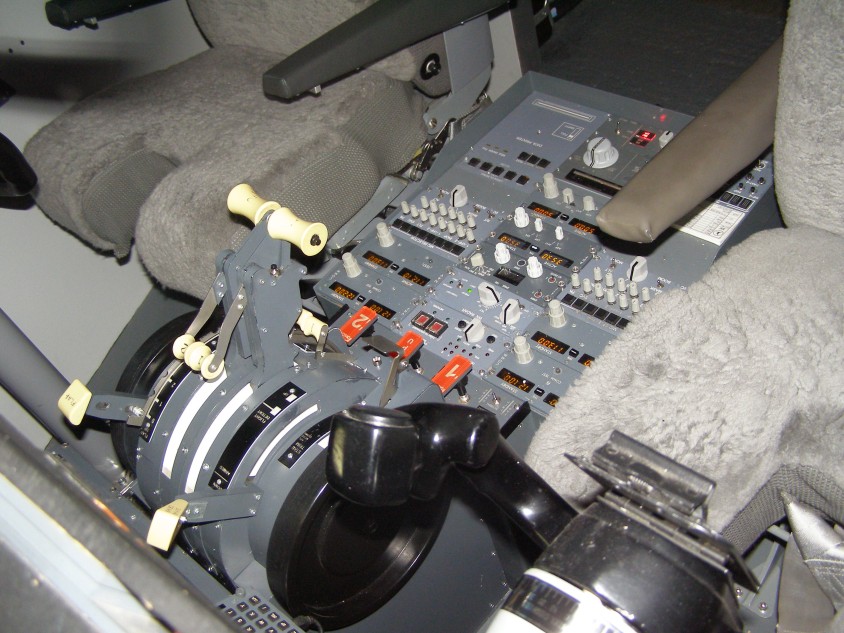
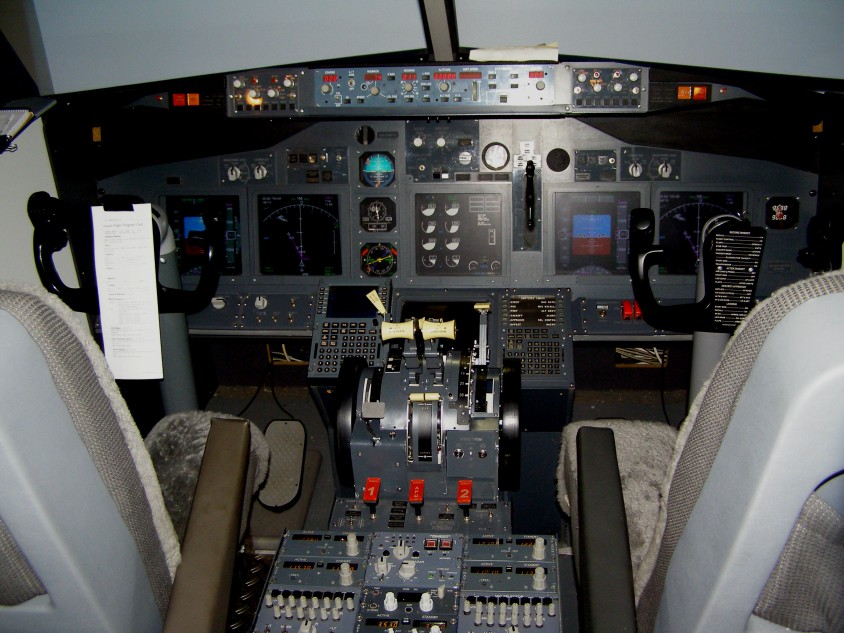
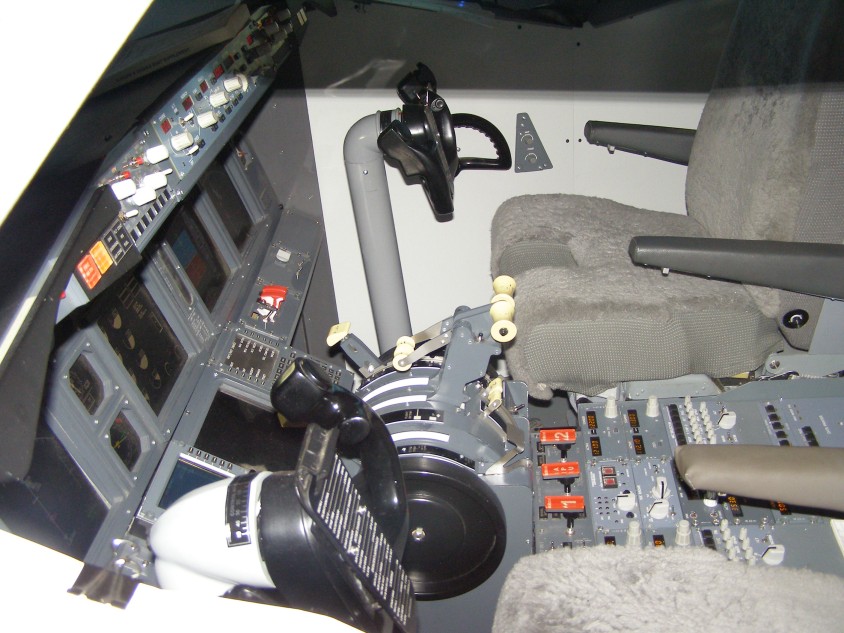
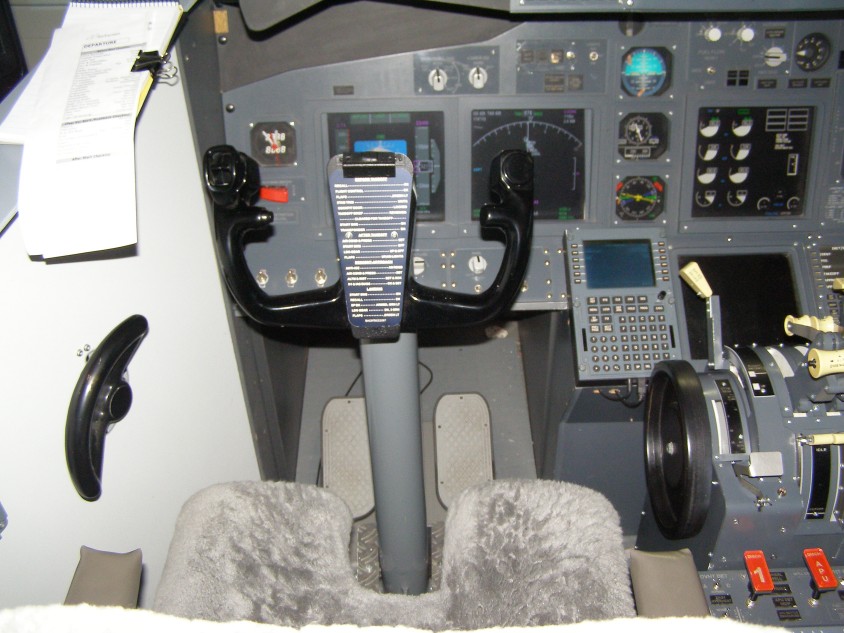
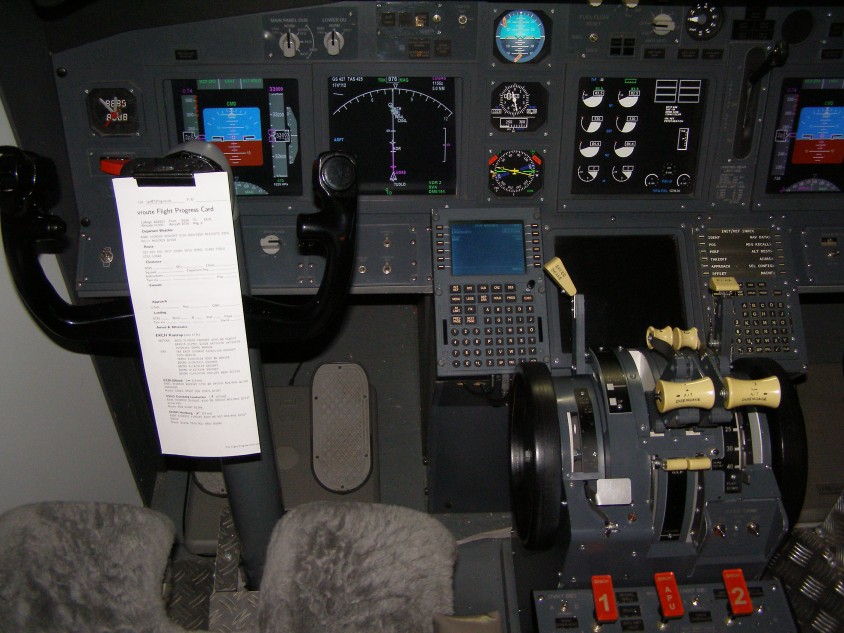
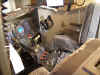
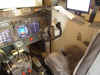
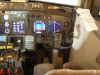
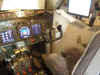
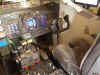
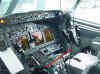
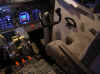
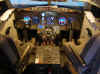
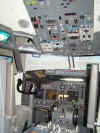
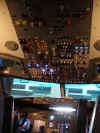
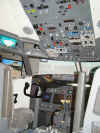
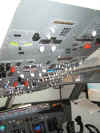
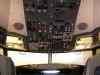
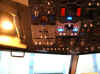
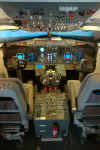
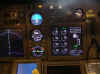
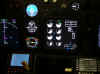
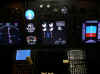
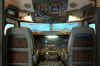
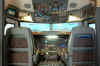
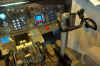
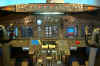
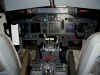
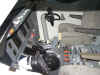
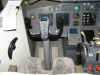
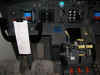
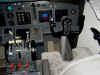
And
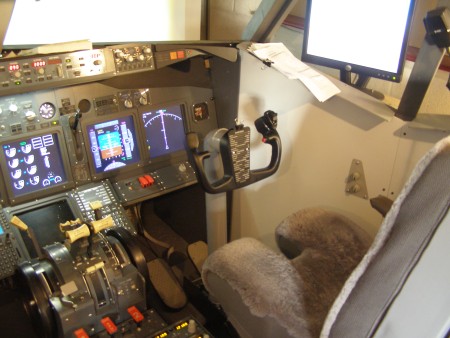
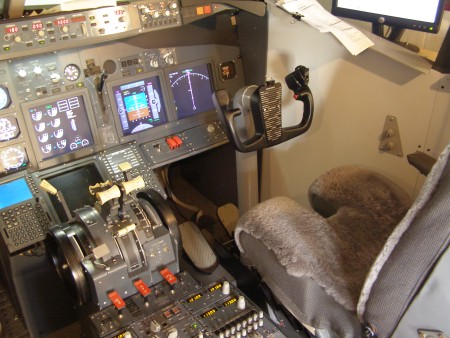
to finish it off, here's some shots of where we are 31/12/2008 - HAPPY
NEW YEAR Captains.... Plans
for 2009 include the Seat Rails, the Sidewall Shelves for the Oxy Mask
Panels and some improvements.. 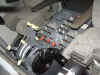
|