|
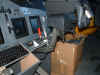
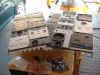
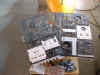
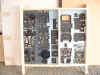
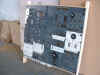
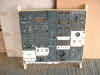
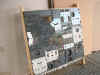
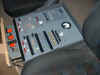
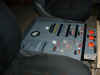
Timeline June/July
2005
Everybody's
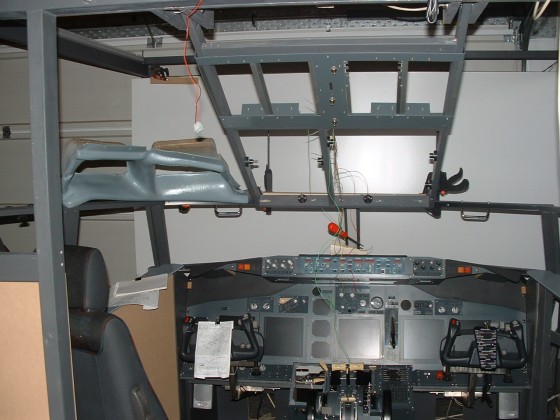
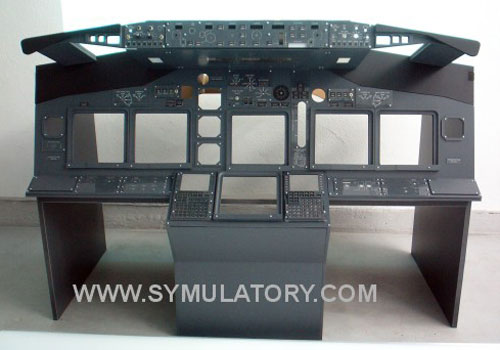
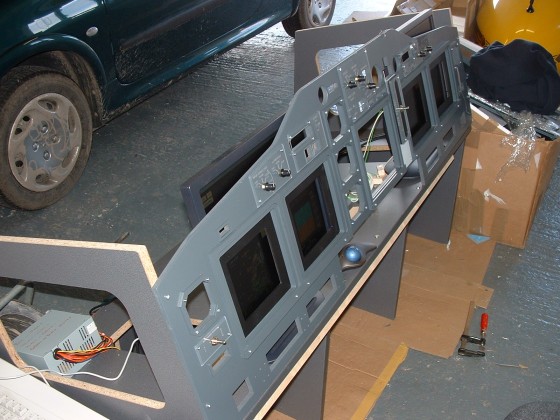
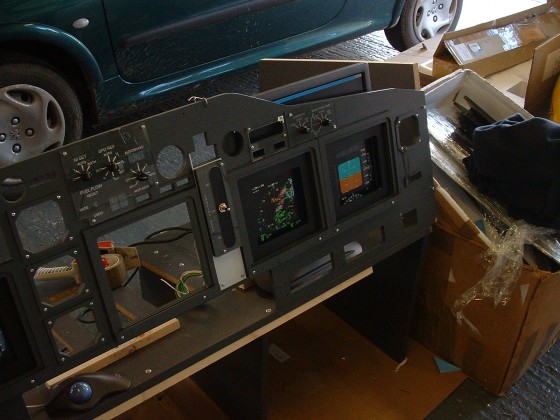
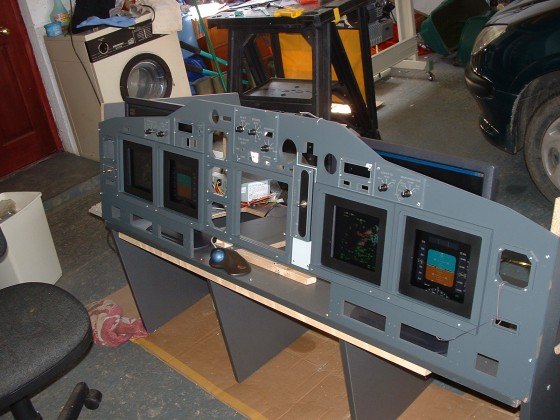
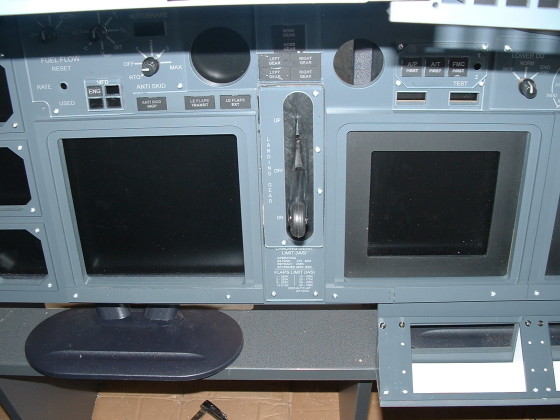
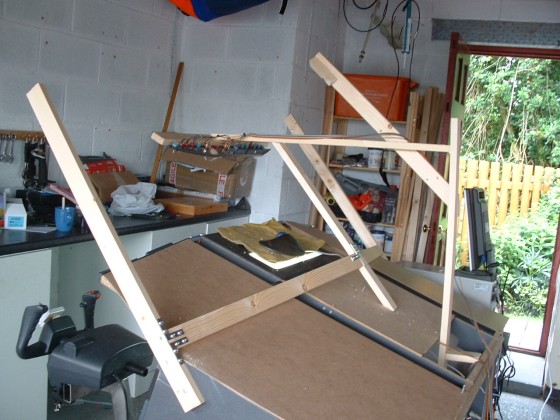
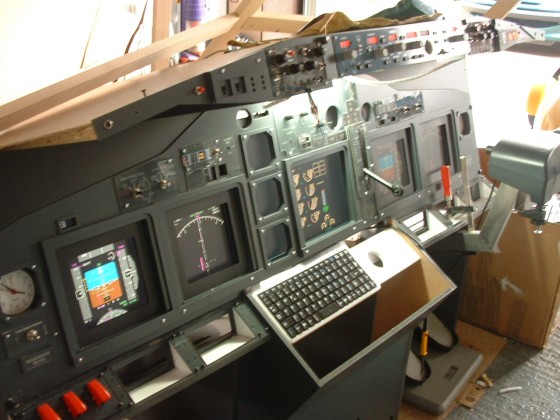
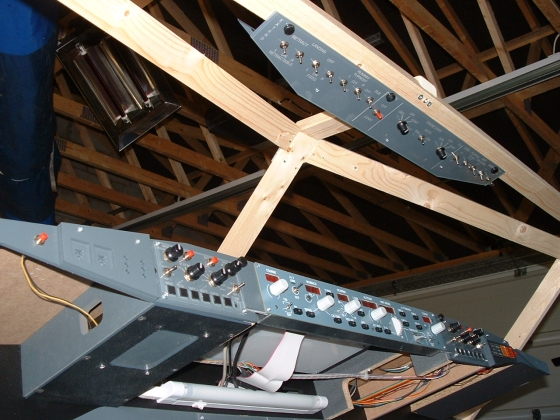
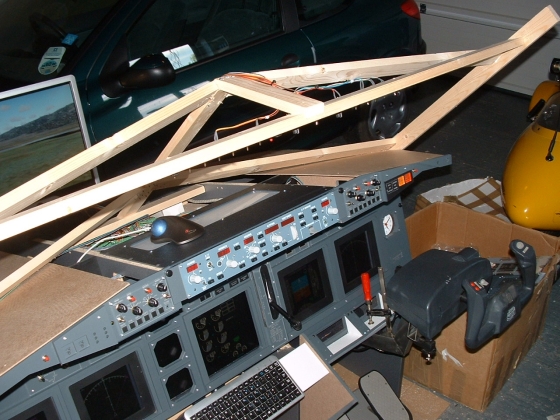
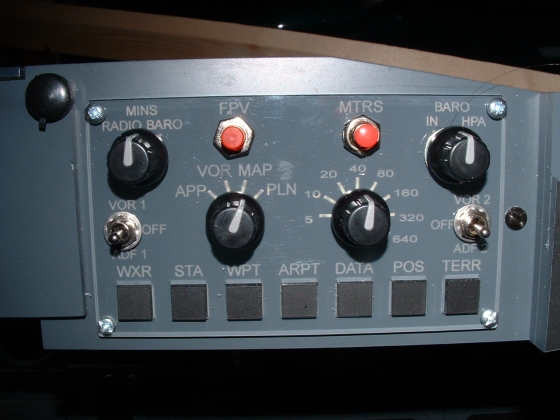
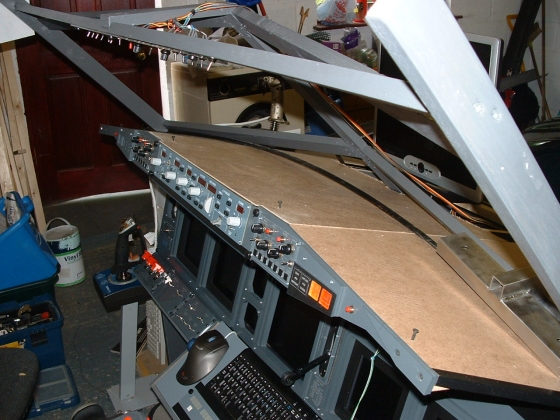
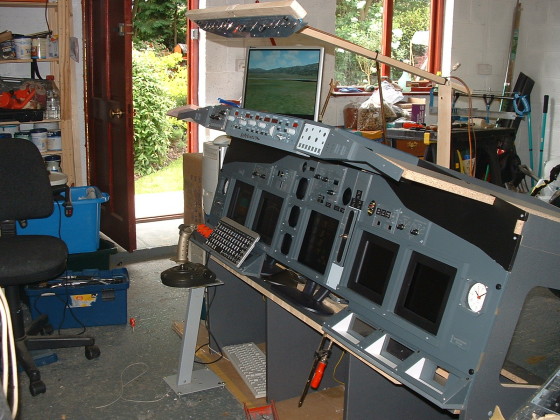
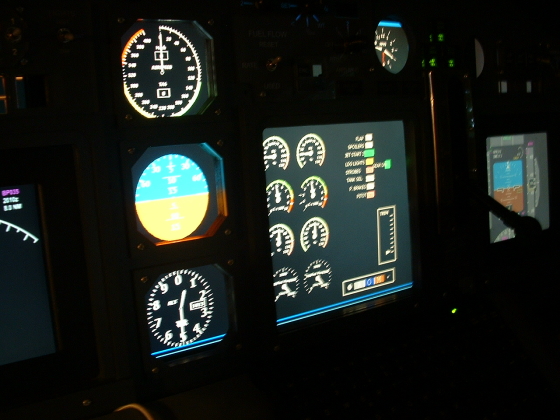
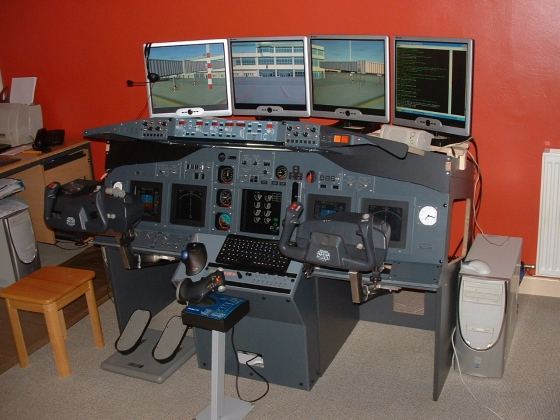
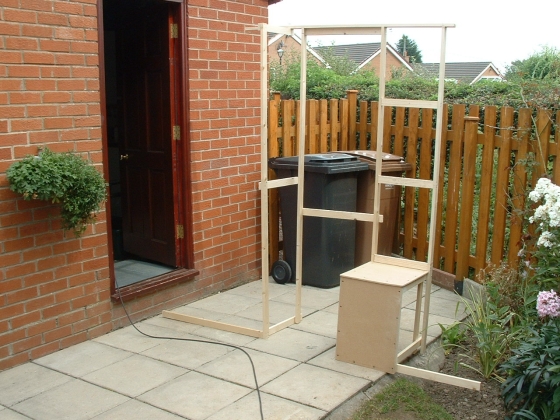
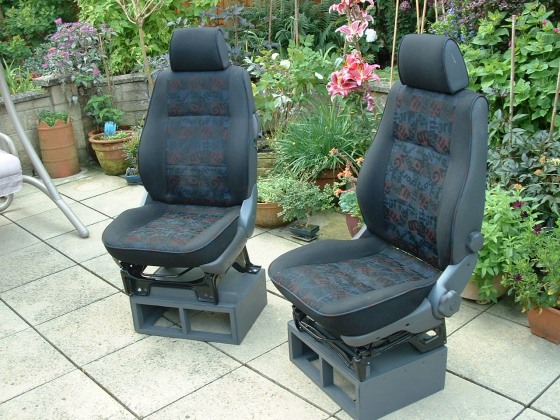
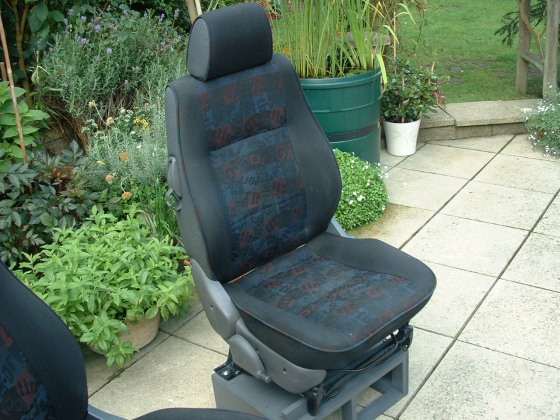
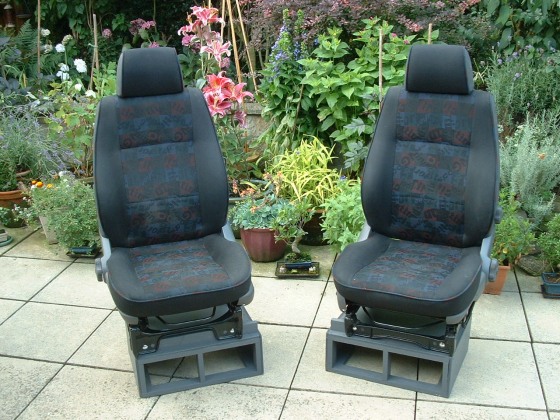
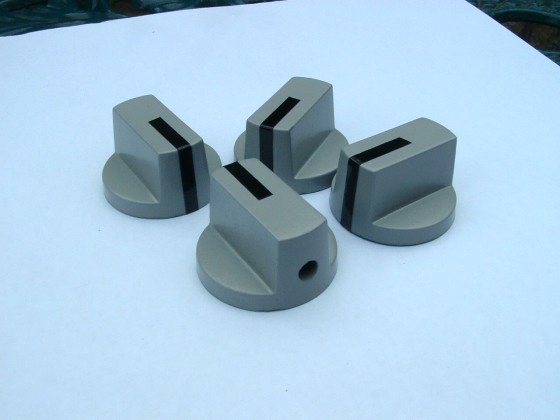
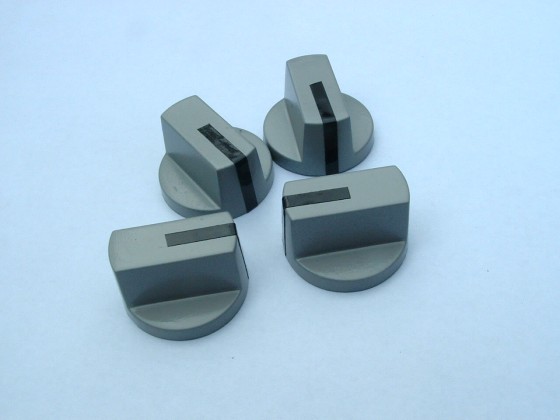
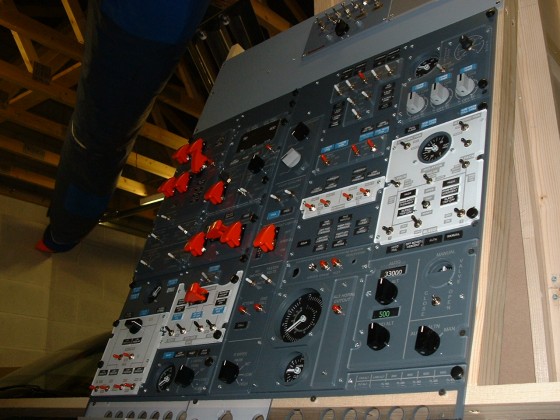
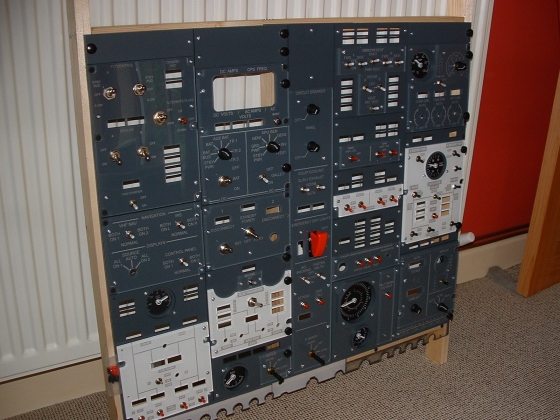
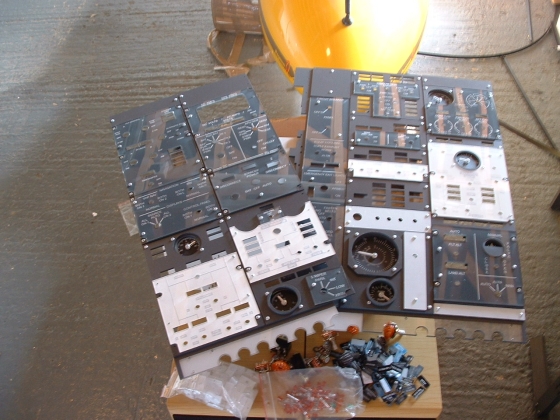
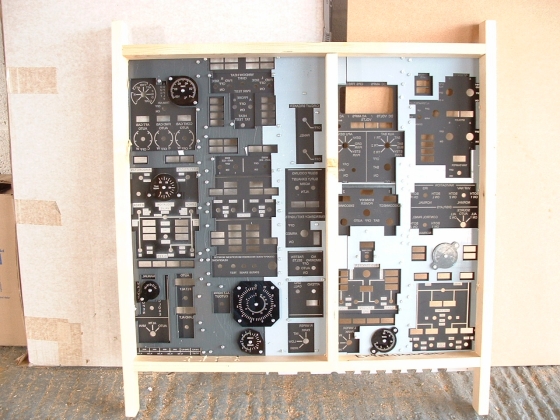
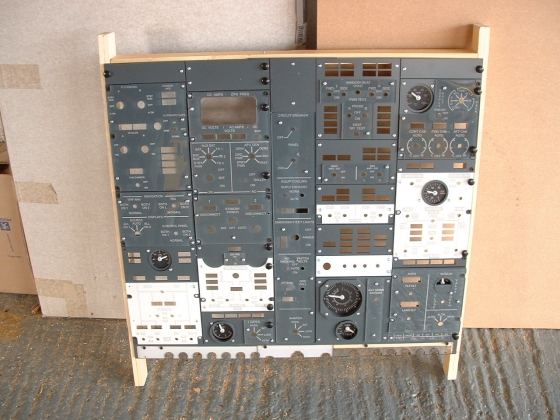
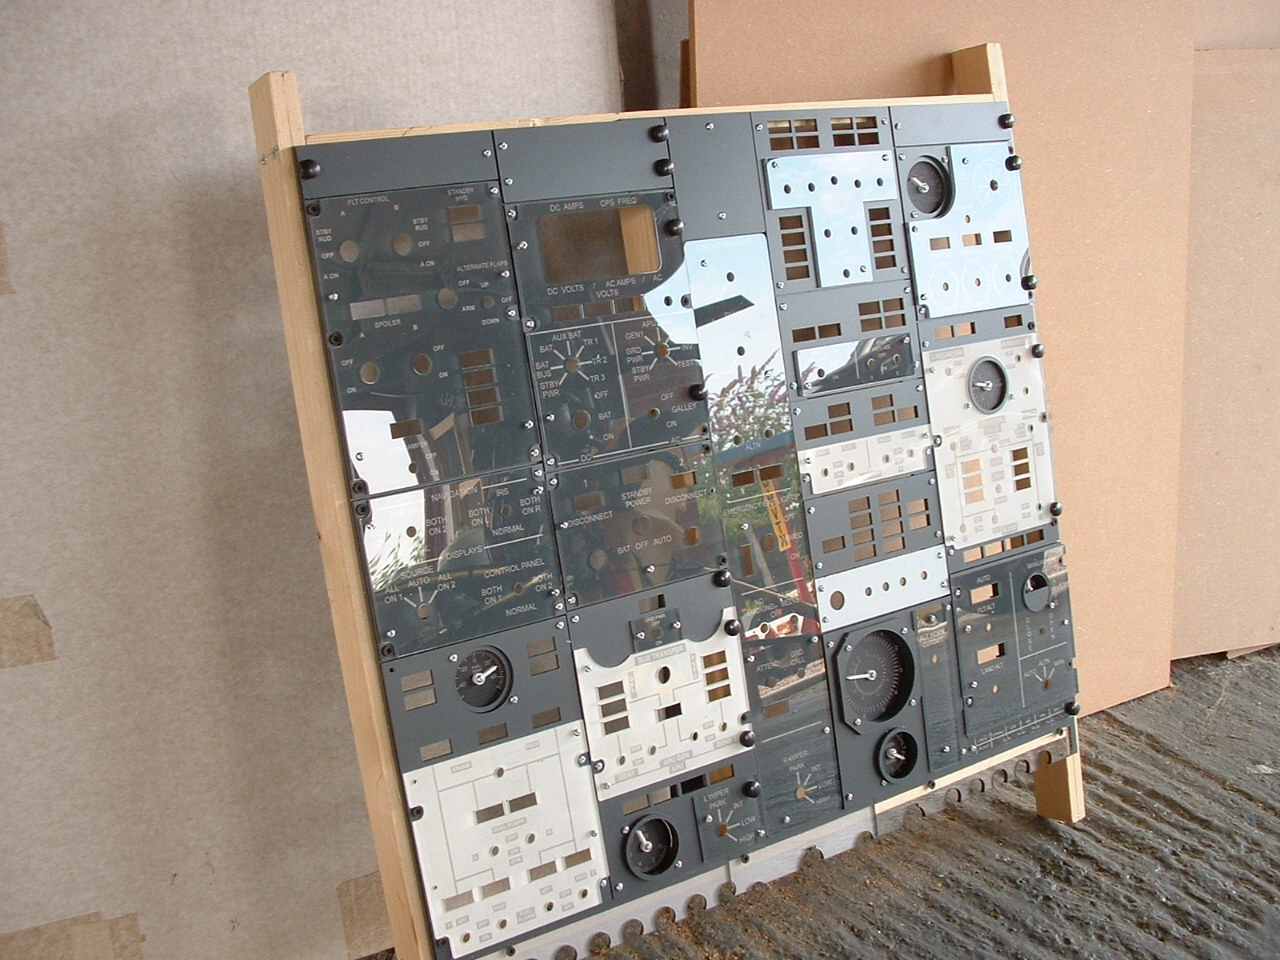
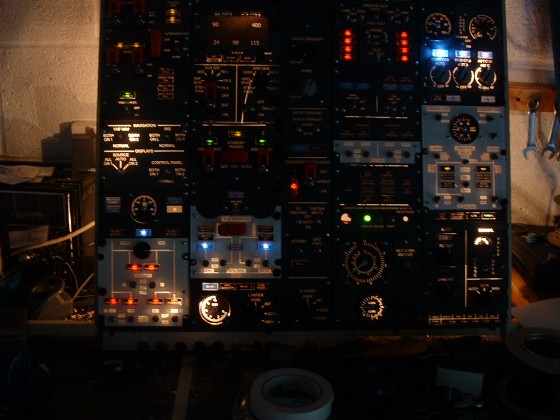
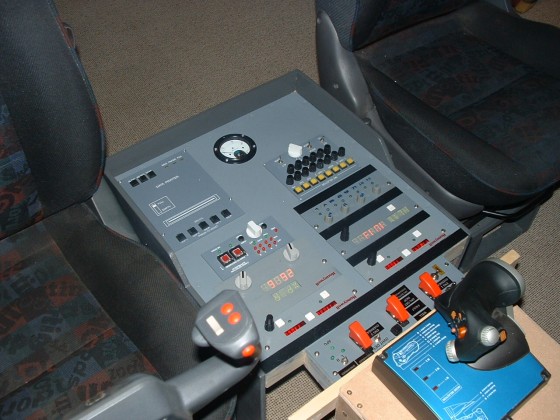
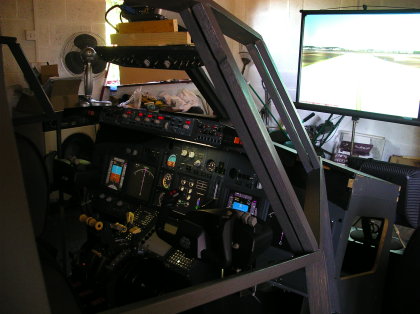
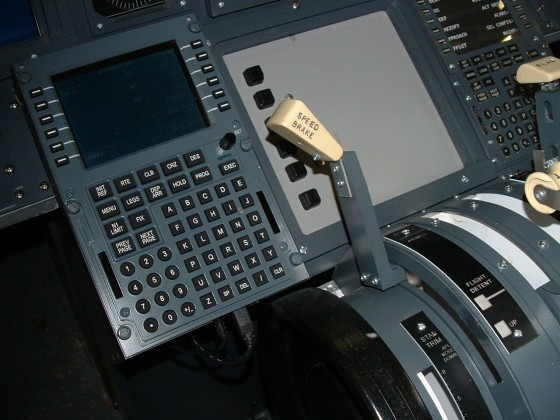
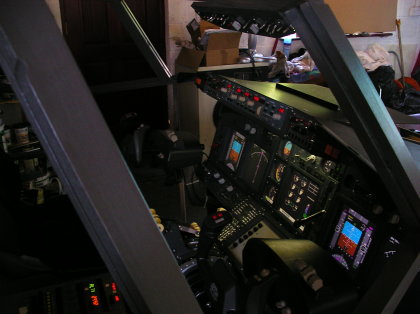
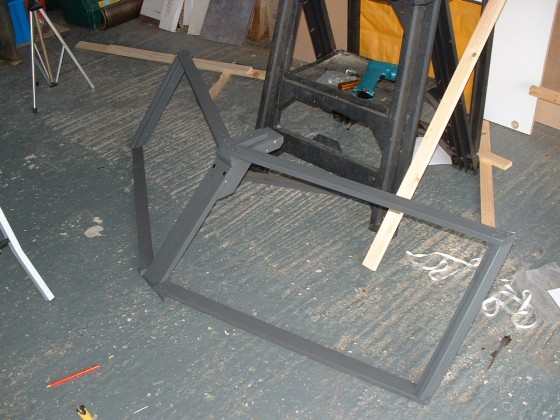
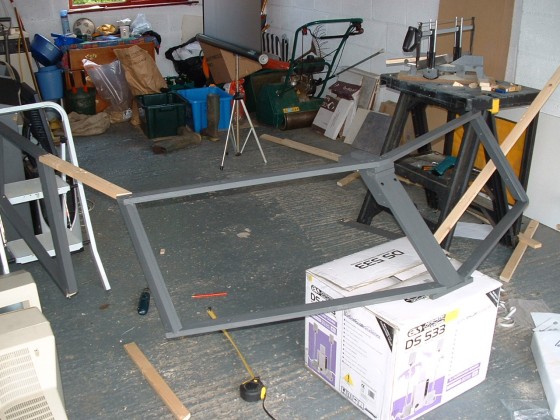
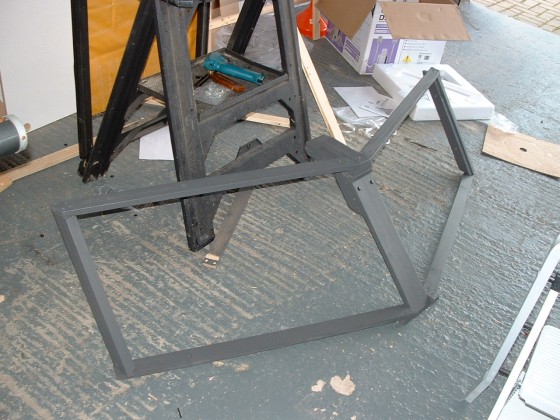
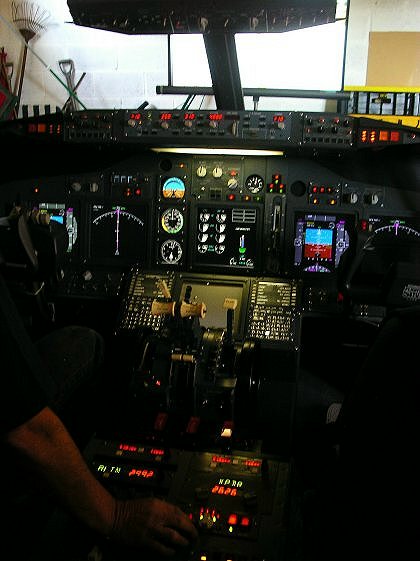
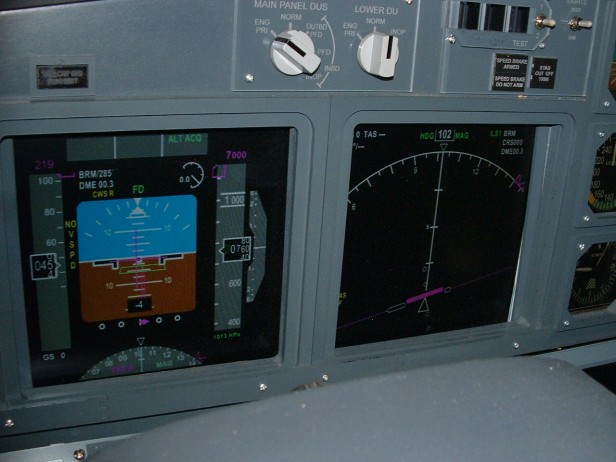
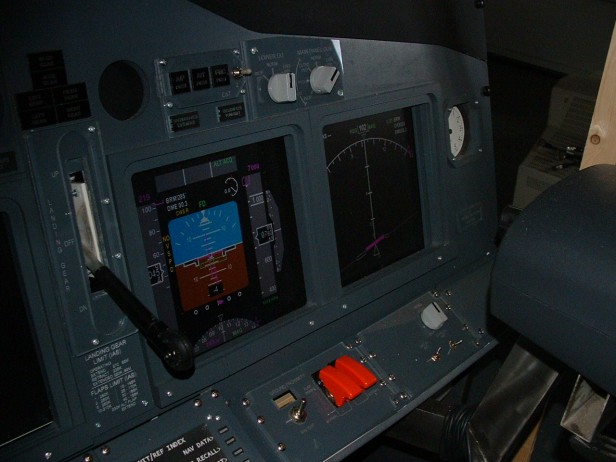
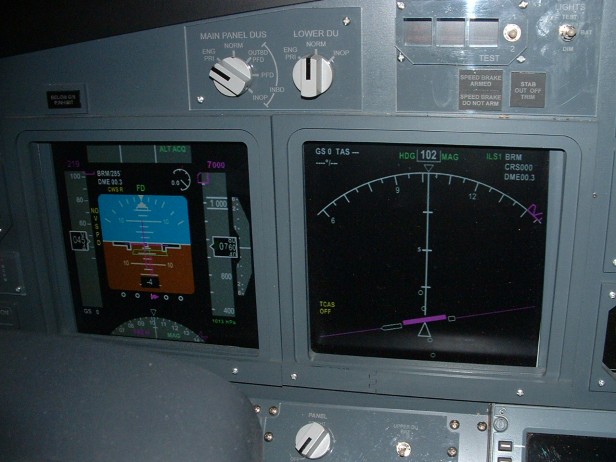
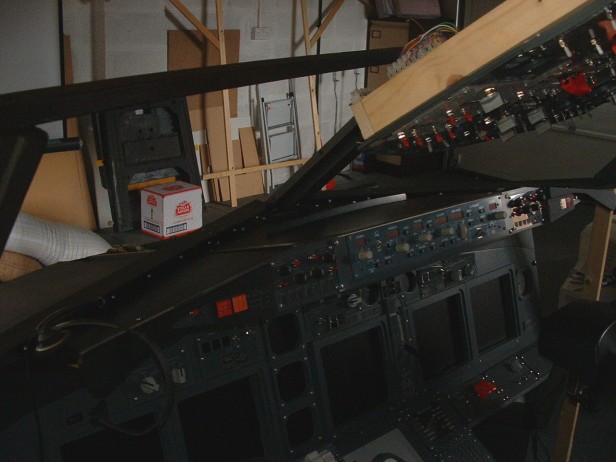
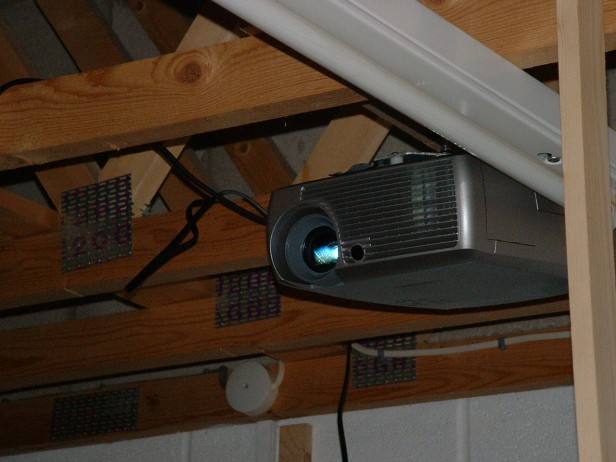
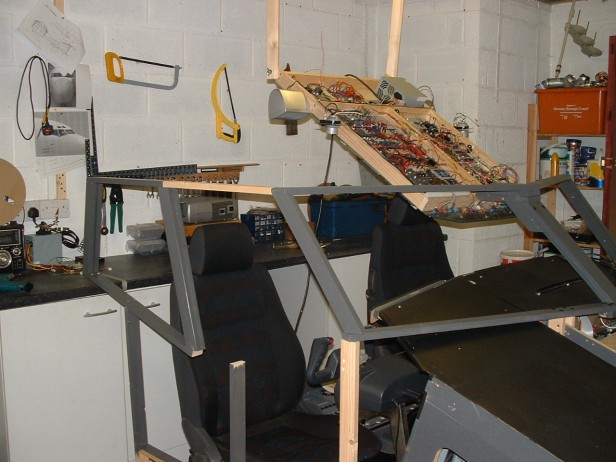
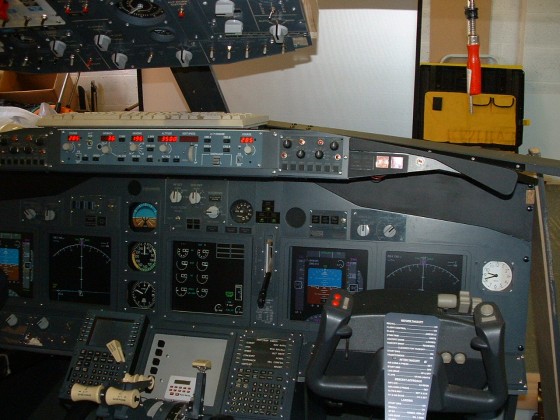
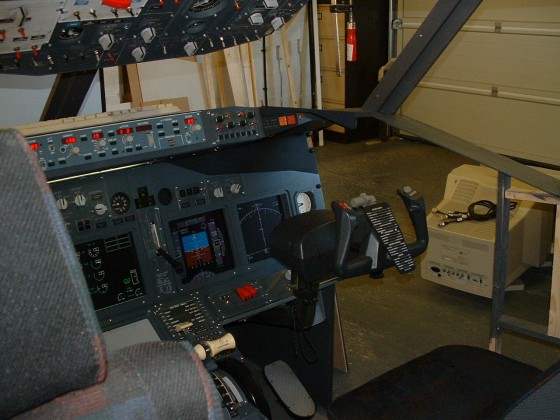
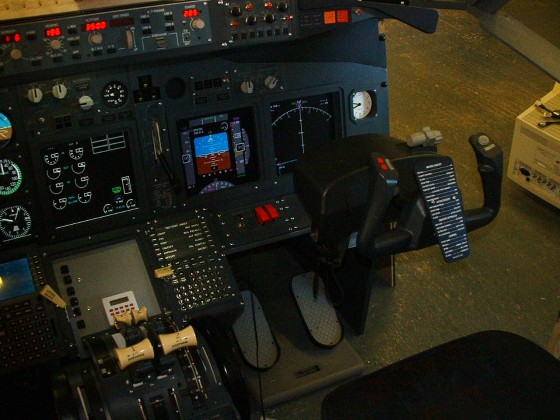
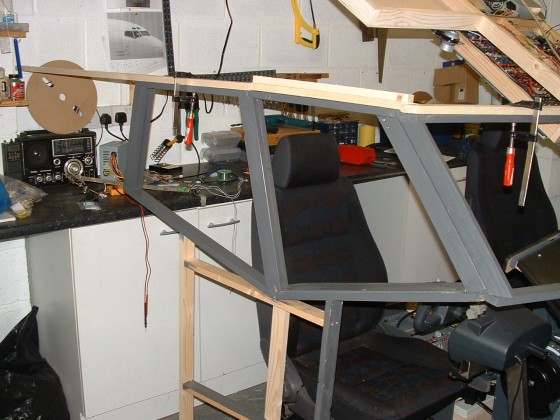
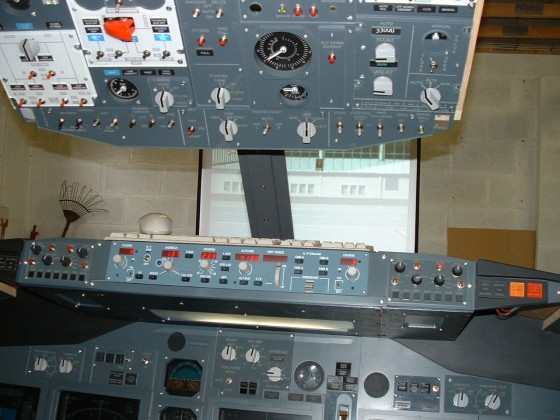
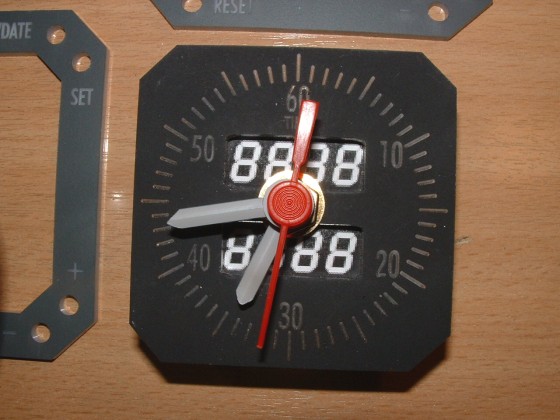
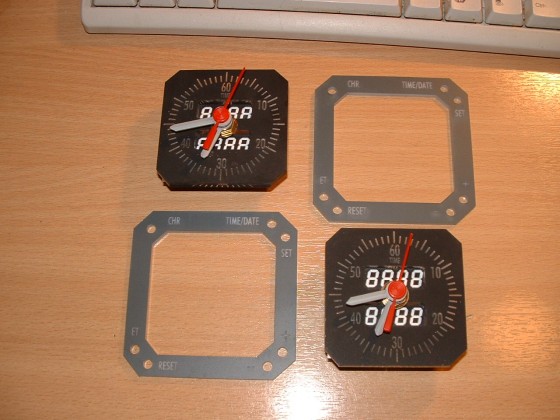
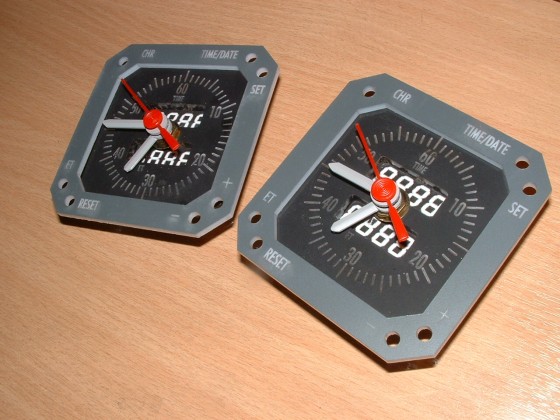
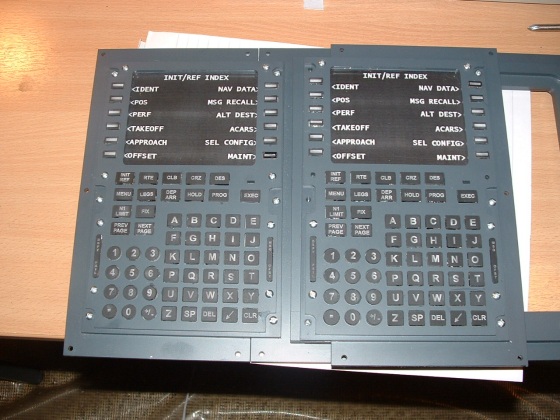
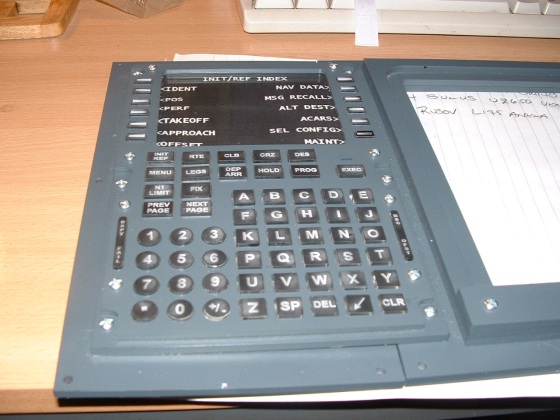
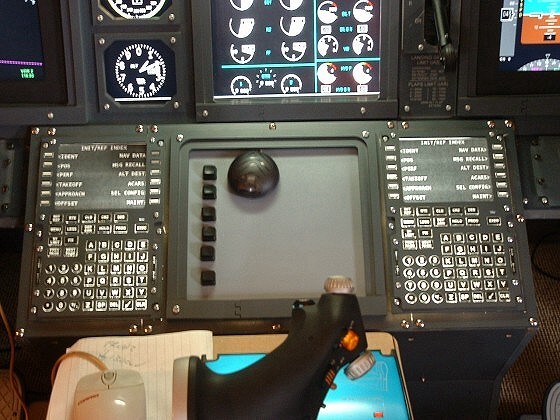
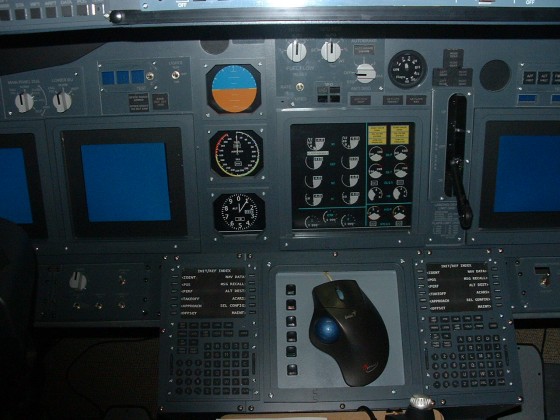
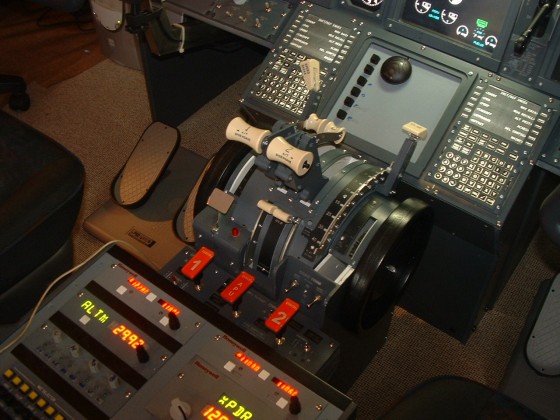
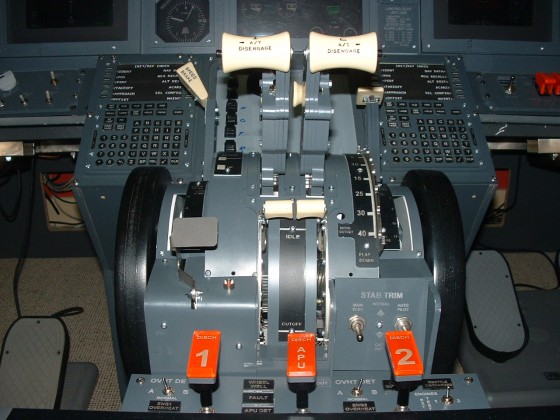
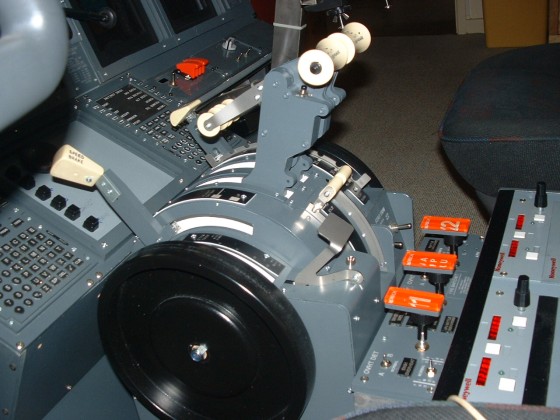
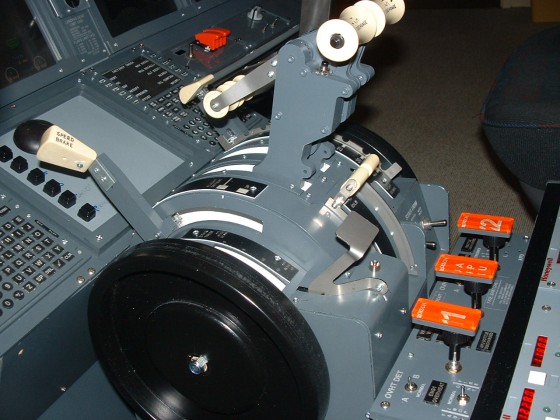
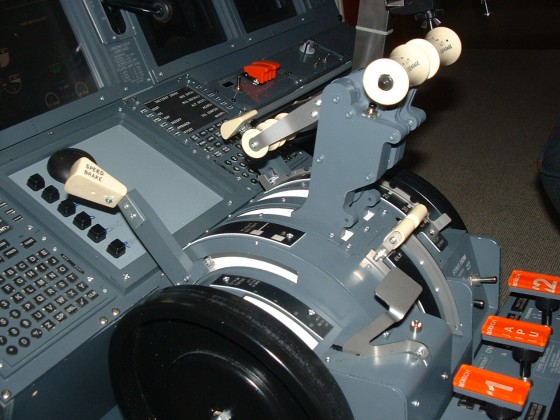
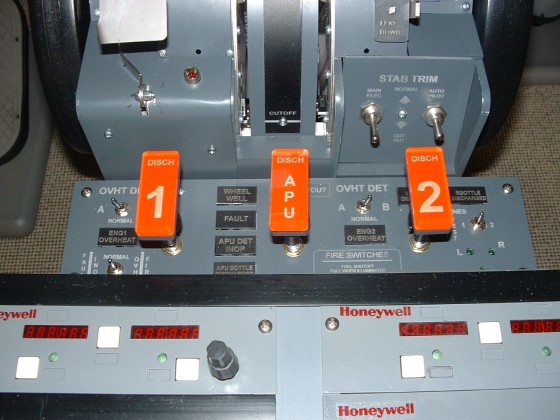
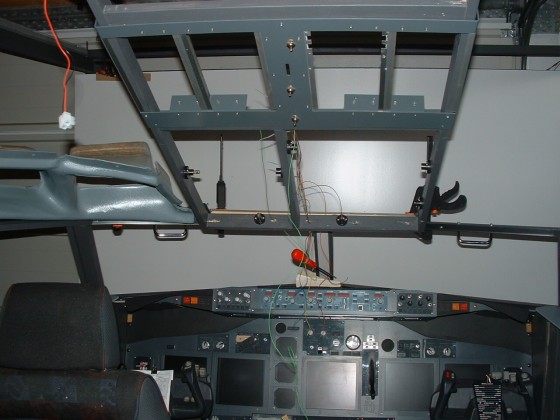
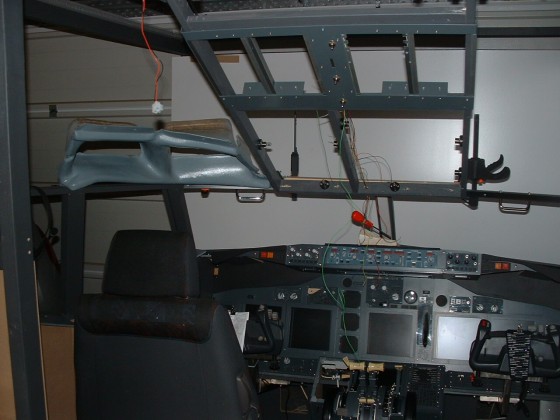
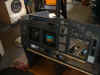
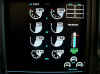
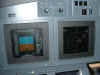
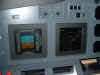
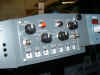
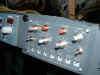
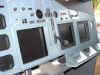
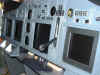
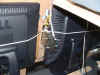
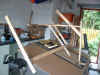
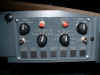
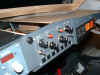
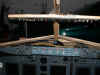
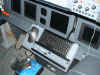
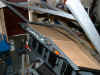
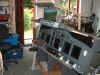
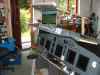
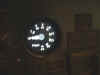
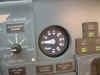
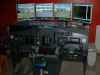
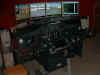
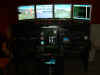
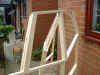
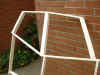
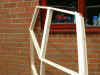
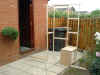
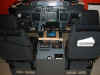
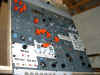
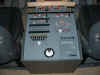
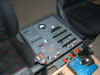
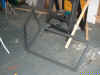
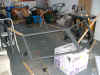
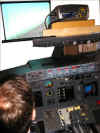
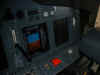
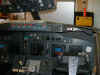
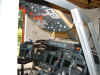
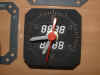
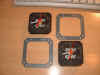
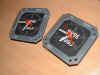
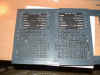
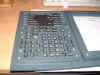
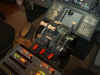
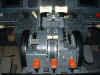
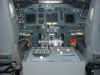
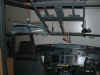
got to start somewhere. Here's a pictorial record of how my project
evolved. Simply click on a thumbnail for a better view.
Purely intended as a reminder of what I did on my journey.
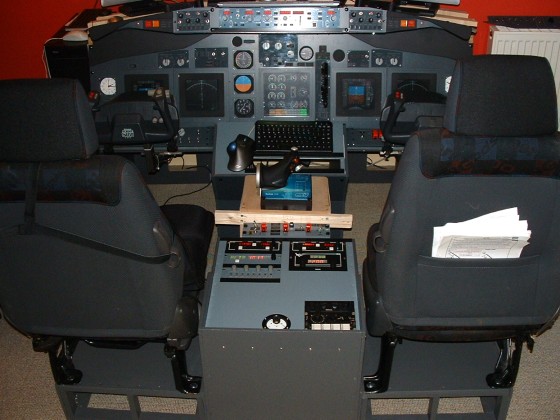
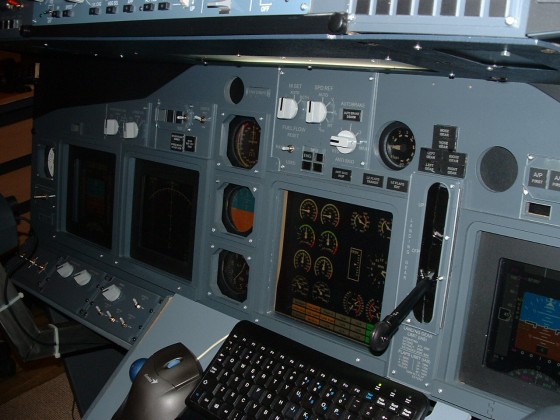
Although painful sometimes (did I really do that), it reminds me of
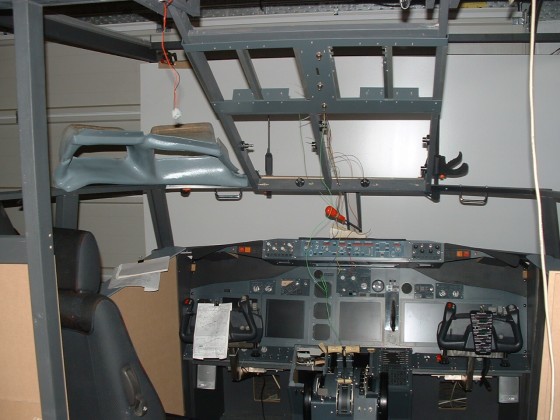
all the fun, frustrations and pleasure I've had building the Boeing
737NG. And it serves as a reminder of how far I've
actually got. Please feel free to
use any ideas you see. Although not every photo is here,
it still represents a good record :o))


Timeline
August to December 2005


Timeline
January to December 2006  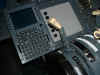 


|