|
 Over
140,000 distinct visits were achieved for year 01/09/09 to
31/08/2010. Thanks Captains. Over
140,000 distinct visits were achieved for year 01/09/09 to
31/08/2010. Thanks Captains.
 I
am getting so many e-mails regarding how it all went
together and particularly how i use the PMDG 737, I decided to put
together a page to assist other PMDG 'drivers'. This is general, but I
will expand when time permits........ Click
Here. I
am getting so many e-mails regarding how it all went
together and particularly how i use the PMDG 737, I decided to put
together a page to assist other PMDG 'drivers'. This is general, but I
will expand when time permits........ Click
Here.
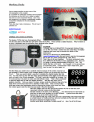
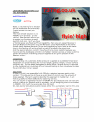
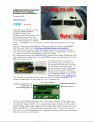
 Lot
of People Complaining that they have to buy the Flightsim Labs Driver
now to use the CPFlight MCP with the PMDG. Here's the ZIP files
containing the Programming needed to use it without said driver. 
 AEROSOFT
AES ++ Added 01/09/2008 AEROSOFT
AES ++ Added 01/09/2008
Airport
Enhancement Services
 One
of the best and most realistic ADD ON's I've seen in
years. Adds traffic and interactive events to your 'At The
Gate' experience. Check it out at
www.aerosoft.com or for more
screenshots and info go HERE
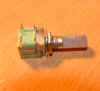
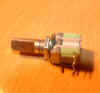
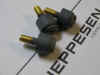
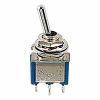
 Long
Paddle Switches for the Overhead are available from LUCHTVAART
Hobby Shop. Or MOUSER in Fort
Worth TX Long
Paddle Switches for the Overhead are available from LUCHTVAART
Hobby Shop. Or MOUSER in Fort
Worth TX
MOUSER PART NO's are
108-0027-EVX (SPST OFF/ON)
108-0028-EVX (SPST (ON)OFF(ON) )
108-0029-EVX (DPDT ON/OFF)
108-0031-EVX (DPDT ON/OFF/ON).
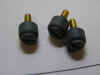
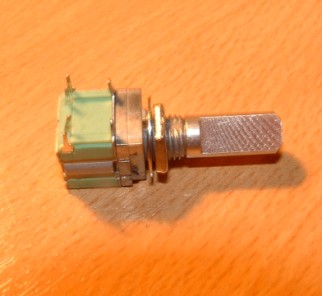
Now here's a great thing. It's a
pulse switch
which only contacts in the direction of rotation.
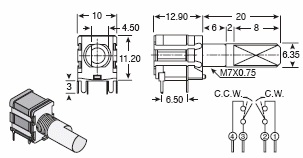
So now there is a solution to the 'Encoder' Problem. You can send
either two repeated Keystrokes or repeat two seperate Joystick
button Inputs. I haven't found these in the UK yet, but they are
available from MOUSER .
Here's the Data
Sheet. Connect it to Leo's BU0836
Joystick Controller card and you get Repeated Joystick Button Presses
based on the direction you turn the switch. Opens up all kinds
of possibilities doesn't it. 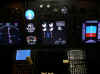
If you don't want to spend a fortune on Project Magenta (and who
does), you can
easily re-write your panel file to display PFD & ND and then
configure your EICAS using the excellent FsXpand Program from
Gert Heijnis
*** NOW WITH PANEL SWITCHING ***

EICAS Panel Courtesy of FsXpand
includes the Boeing Standby Instruments and Flaps Gauge
"How To Use FSXpand to switch EICAS
Screens"
I have been asked a few times how I
went about getting the Panel Switching Operational.
Click HERE for the .pdf
file
and for Information on
"Using Remote Joysticks with FSXpand and
FSClient"
click HERE


What
do you bung in the Chronometer Windows on the MIP, well working
clocks of course :o) See the MIP Page for how
to do it
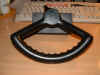
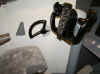
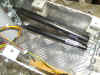
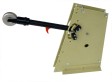
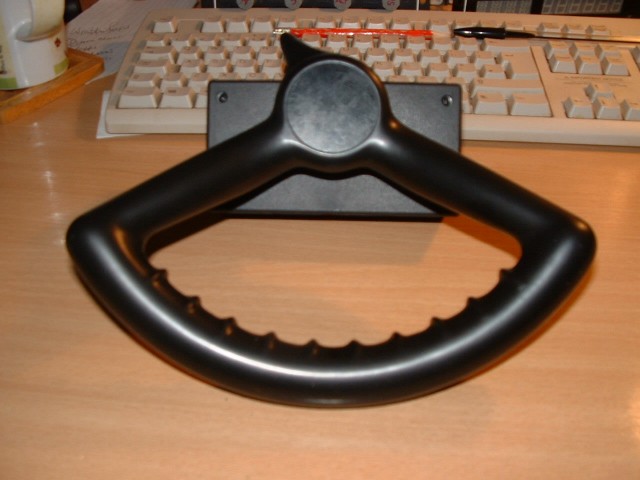
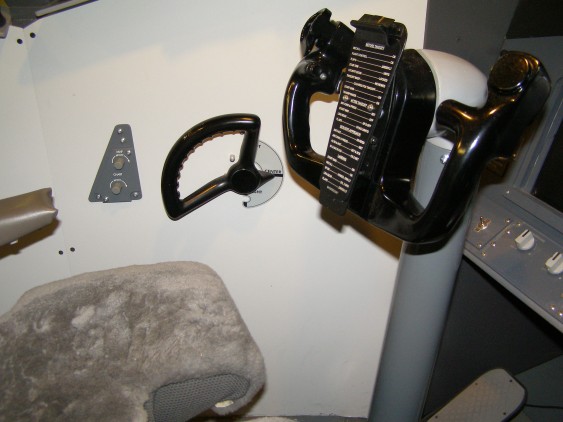
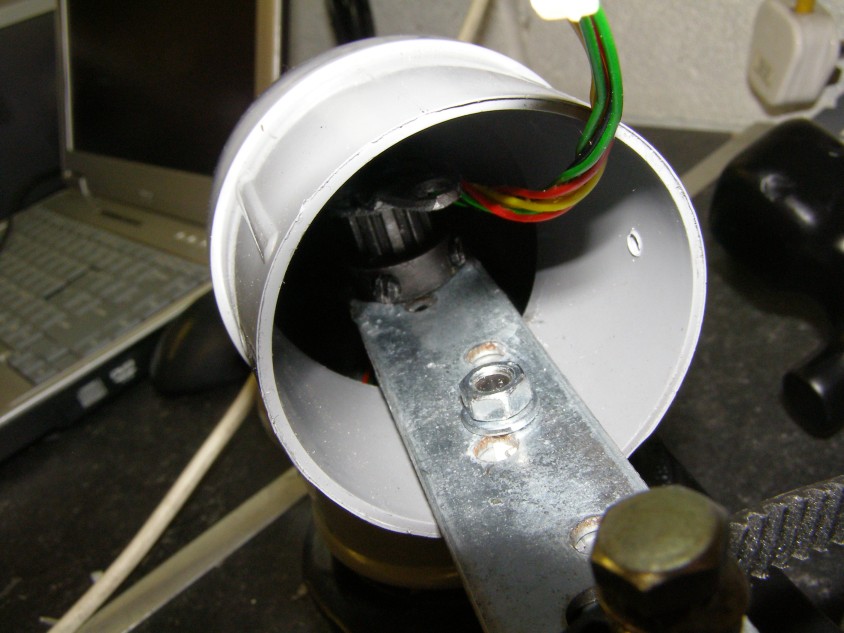
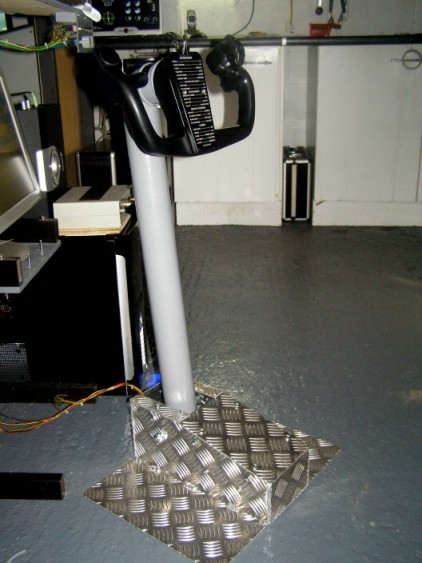
Both Steering Tiller's came from ROUTECH in Romania


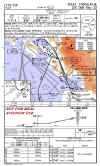 
This has got to be the BEST solution for your Worldwide
Charts. Upto date, excellent quality and affordable. 20 Euros
buys you 300 credits, thats a full charts package for 150
airports. Works out at 13 cents apiece. And they have now joined
forces with Richard Stefans Navdata Service which will mean your
charts and your FMC Navigation data will both be synchronised.
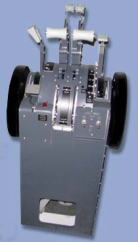
Well
I 'Bit The Bullet' and went out and bought the SYMULATORY Throttle
Quadrant. Sadly it arrived damaged, but with some mailing
backwards and forwards Jakub and I have resolved the problem and I'm
just amazed at the level of realism it adds to the Pit.
Not cheap, but a 'must have' for serious builders.
See the TQ Page HERE **
How A TQ Works and How To Connect It To FS2004 HERE
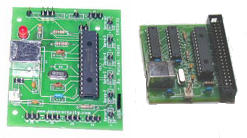
Two interface cards from
Opencockpits in Spain. The USB Keys and the USB Axes. There's more information
on the OpenCockpits Page.
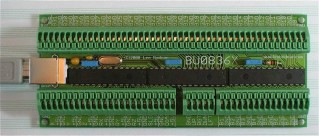
Here's the BEST USB Joystick Emulator I use, BU0836
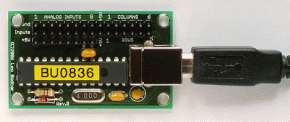
 from
Leo Bodnar. Gives you 8 analogue axis inputs and 32
buttons, check it at LEO's
Website
where you can also find the connection diagram. Now also available in
12 bit resolution for even better accuracy on the axes. from
Leo Bodnar. Gives you 8 analogue axis inputs and 32
buttons, check it at LEO's
Website
where you can also find the connection diagram. Now also available in
12 bit resolution for even better accuracy on the axes.
And I'm
always being asked by our less experienced colleagues how i connect to
the card using a Matrix.
The pdf file on the left will tell you how to make the connections
easily.
** HOT
And there's more. Leo has just introduced the BU0836X
board. Much Simplified 'Push Fit' connections, so no need to be
soldering up Matrix Boards. Every input neatly labeled for easy
identification. BU0836X now supporting upto 16 encoder inputs from 1,2 & 4
pulse per detente encoders and translating them into joystick button
presses. He tells me it 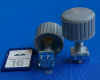 should be on his website week beginning 31st
March. see www.leobodnar.com should be on his website week beginning 31st
March. see www.leobodnar.com
I'm using these encoders from Sure
Electronics on ebay with the BU0836X board. They are cheap
and work a treat (set the switch pair 1:4 in Leo's config
utility). also incorporated push 2 make switch.
DZUS Fateners Come From Phil At SIMVIONICS
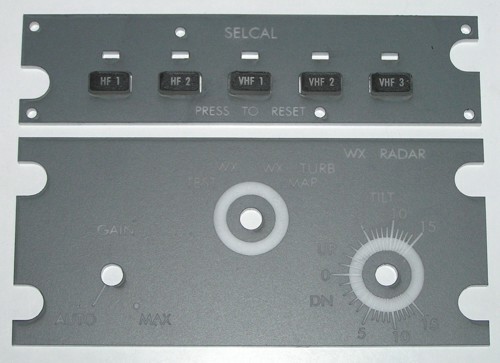
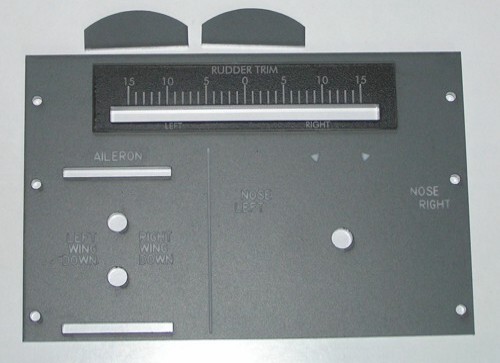
Looking
for a Single Lightplate or Switch Panel. Here's a bunch of guys who
know where it's at. I just ordered the Weather Radar Panel, The
Stabalizer/Cabin Door Panel and the Rudder Trim Panel. Talk to Manolo
at HISPAPANELS.
Real Nice Guy who replies by return and is very helpful.
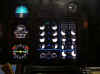
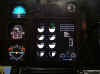
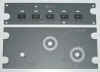
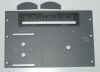
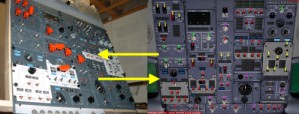
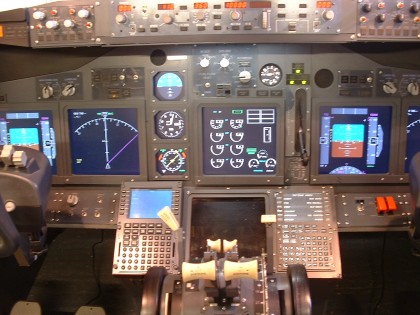
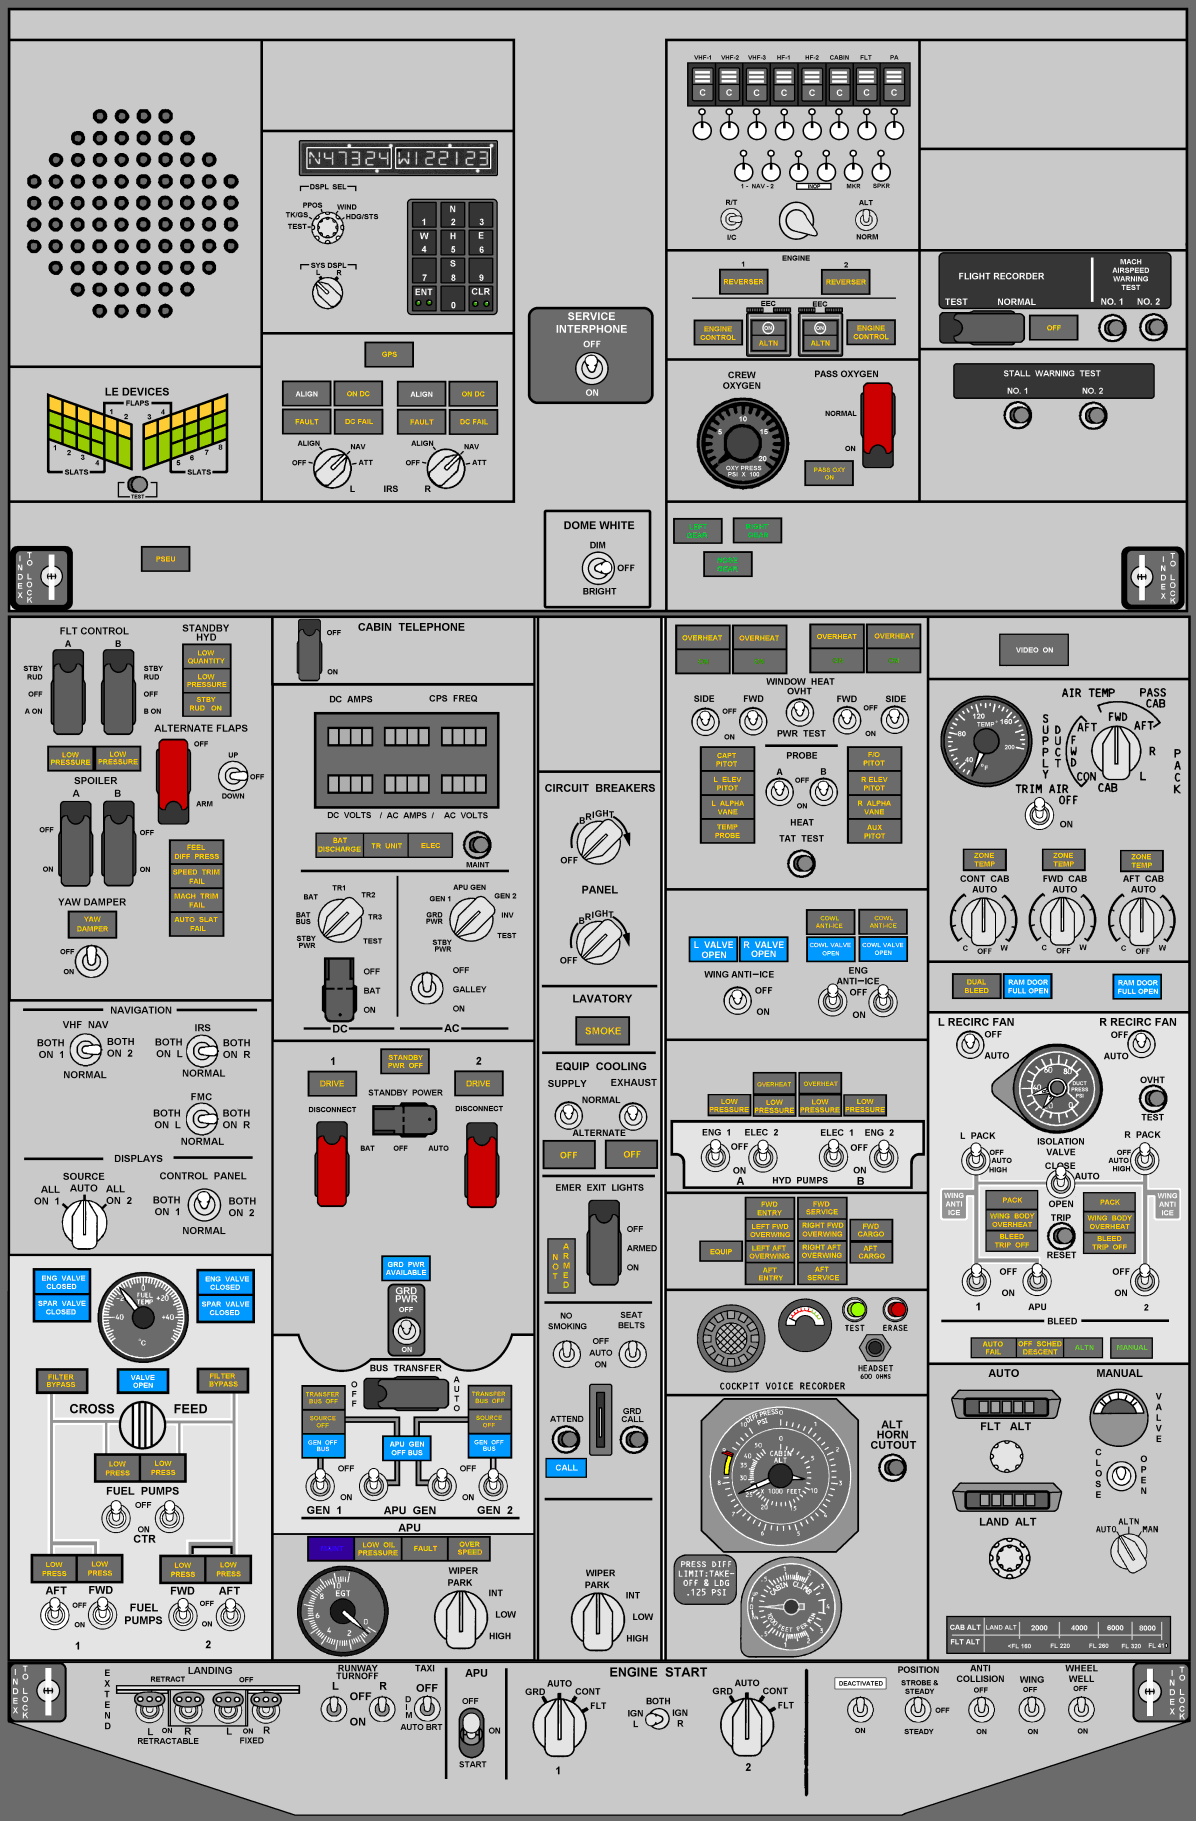
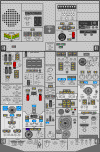 So
where do you start with the overhead panel. There are so many systems
and indicators that it can be a real problem getting them all sorted
out. Ok well a great place to start is here. Just click on
the 737NG overhead panel image to help you get all the right
indicators in all the right places. So
where do you start with the overhead panel. There are so many systems
and indicators that it can be a real problem getting them all sorted
out. Ok well a great place to start is here. Just click on
the 737NG overhead panel image to help you get all the right
indicators in all the right places.
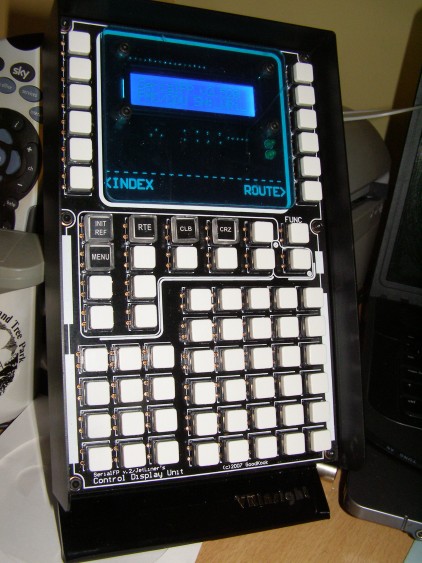
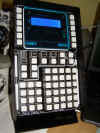 VRInsight
CDU We are led to
believe by the manufacturer and the Retailer that this unit is
compatible with the PMDG. It's a f*****g nightmare from start
to finish. The manual i got was inaccurate, lacked so much detail
and i spent best part of a day sorting out the .ini files just to get
it to do something. Then your problems start! It only sort of
works with the PMDG. Some keys work with the KBD function on and
some when it is off. Some keys work both with the KBD function on and
off and have different actions based on the state of the KBD input
function. So you find yourself constantly turning the KBD
function on and off with the mouse (now do i need the KBD function On
or OFF to press this key?). From experience, give
this one a miss and don't waste your money.
All it's really good for with the PMDG is for sending keys in as a
keyboard emulator. I'm told it actually communicates direct with
the LevelD767. 2 questions here, why don't PMDG release their
SDK or better still why don't LevelD develop a 737NG ! Then we'd all
be happy. VRInsight
CDU We are led to
believe by the manufacturer and the Retailer that this unit is
compatible with the PMDG. It's a f*****g nightmare from start
to finish. The manual i got was inaccurate, lacked so much detail
and i spent best part of a day sorting out the .ini files just to get
it to do something. Then your problems start! It only sort of
works with the PMDG. Some keys work with the KBD function on and
some when it is off. Some keys work both with the KBD function on and
off and have different actions based on the state of the KBD input
function. So you find yourself constantly turning the KBD
function on and off with the mouse (now do i need the KBD function On
or OFF to press this key?). From experience, give
this one a miss and don't waste your money.
All it's really good for with the PMDG is for sending keys in as a
keyboard emulator. I'm told it actually communicates direct with
the LevelD767. 2 questions here, why don't PMDG release their
SDK or better still why don't LevelD develop a 737NG ! Then we'd all
be happy.
 MCDU.com
seems to have gone AWOL. So, if anybody's looking for a copy of
the FSCoPilot utility installation Program, i've got it. MCDU.com
seems to have gone AWOL. So, if anybody's looking for a copy of
the FSCoPilot utility installation Program, i've got it.
Just click on the image to download this very useful
utility. I use it for auto Time Synchronisation.
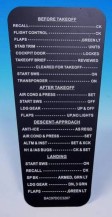 'Ere
have you seen these? 737NG Yokeboards/Checklists. Made by
Engravity and Available from the LUCHTVAART HOBBY SHOP in Amsterdam. 'Ere
have you seen these? 737NG Yokeboards/Checklists. Made by
Engravity and Available from the LUCHTVAART HOBBY SHOP in Amsterdam.
Take a closer look HERE
 Just
click on the image for a closer look at the Checklist Fitted to my
Yokes. Just
click on the image for a closer look at the Checklist Fitted to my
Yokes.
---------------------
POWERLINE WIRELESS
NETWORKING
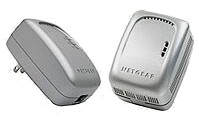
HIGHLY
RECOMMENDED. My Cockpit is hooked up to the internet over a
wireless connection and i was having problems with the connection
'dropping off' in bad weather conditions. So this was the perfect
solution, NETGEAR'S WGXB102 Extender kit. Hook one end into your
router and a wall power socket and take the other unit to the nearest
power socket to your Wireless network machines. SORTED !
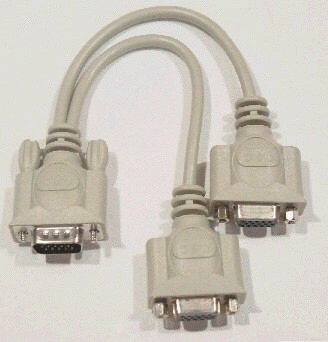
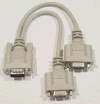 SVGA Monitor
Splitter takes One Output to 2 Monitors SVGA Monitor
Splitter takes One Output to 2 Monitors
 This
is FUNNY !! This
is FUNNY !!
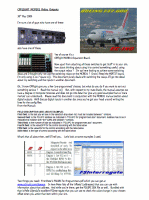
AIRLINE PILOT REVIEW
Four
Forces Act On an Aircraft - WEIGHT - LIFT-THRUST - DRAG
BUDGET - SKILL -
EXPECTATIONS - SPACE :o)
|

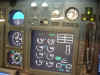
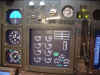
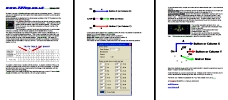
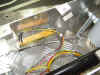
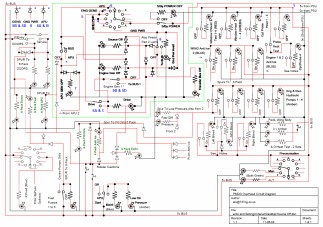
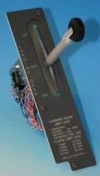
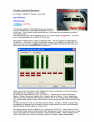
 CPFLIGHT
MCPEX1 Output Relays CPFLIGHT
MCPEX1 Output Relays
Several people have asked me about these relays because of
getting my Eng and Spar valve annunciators lit using them. Then,
Mark Deponeo came up with a brilliant idea to control the overhead
power supply automatically using output switching so I wrote the
lines for him for his DigitalOut.cfg file. This got me
thinking and a whole new field of thought evolved.
Here's how to get to grips with writing lines for your CPFlight
MCPEX1 configuration file and getting it to do what you want it to
do - neat :o))
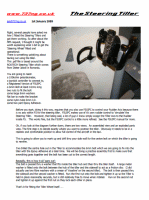
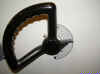
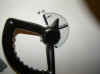
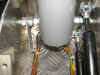
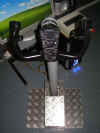
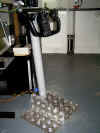
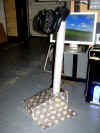
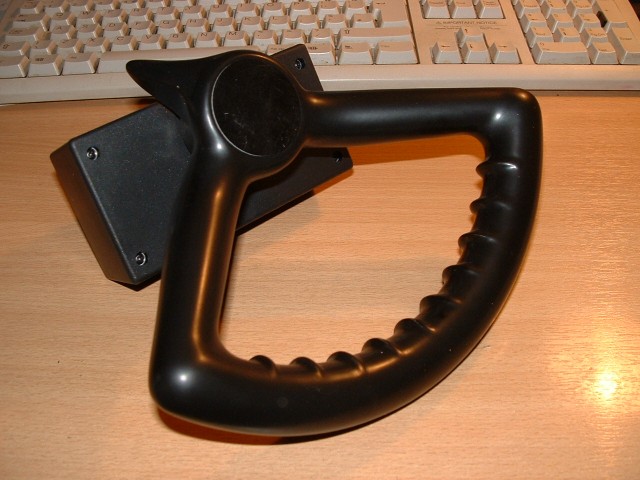
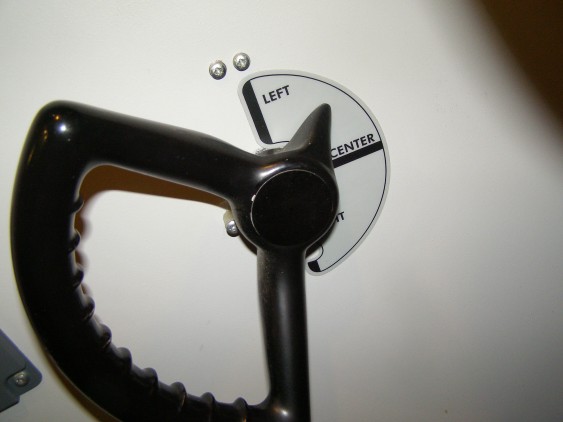
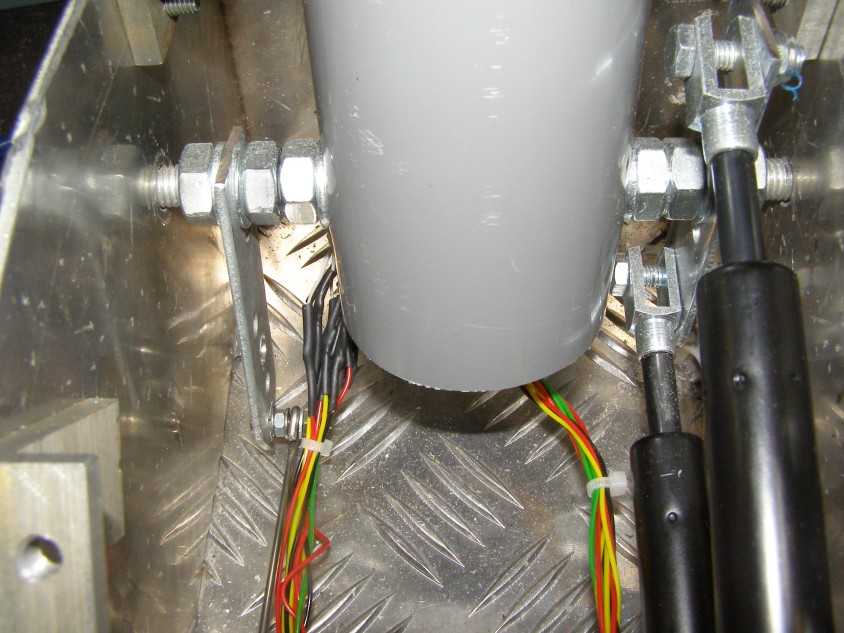
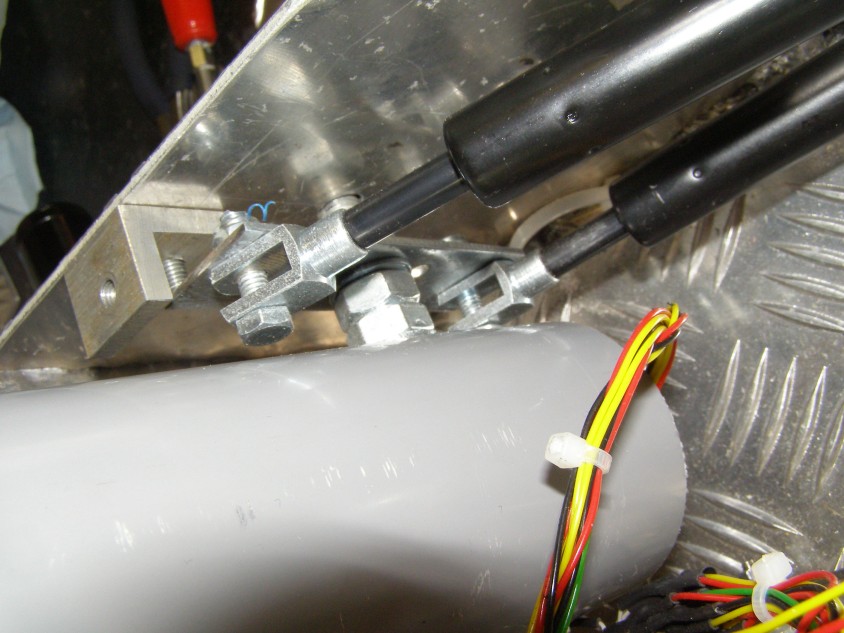
How
To get The Tiller Working
Here's a
.pdf file about how i got the Steering Tiller installed and working.
Very Satisfying :o))
SURROUND SOUND in your Sim
 Just by bringing different aspects of the Sound envelope and
effects at you from different directions makes a BIG difference.
Here's what I did to create a better environment which has added to
the realism factor. Just by bringing different aspects of the Sound envelope and
effects at you from different directions makes a BIG difference.
Here's what I did to create a better environment which has added to
the realism factor.
The .pdf file is HERE
The Full Scale diagram is HERE
++
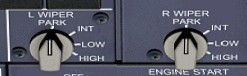
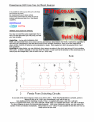
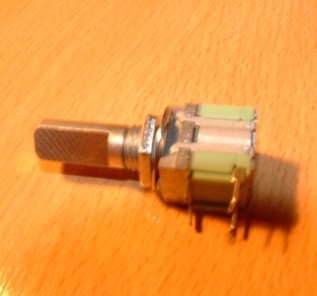
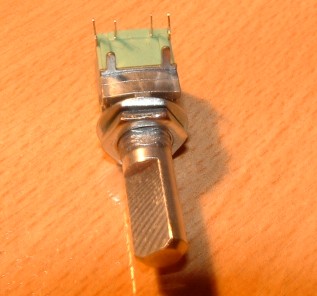
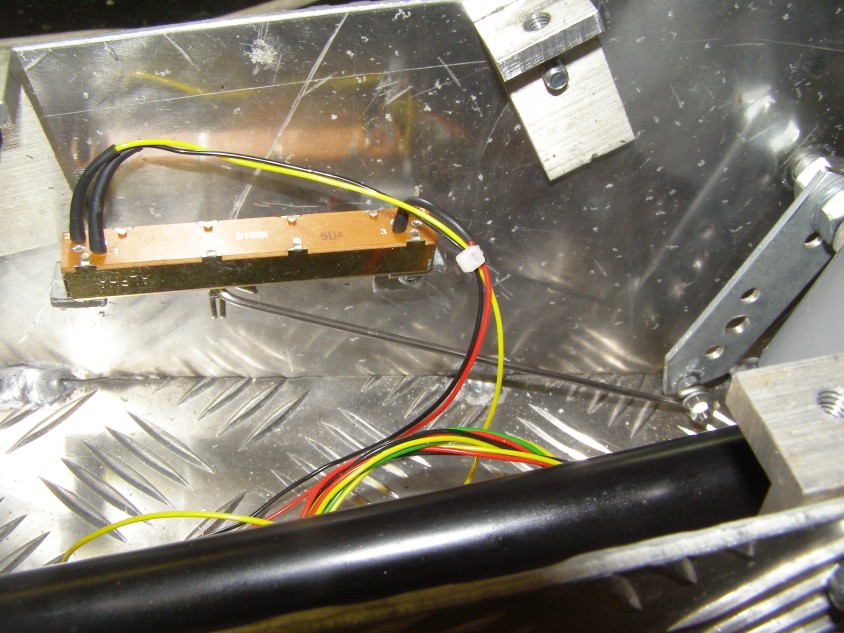
BUILD SIMPLE ENCODERS FROM ROTARY SWITCHES ++
You
can build simple encoders from rotary switches quite easily. 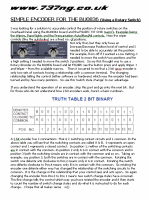 Click
on the document image on the left to see how it is done. This was how i got the
Wiper Controls working in the PMDG successfully. Can also be
applied to other rotary switch commands which require a 45 deg.
incremental/decremental/distinct
position level of control. Click
on the document image on the left to see how it is done. This was how i got the
Wiper Controls working in the PMDG successfully. Can also be
applied to other rotary switch commands which require a 45 deg.
incremental/decremental/distinct
position level of control.
Quote - Jorg
Hermann "I
am working with encoders as part of my job and it never occurred to
me to approach the problem with such a simple solution"
And
taking this idea further, here's how to control a 3 position
software switch using a hardware switch or 3 position Rotary.
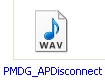 The
PMDG A/P Disconnect wave file only gives you two tones, when in fact
the new NG's emit 4 tones when disconnecting the A/P. I've done a
remake of an A/P Disconnect 4 tone file. Click on the image to
download it, save it and copy to your FS2004\Sound\PMDG\737tng
folder. The
PMDG A/P Disconnect wave file only gives you two tones, when in fact
the new NG's emit 4 tones when disconnecting the A/P. I've done a
remake of an A/P Disconnect 4 tone file. Click on the image to
download it, save it and copy to your FS2004\Sound\PMDG\737tng
folder.
 +
Build Your Own BOEING 737 YOKE +
Build Your Own BOEING 737 YOKE
I've been building a Boeing Style Yoke for a
friend and it's
 turned out better than expected. All i used
was an old CH Gameport Yoke, some Grey Rainpipe, 8mm threaded rod
and some flat bar. I have to admit we spent money on 2
Gas Struts and some Aluminium Checker Plate for the Base, but
finished cost was £70 about 110 euro's all in (except the
Control Wheel). We even have the Buttons and POV
working. Then i got an engineer to make me the
proper base which added another £90 (125 euro), but the finished
item is amazing. Take a look at the build document.
turned out better than expected. All i used
was an old CH Gameport Yoke, some Grey Rainpipe, 8mm threaded rod
and some flat bar. I have to admit we spent money on 2
Gas Struts and some Aluminium Checker Plate for the Base, but
finished cost was £70 about 110 euro's all in (except the
Control Wheel). We even have the Buttons and POV
working. Then i got an engineer to make me the
proper base which added another £90 (125 euro), but the finished
item is amazing. Take a look at the build document.


+ Added
2nd Dec 2008 +
I've now
perfected this idea. We have now constructed the Mk3 Yoke and
i'm absolutely delighted with the results. See the Yoke Document
above.
 ++ADDED
20th Sept 2008++
The Glassfibre ++ADDED
20th Sept 2008++
The Glassfibre 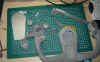 Yokes are OK, but they are not 'substantial'. so for
Mk3 i found these from SAID in
Holland. Price at date of writing is 168
euro's.
Solid moulded Yoke with 3 switches and wiring. Captain & F/O
yoke available. Yokes are OK, but they are not 'substantial'. so for
Mk3 i found these from SAID in
Holland. Price at date of writing is 168
euro's.
Solid moulded Yoke with 3 switches and wiring. Captain & F/O
yoke available.
 +
BUILD YOUR EFIS Units for The PMDG 737NG.... +
BUILD YOUR EFIS Units for The PMDG 737NG....
Leo
has now added encoder input with the
BU0836. I have the utility to 'flash' the card so it can work
with encoders. You can download the utility here.
But please remember only
cards built after December 2007 have this capability.
So we went ahead and built an EFIS unit for the PMDG with the BU0836.
Take a look at the .pdf document on the left to see how it was done.
++
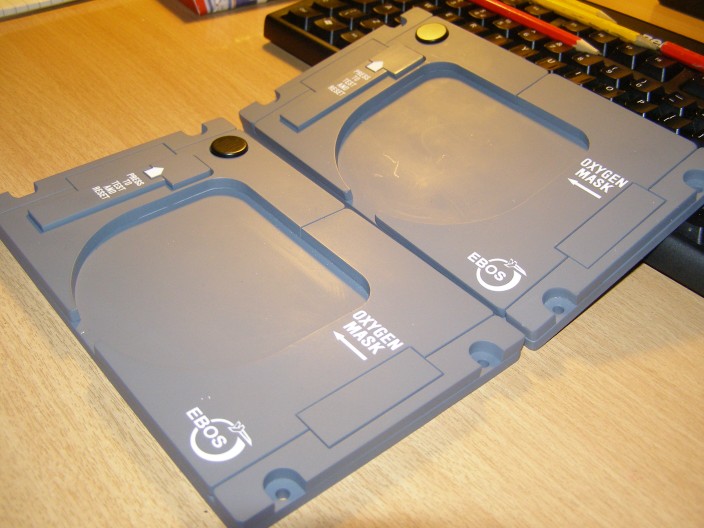
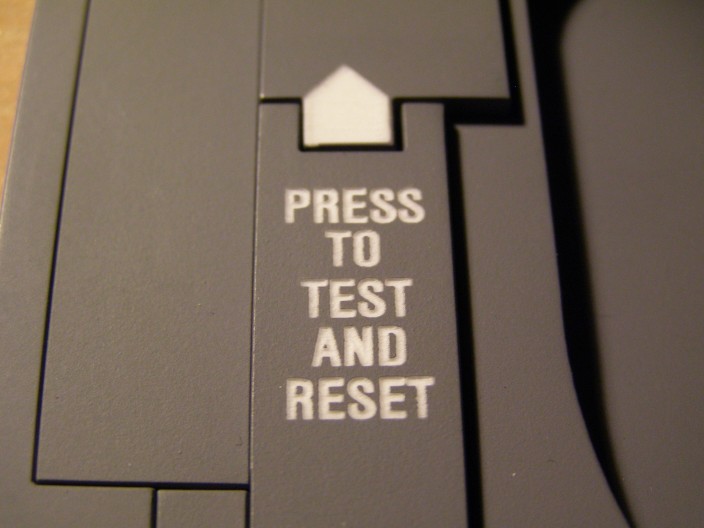
737NG Crew Oxygen Panels ++
Crew
Oxygen Panels came from Joe Cygan at
Innovative
Flight Simulator Products in Texas.


|
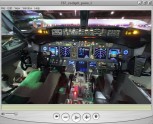
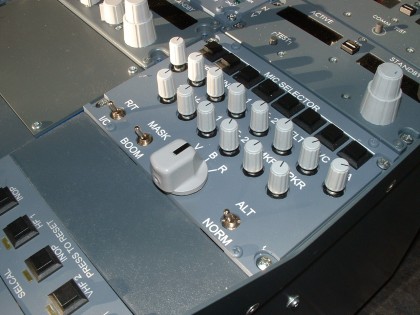
OK How do you get your HARDWARE Overhead Panel
Operating the PMDG Overhead Panel? Not as difficult as you think. See
the OVERHEAD PAGE for More
Information.
Now we are controlling the Overhead Panel, it's time to get down to
sorting out the Power Distribution and correct lighting of the
Annunciators. It's a big Project and Info is available as I go along
on the OVERHEAD page.
The PROVISIONAL WIRING 'How To Do It' .pdf
file is now up on the OVERHEAD
page.
*** Annex1 added to Document 12/08/06 ***
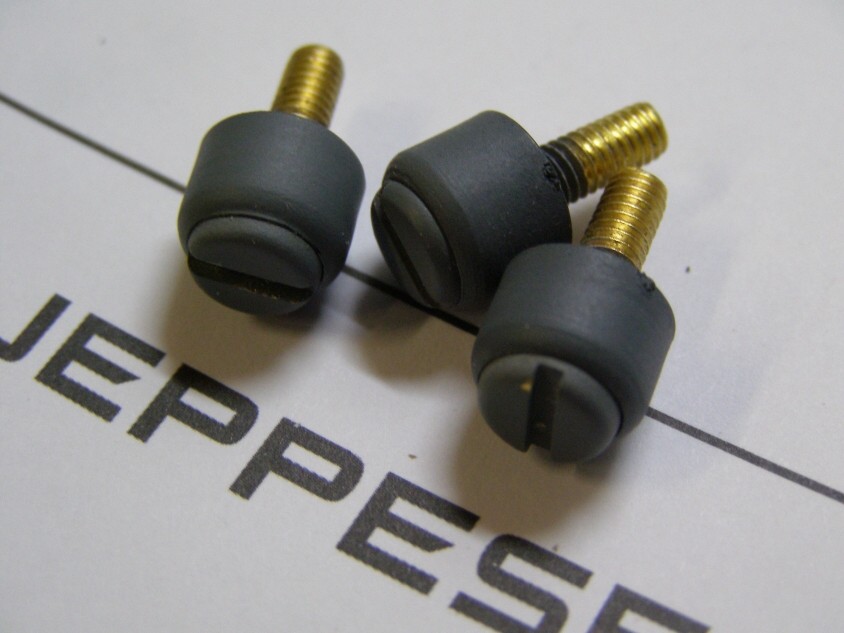
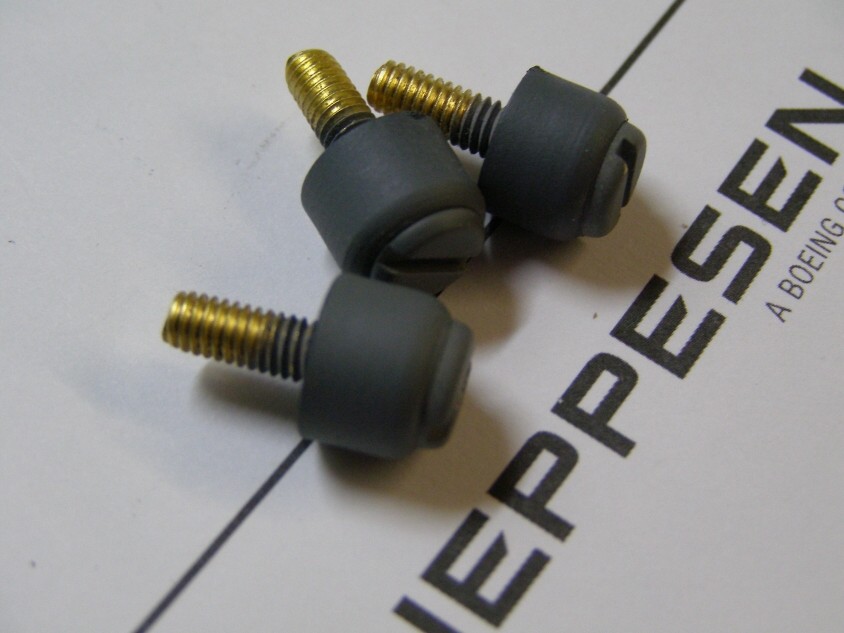
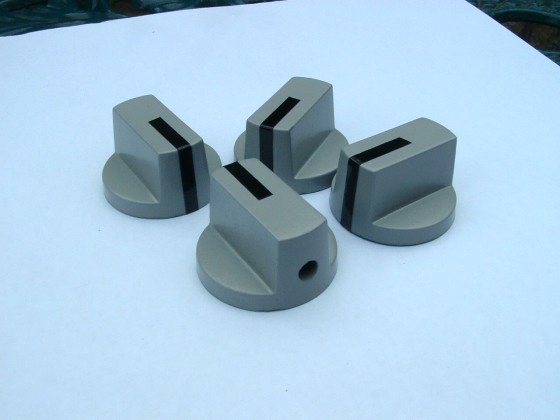
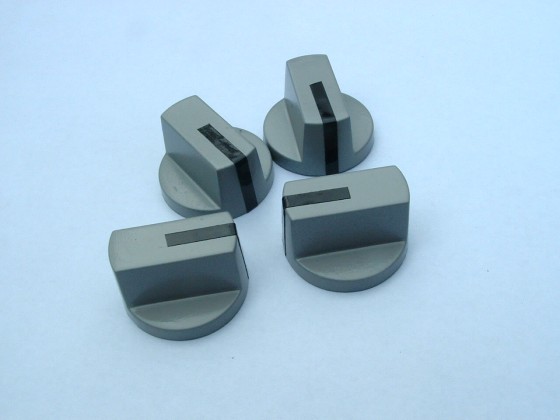
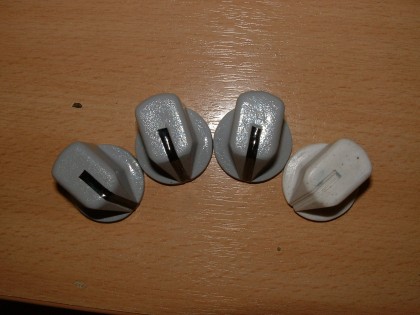
Some company's charge as much as 7€ apiece for
cockpit knobs - WOW that's almost £5 each ! And you need 11 for the
MIP and another 18 for the Overhead Panel a total of 29 x 7 = 203€
(about £140 or $240) for knobs - NO WAY.....Simple solution make them
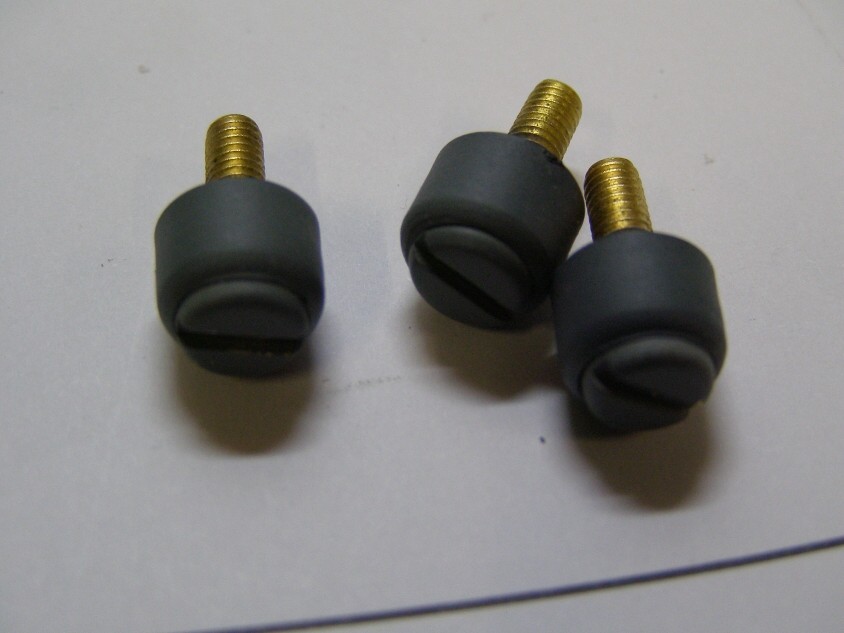
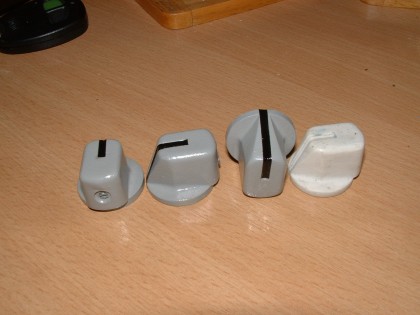
yourself for less than 2€. Click HERE to find out how.
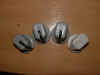
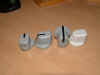
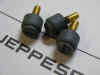
Or as you progress, here are the Boeing Knobs from ROUTECH
in Romania. Lovely people, Deiter Jakob has a great sense of
humour - ask him about his dog :o)
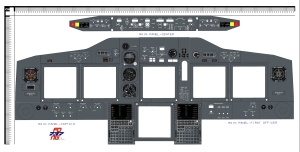
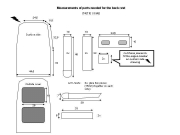
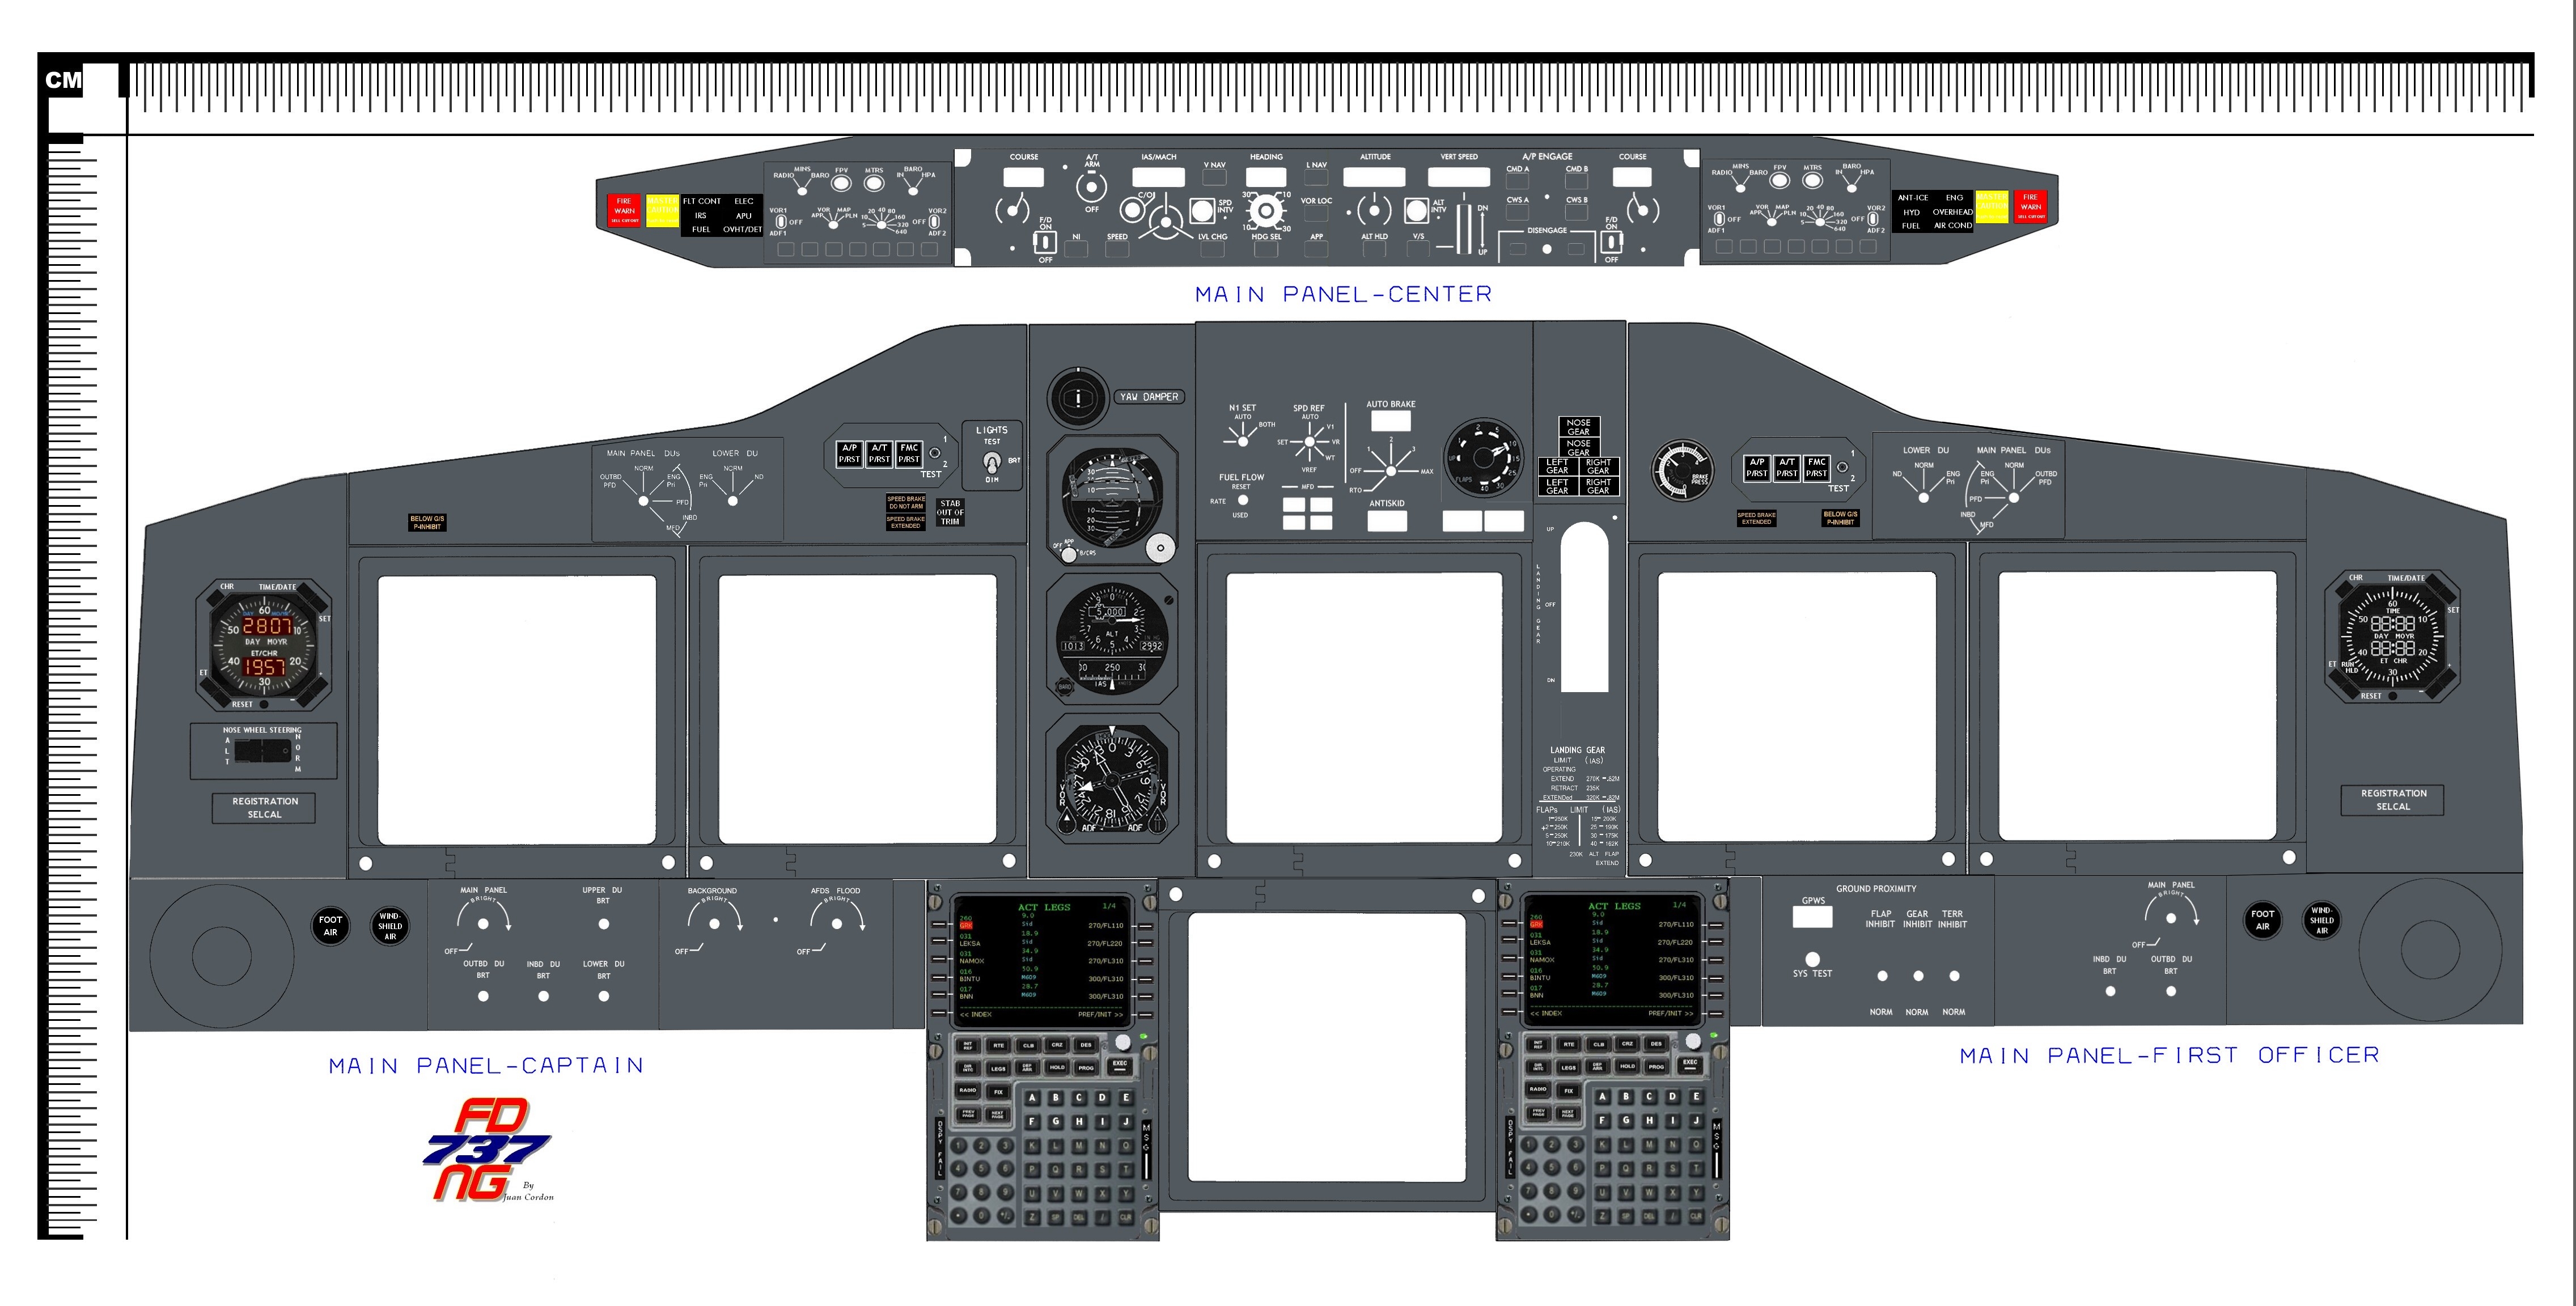
737NG MIP Dimensions (Click on Image)
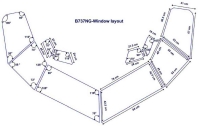
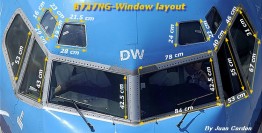
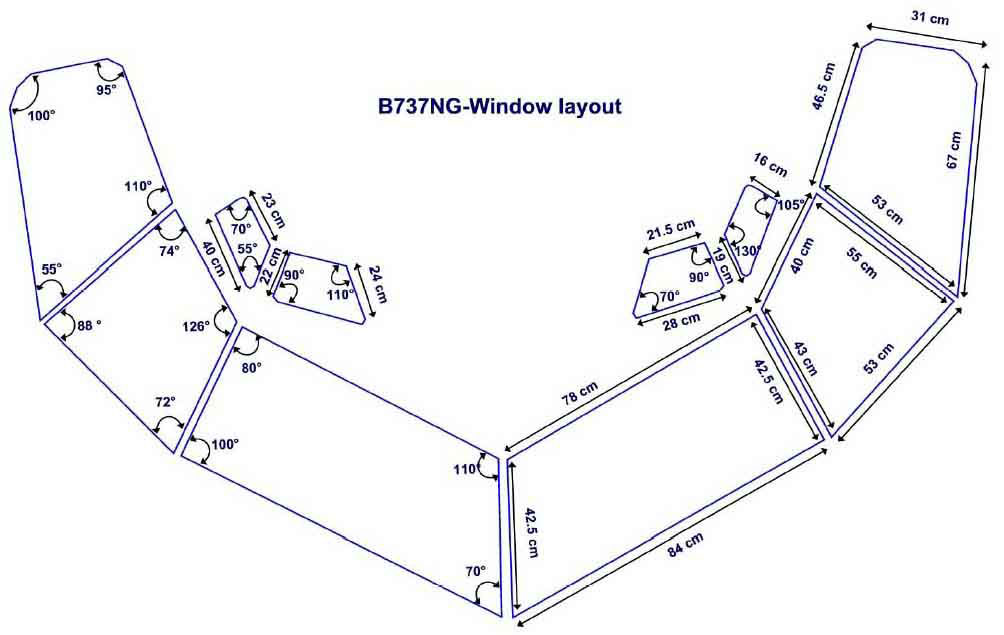
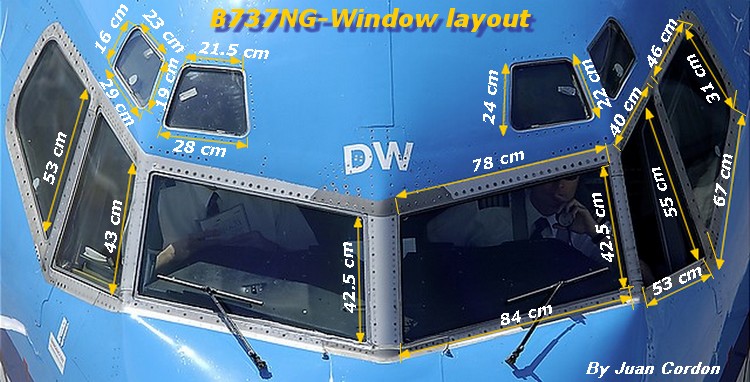
Cockpit Window Layout Drawing which arrived in my
e-mail ... Thanks
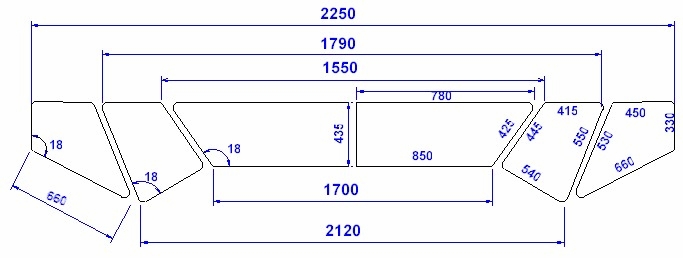
And Here's Another One I Found
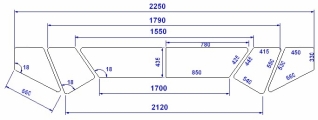
Juan Cordon Had the Best One
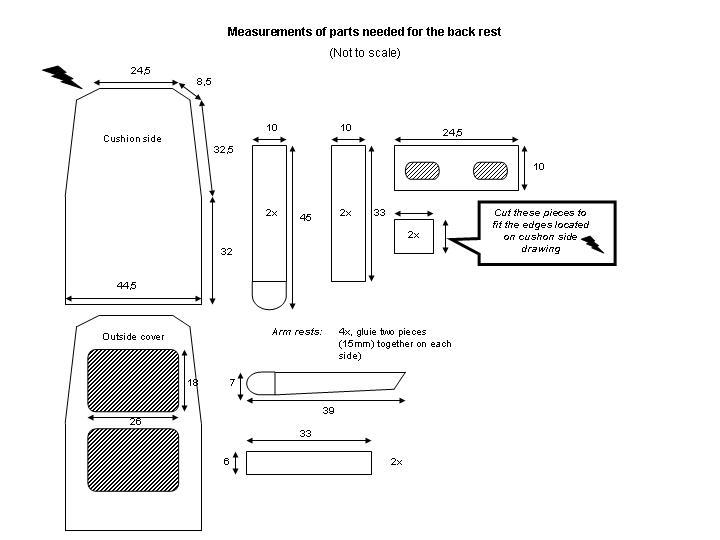
There's an amazing Tutorial on Building Seats
HERE
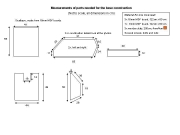 
by Daniel Friede...Here's the
Dimensions
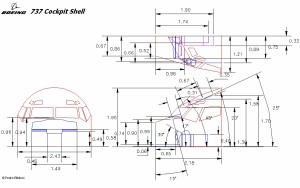
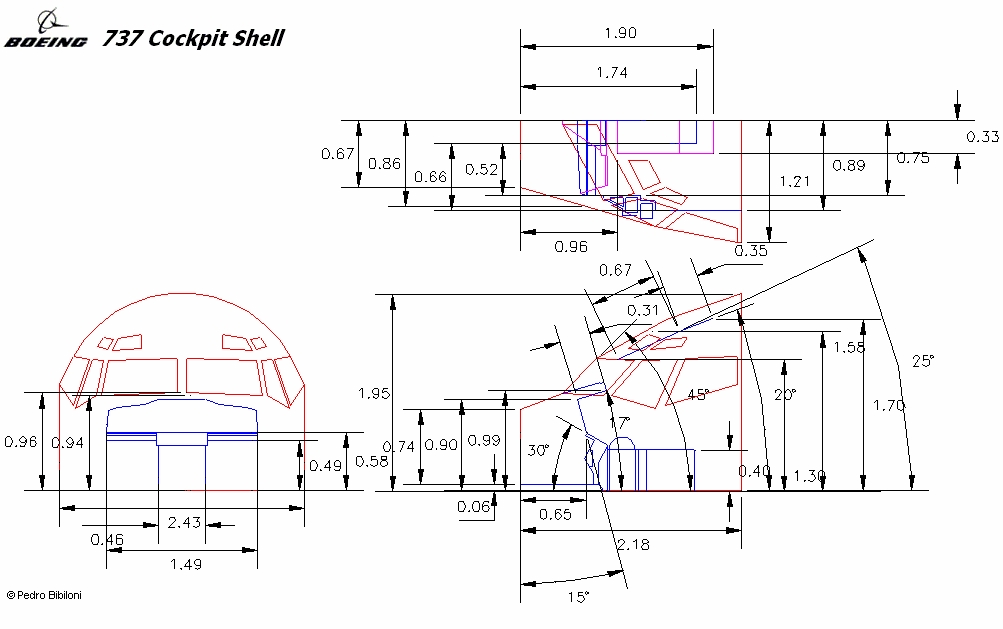
Here's a 737NG Cockpit Dimension Drawing. Thanks to
PEDRO BIBLIONI for this one.
An Adobe pdf file of Cabin
Dimension Notes is HERE
 And
HERE you can find all the
information and dimensions you need for the rear cabin wall and
observer seat, along with the rear avionics and systems bay. Oh
and dont forget the Coat Stowage :o) And
HERE you can find all the
information and dimensions you need for the rear cabin wall and
observer seat, along with the rear avionics and systems bay. Oh
and dont forget the Coat Stowage :o)
ALL IN ONE PACKAGE HERE
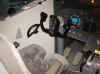
 I
have had a few enquiries about the Gear Lever. This is a
standard stock item at the LUCHTVAART HOBBY SHOP in Holland. I
have had a few enquiries about the Gear Lever. This is a
standard stock item at the LUCHTVAART HOBBY SHOP in Holland.
Price as of 21/01/06 is still at 85 euros, that's about GB£58
or US$102.
Comes complete with all wiring for instant connection,but does
not include the Facia Panel.
See it HERE
(10/07/06. possibly Luchvaart
have discontinued this lever in favour of the ENGRAVITY one)
 Also
Marcus Menzel at Lausitz
Aviation has developed a higher quality Gear Lever which is quite
impressive and substantially cheaper than FDS. See that HERE Also
Marcus Menzel at Lausitz
Aviation has developed a higher quality Gear Lever which is quite
impressive and substantially cheaper than FDS. See that HERE
Check
Out the 737 Sound Set at ARIANE  STUDIOS. I paticularly like the Wheel Noise effect on the
Landing/Take Off Roll and the wind noise on the Landing Gear,
really gets the IVIBE seats bouncing. Also using the sound
config utility, this sound set can be applied to any aircraft.
STUDIOS. I paticularly like the Wheel Noise effect on the
Landing/Take Off Roll and the wind noise on the Landing Gear,
really gets the IVIBE seats bouncing. Also using the sound
config utility, this sound set can be applied to any aircraft.
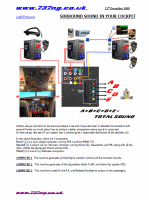
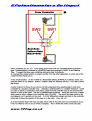
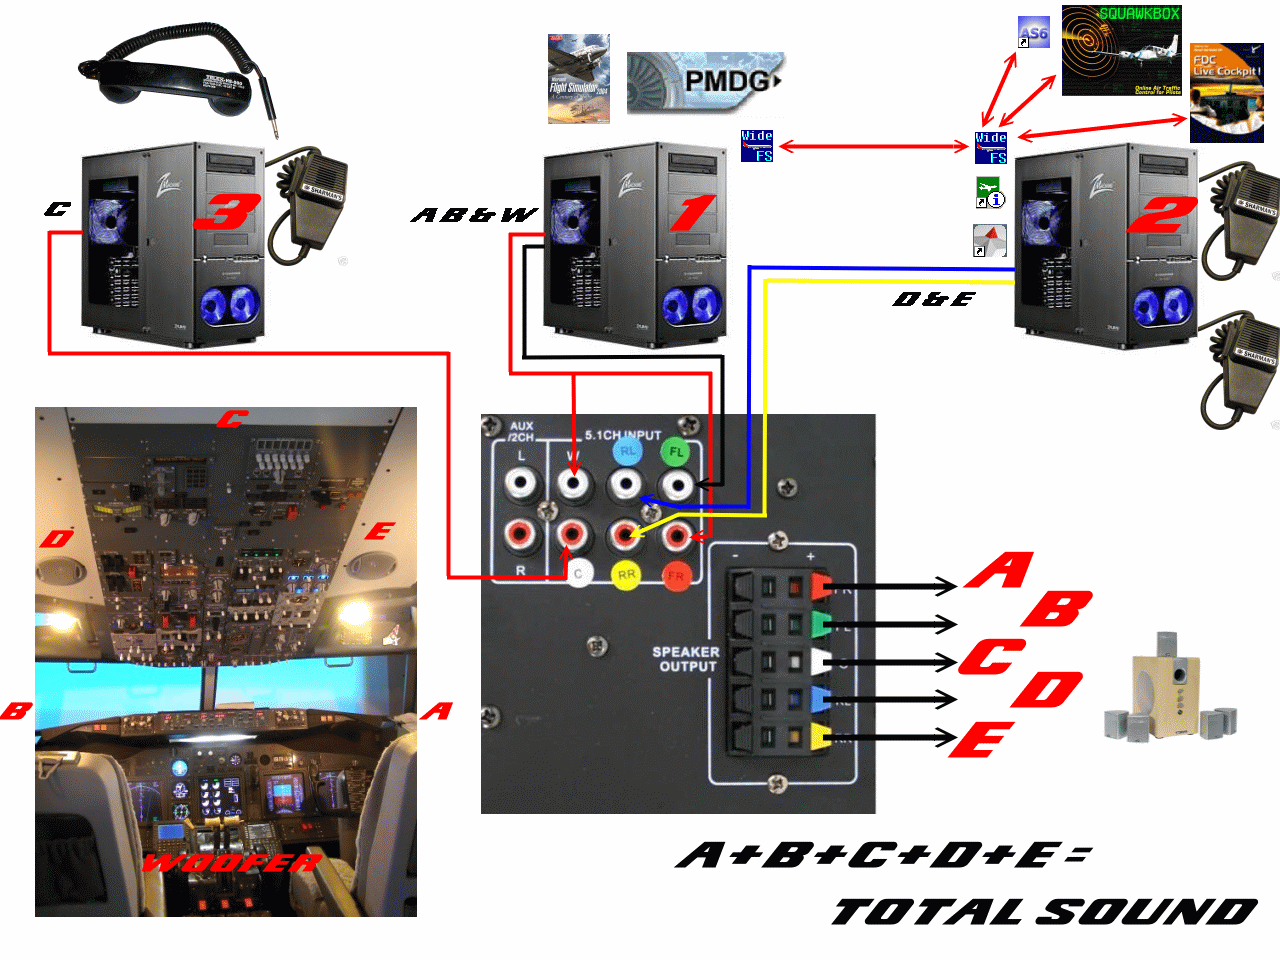
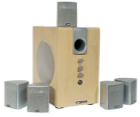 And
talking about the sound envelope, I just added to the system an Acoustic
Solutions AS222 5.1 Sound System. This system although
designed for Home Cinema, has a switchable input.
So what I did
was to route the sound from FS2004 thru the Front and Subwoofer
speakers, the comms (the radio channel from Squawkbox and the
Voice ATIS from Active Sky) thru the
rear speakers and the aircraft P.A.System thru the
centre speaker. WOW ! The cockpit environment has a detailed
'surround sound' with input coming at me from 6 different
directions. The Subwoofer (Volume Adjustable) adds a real
depth to wheel rumble, Gear Travel and Speedbrake. I've hidden
it inside the MIP Stand, so i get vibration as well. This is a
real improvement and well worth the effort. Click on the
image for a detailed description of how it's done. And
talking about the sound envelope, I just added to the system an Acoustic
Solutions AS222 5.1 Sound System. This system although
designed for Home Cinema, has a switchable input.
So what I did
was to route the sound from FS2004 thru the Front and Subwoofer
speakers, the comms (the radio channel from Squawkbox and the
Voice ATIS from Active Sky) thru the
rear speakers and the aircraft P.A.System thru the
centre speaker. WOW ! The cockpit environment has a detailed
'surround sound' with input coming at me from 6 different
directions. The Subwoofer (Volume Adjustable) adds a real
depth to wheel rumble, Gear Travel and Speedbrake. I've hidden
it inside the MIP Stand, so i get vibration as well. This is a
real improvement and well worth the effort. Click on the
image for a detailed description of how it's done.
(Thanks to Andras Kozma for That
One)
|
|


