|
Timeline January to
December 2007
Well 2006 became 2007 and I had to make a decision about how i was
going to proceed. Got a lot planned for this year. We will not mention
the Floor - OK.
  January
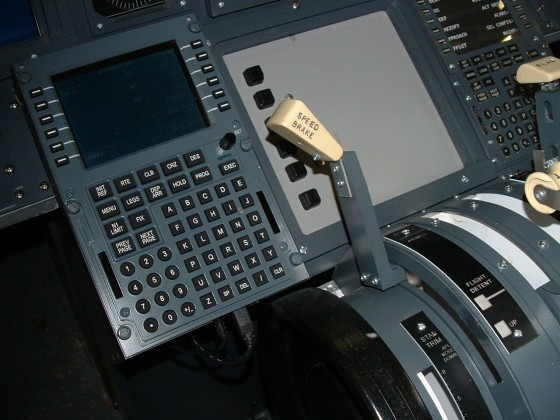
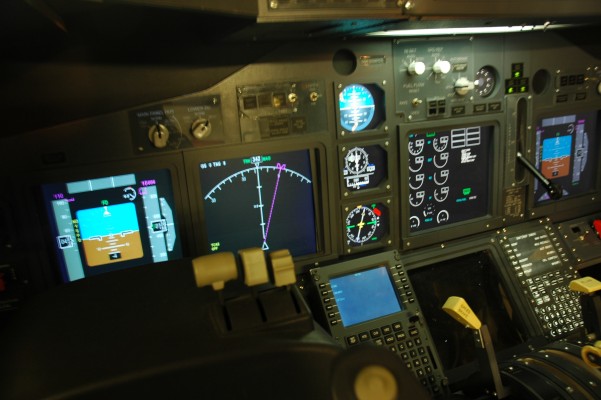
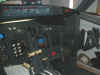
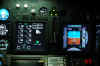
2007, Ok, moving along, Madame bought me the Engravity
CDU for Christmas. So in it went. Got the Licence key from PMDG
and way to go :o)) January
2007, Ok, moving along, Madame bought me the Engravity
CDU for Christmas. So in it went. Got the Licence key from PMDG
and way to go :o))
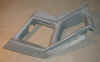
The 737NG Eyebrow Window Panels arrived from Nick at the AIRLINE
PILOTS HISTORICAL SOCIETY (Look under Rare & Hard To Find
Items). These will give me the right angles and dimensions
to get on with the Cabin.
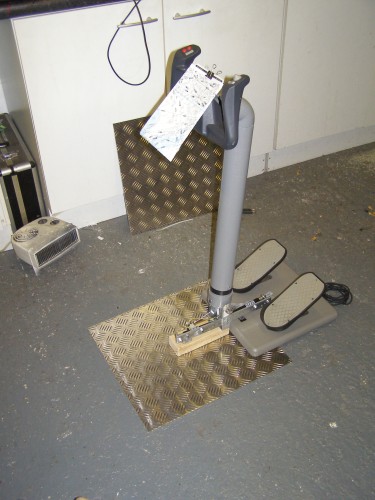
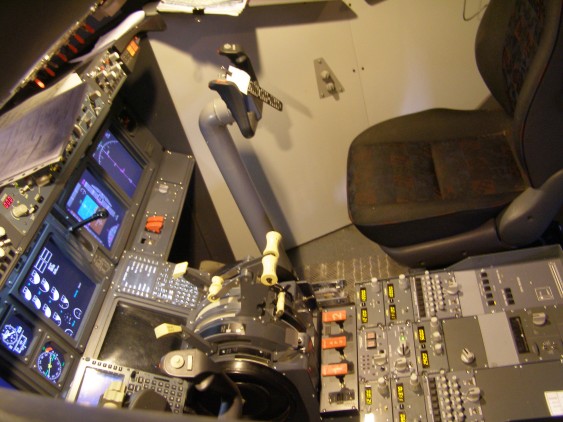
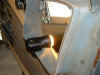
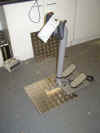
   February
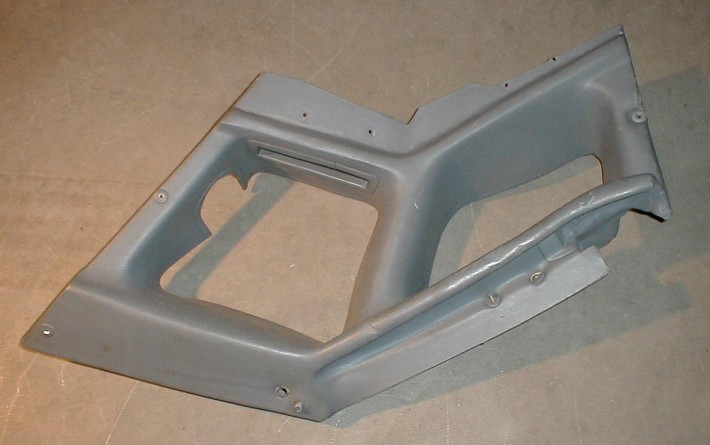
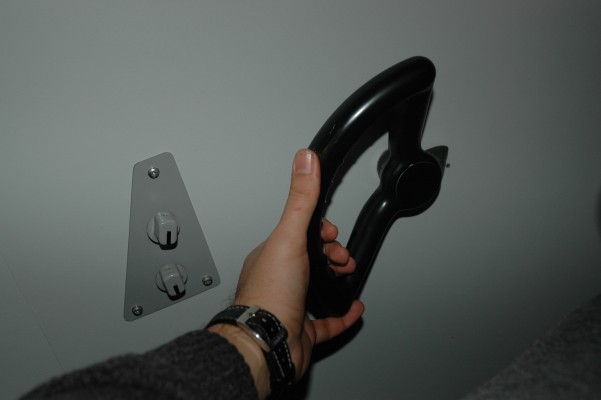
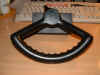
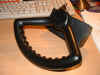
2007, Although I had received the ROUTECH Steering
Tiller at the IFC Show in Birmingham (Dec 2006), I didn't get round to
doing anything with it until February 2007. Hooked it up
to Joystick controller so at least I can check the
operation. Can't fit it until the sidewalls are in. February
2007, Although I had received the ROUTECH Steering
Tiller at the IFC Show in Birmingham (Dec 2006), I didn't get round to
doing anything with it until February 2007. Hooked it up
to Joystick controller so at least I can check the
operation. Can't fit it until the sidewalls are in.
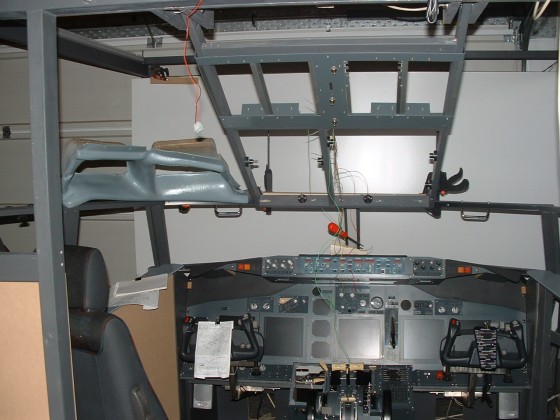
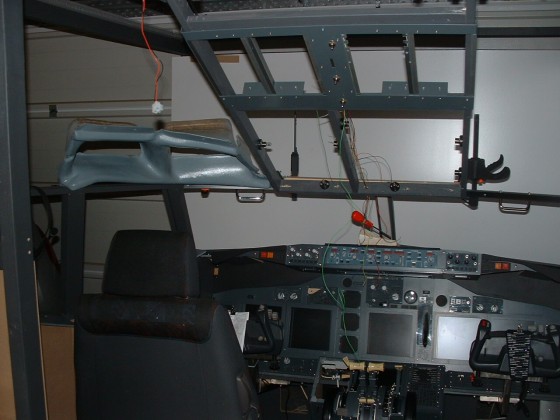
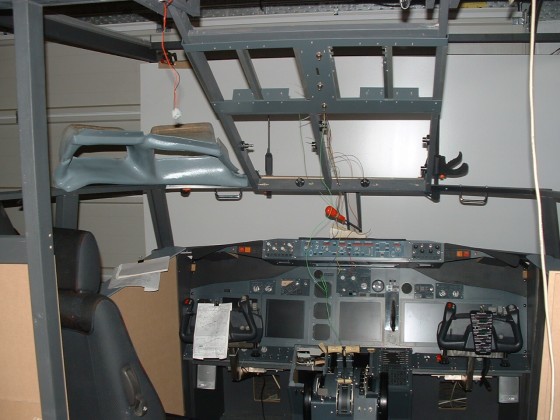
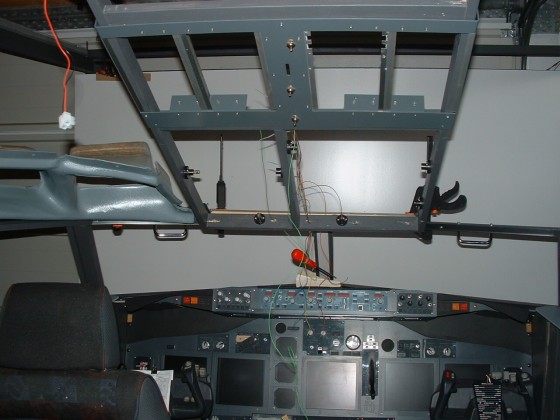
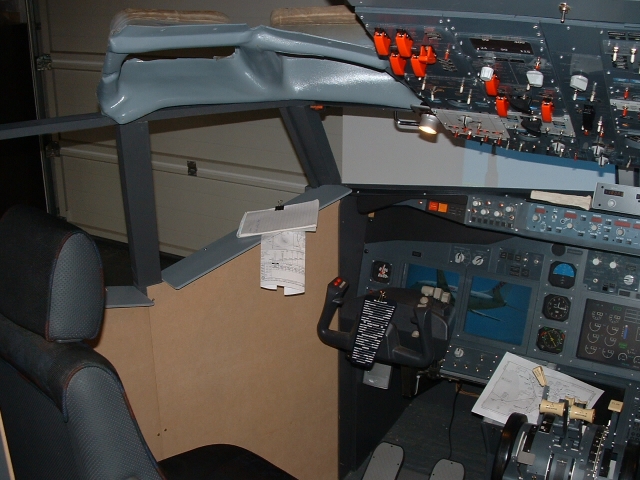
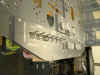
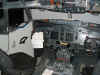
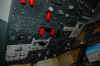
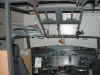 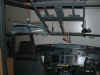 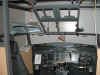  April 2007, Ok, the warmer weather arrived and some work
was being done on the cabin itself.
Marcus Menzel had given me a
Rear
Overhead frame
which i put in place. Still using only one projector.
Here it's all held together by clamps because i just have to get the
shape right. It's got to look like a 737 and not a Volkswagen
Beetle :o))
April 2007, Ok, the warmer weather arrived and some work
was being done on the cabin itself.
Marcus Menzel had given me a
Rear
Overhead frame
which i put in place. Still using only one projector.
Here it's all held together by clamps because i just have to get the
shape right. It's got to look like a 737 and not a Volkswagen
Beetle :o))
 
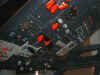
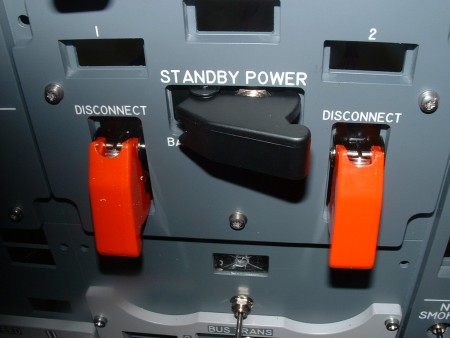
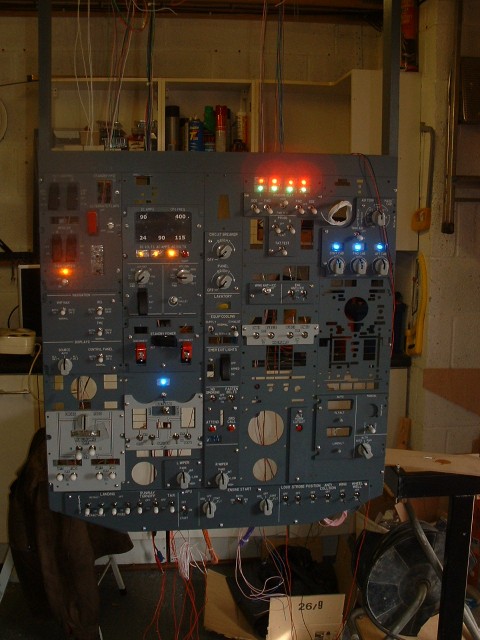
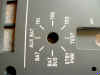
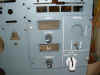
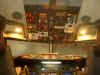
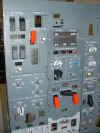
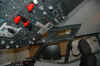
 May
2007, Kay Hunze at SIMMOTION
very kindly sent me a Demo Overhead to build. I'm stunned with
the quality ! But sadly it seems they have stopped producing
this panel because it no longer appears on their website - Shame
really, it amazing quality. Not a great deal done this month because I
was away for two weeks on holiday.
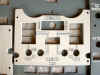
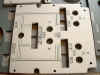
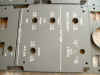
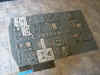
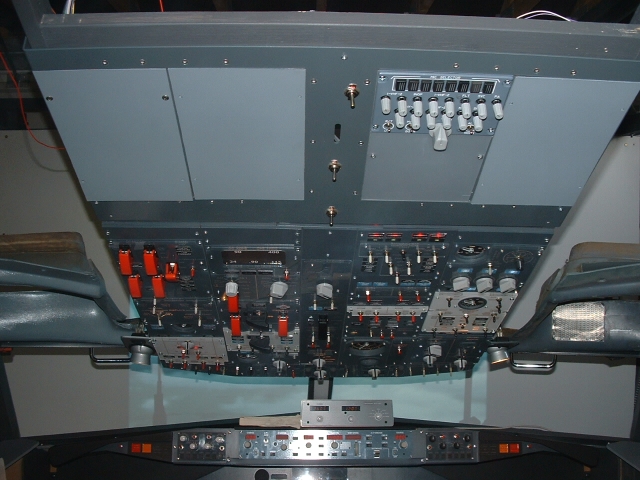
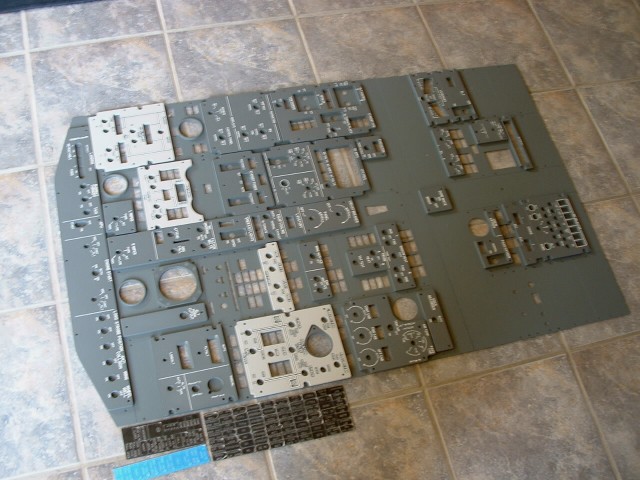
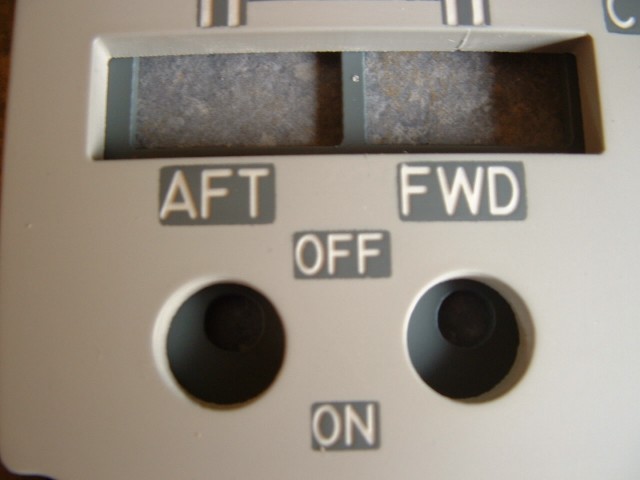
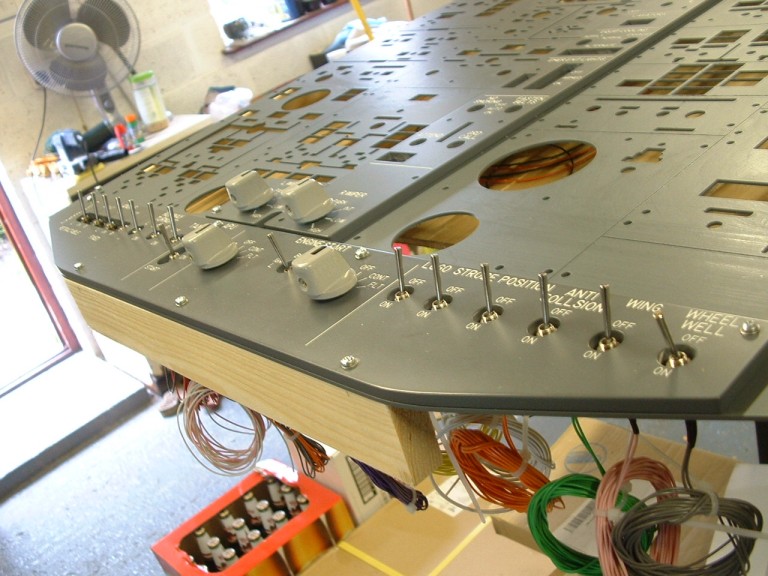
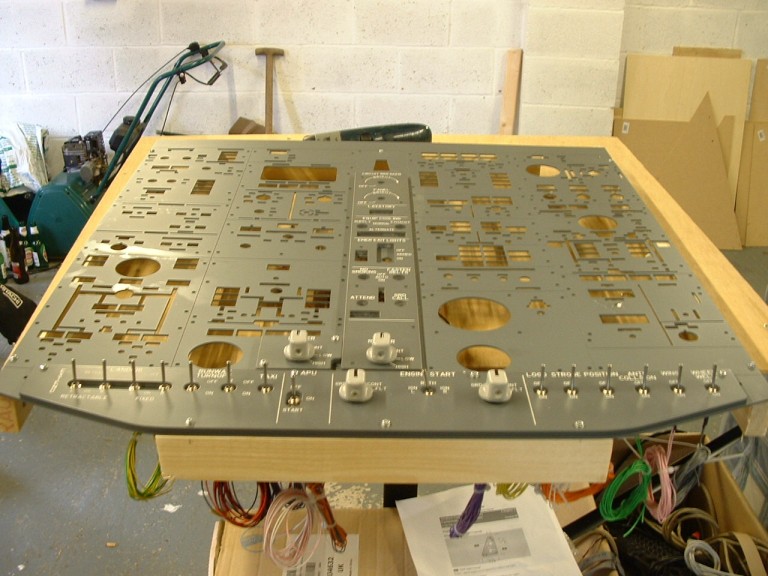
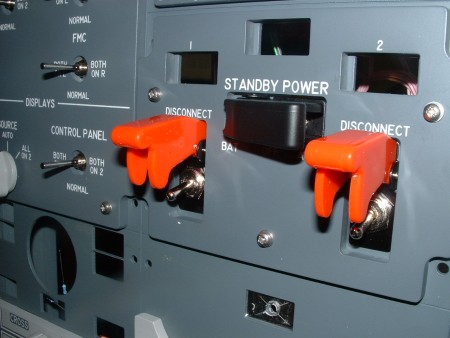
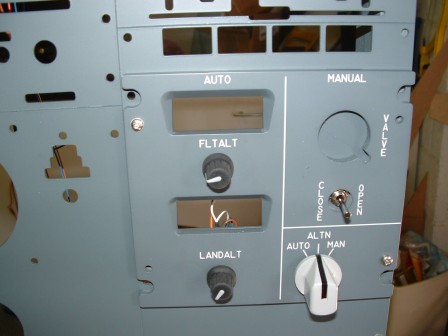
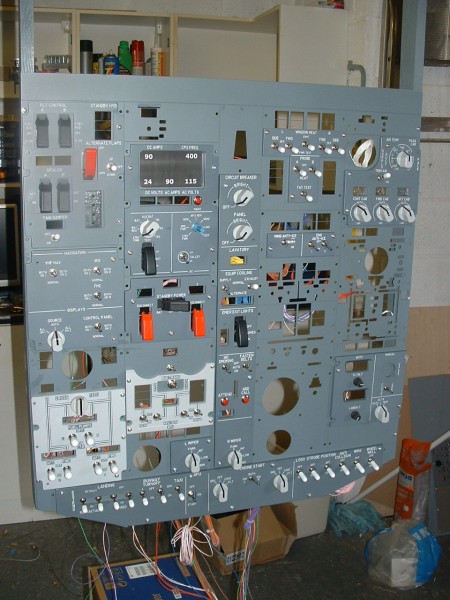
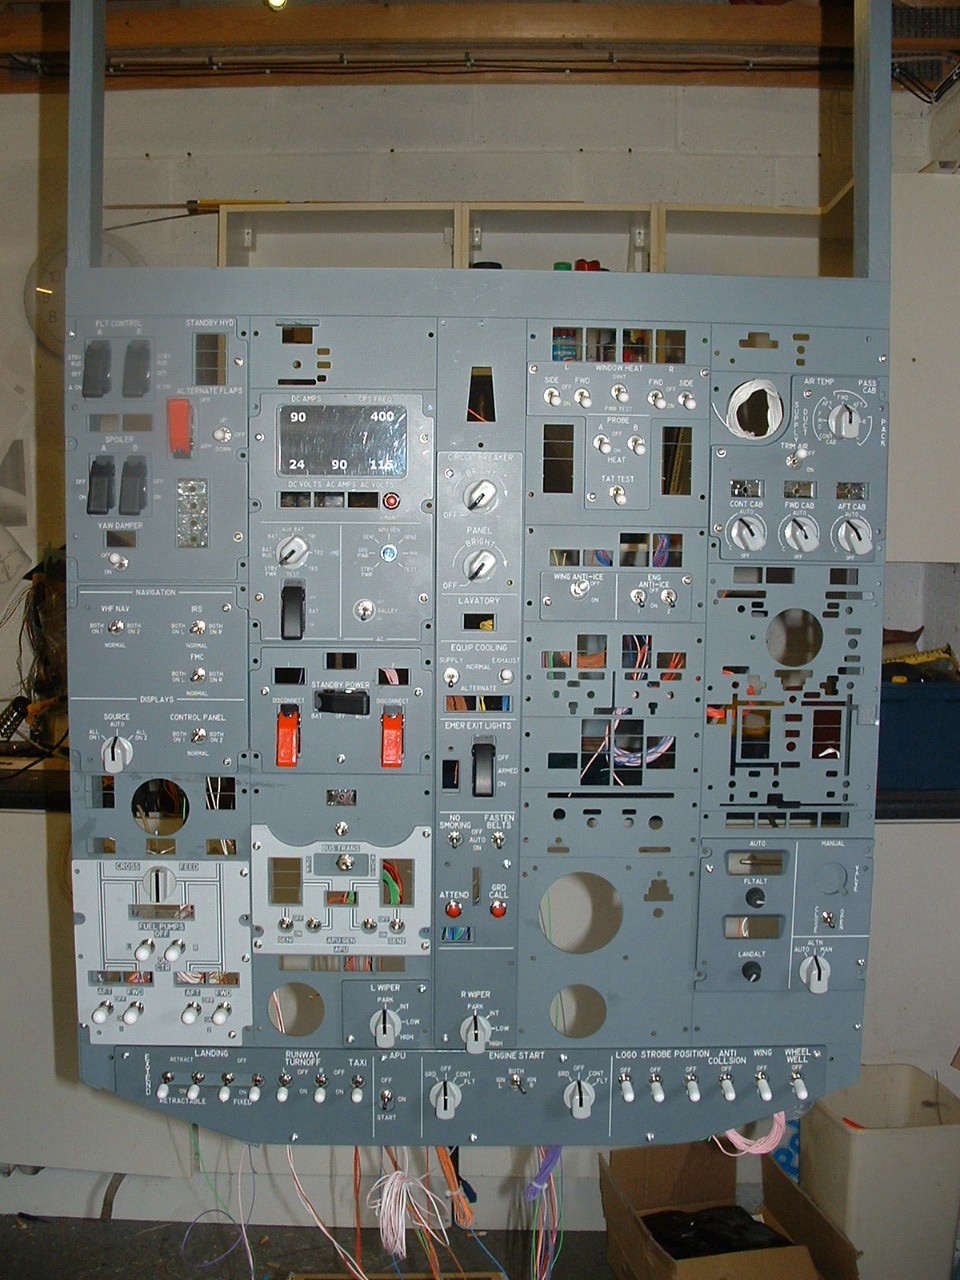
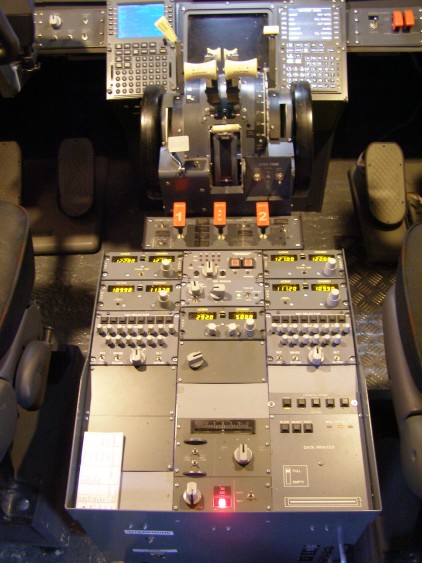
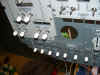
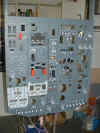
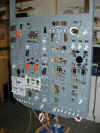
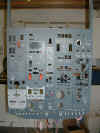
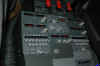
 June
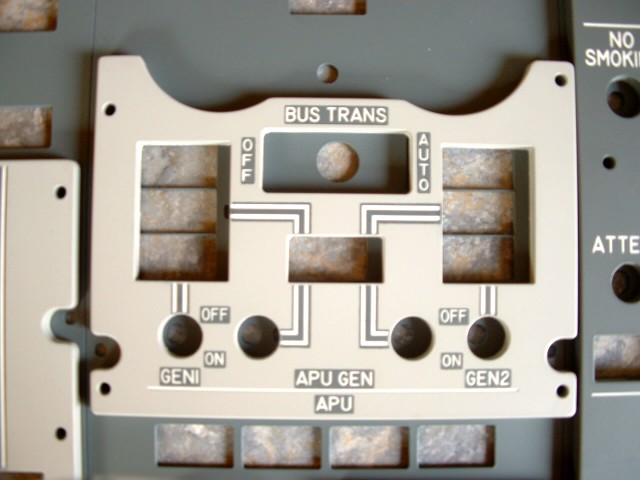
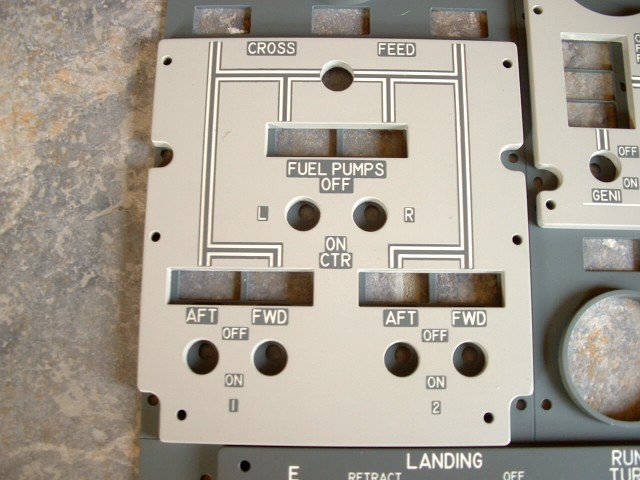
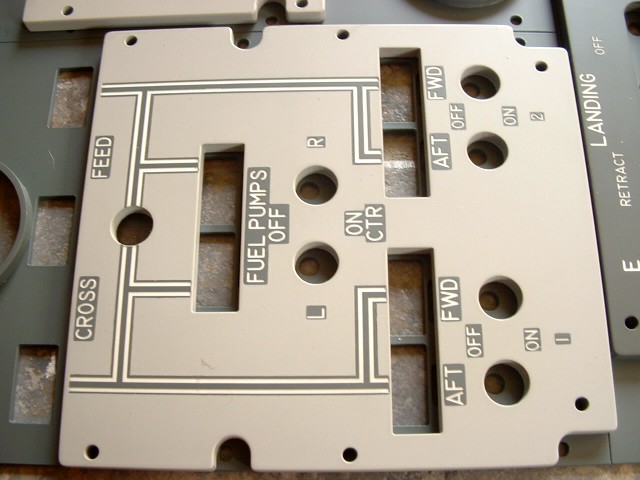
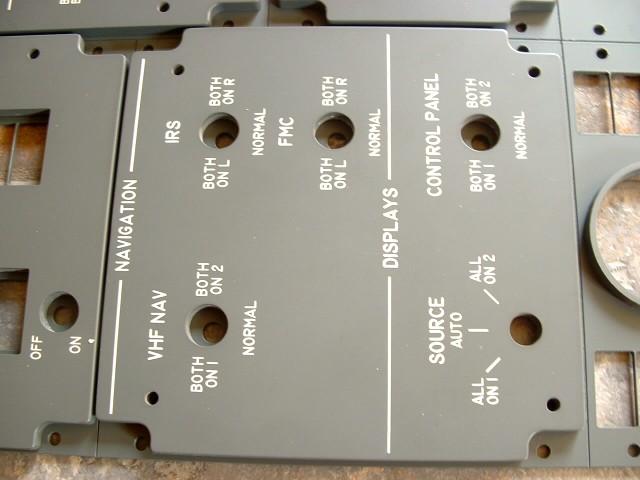
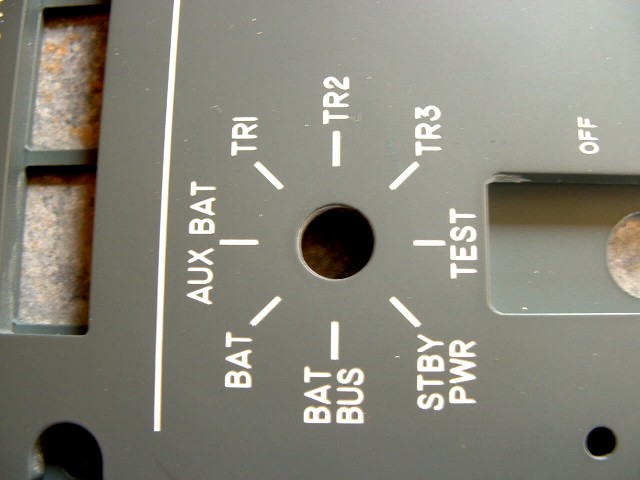
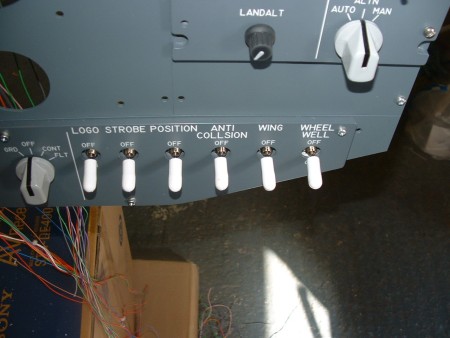
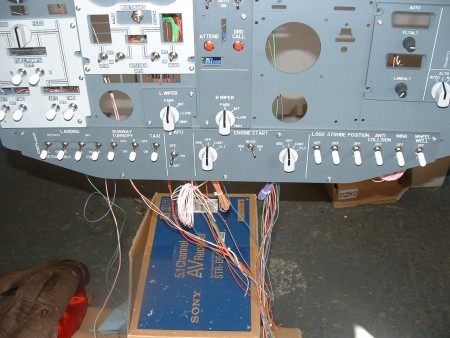
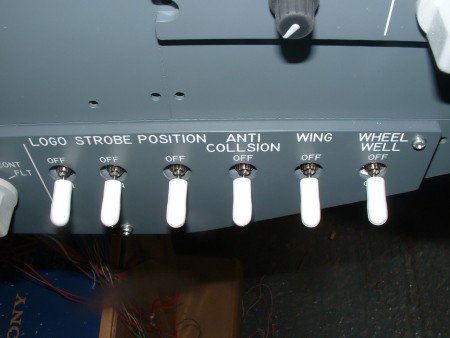
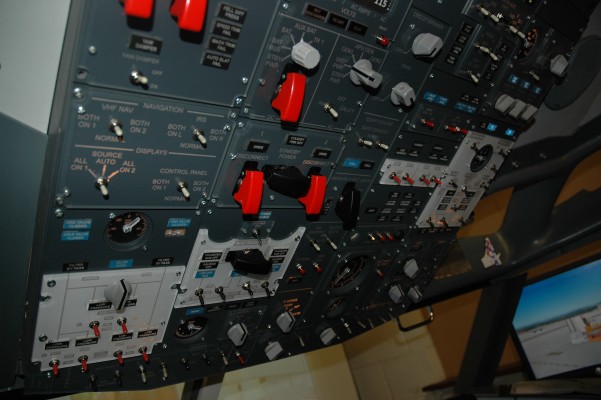
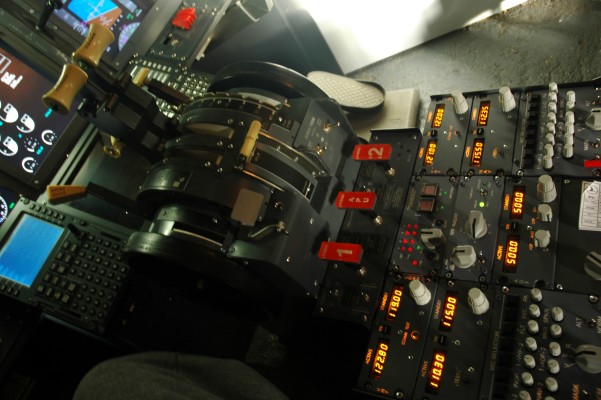
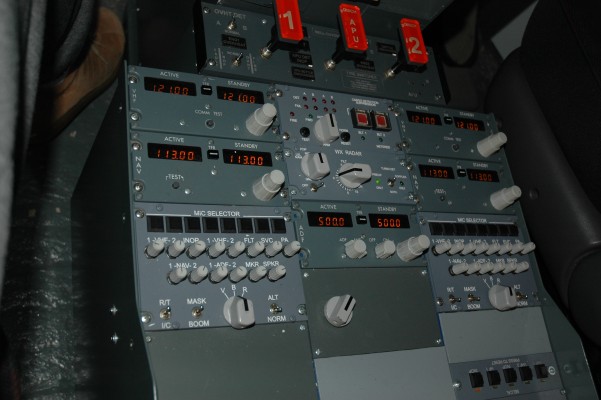
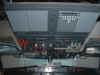
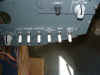
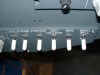
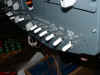
2007, Work starts on the New 737NG Overhead Panel... So
many screws and switches! But I've got to finish the cabin.


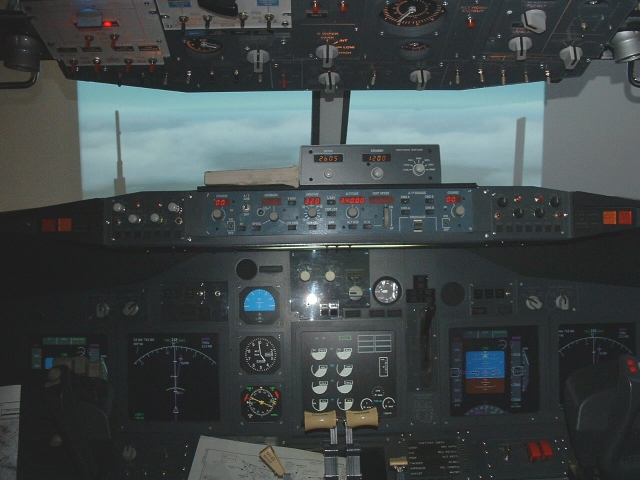
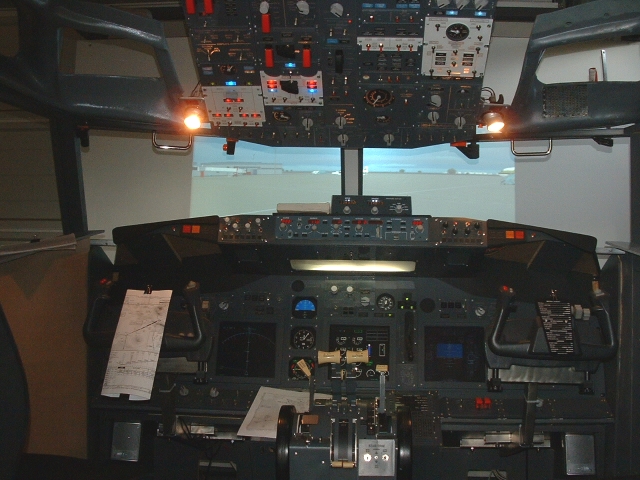
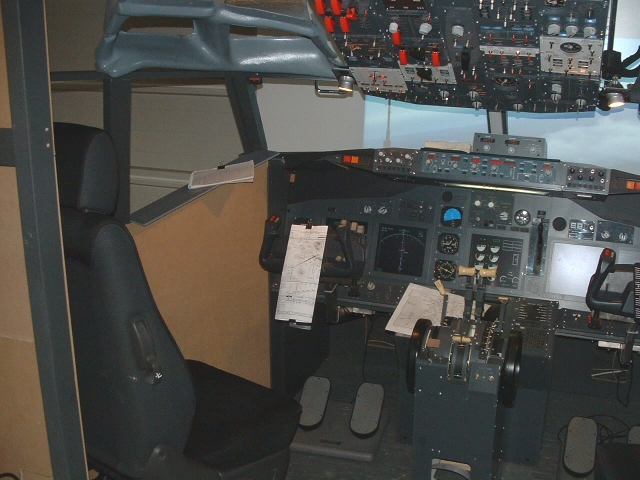
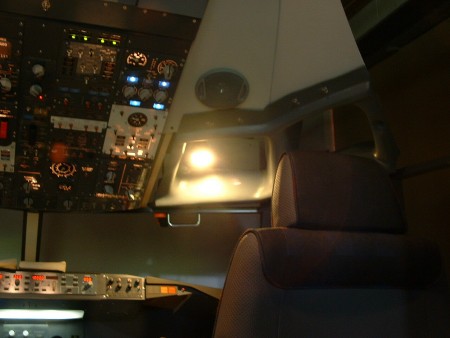
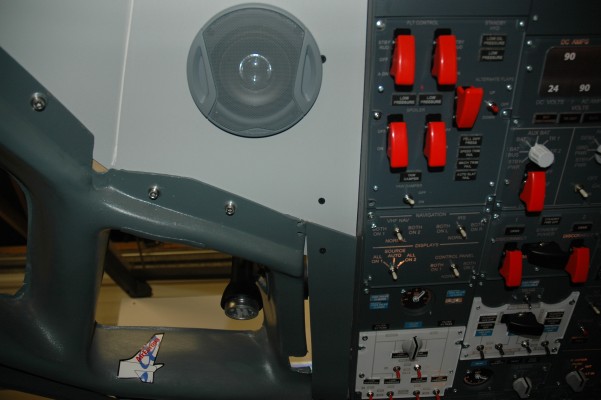
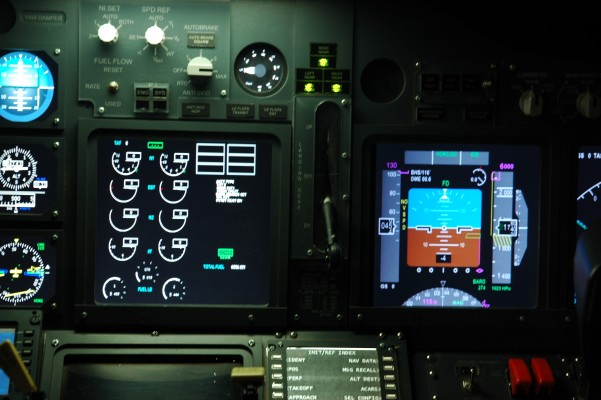
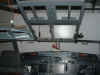
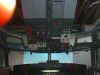
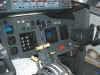
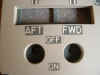
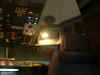
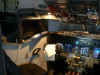
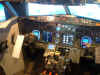
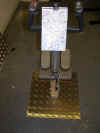
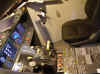
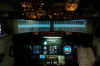
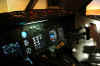
July
2007, A Second InFocus Projector Purchased along with a
DualHead2Go Unit. Got to improve the visuals :o)) The Roof
has been put in along with the Overhead Speakers and I bought two Halogen Spotlights for the Eyebrow
Windows from my local Hardware Store. Now I can see the maps!
Finally the Tiller has also been fitted and assigned in FSUIPC for
Ground Steering.
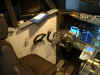
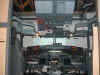
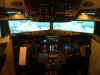
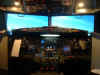
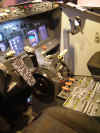
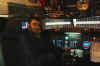
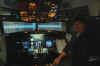
August 2007, Playing Around with the Second Projector.
Using a Dual Head2Go, I was getting a strange orientation on the
ground. So I started just playing with two views. Wideview
computer added to give me forward left and forward right view. No room
to use projectors, so I'm using TFT's instead.
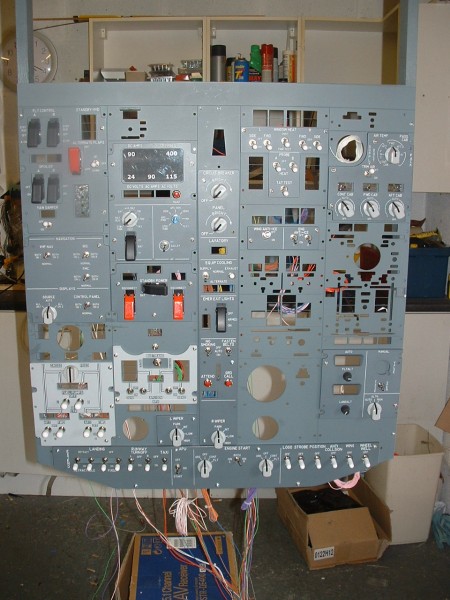
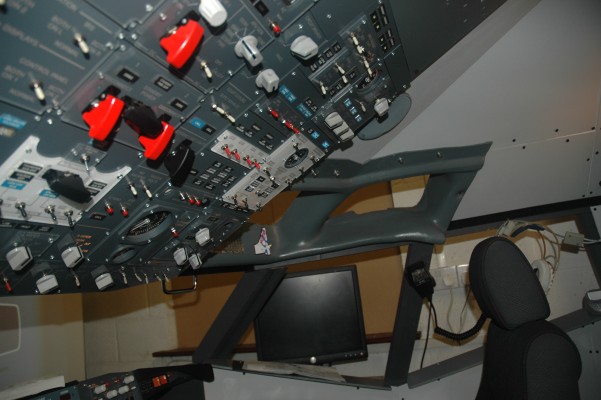
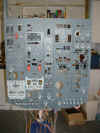
Work on the new 737 Overhead Panel continues.....albeit slowly.
Cabin is looking GOOD.


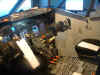


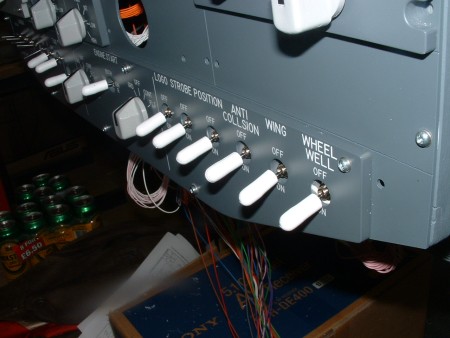
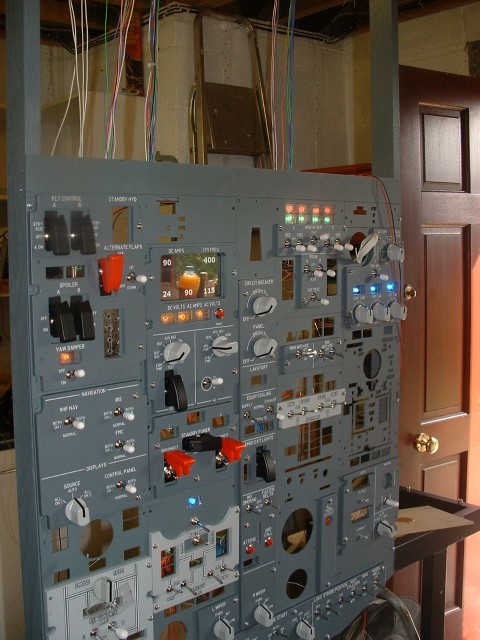
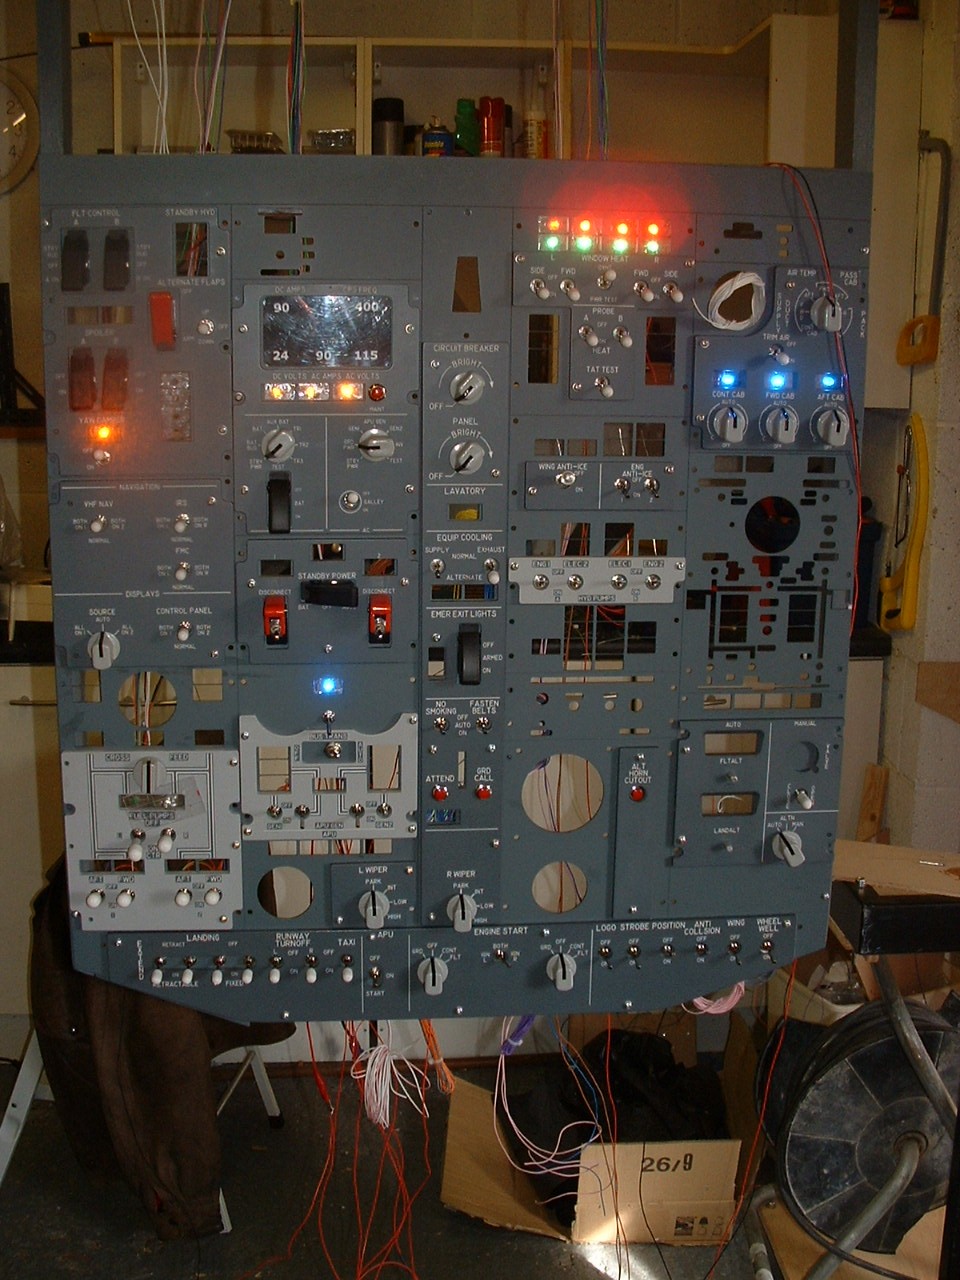
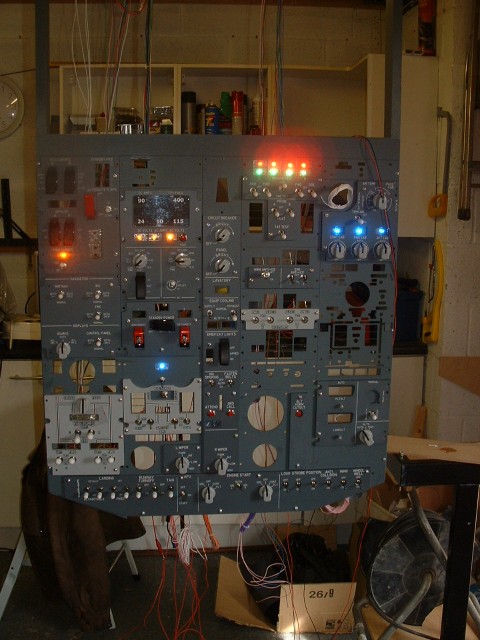
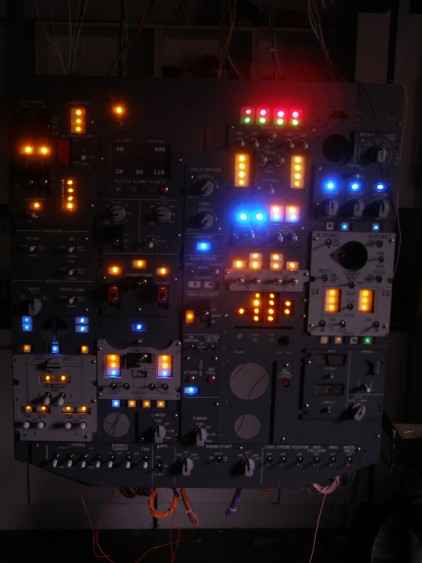
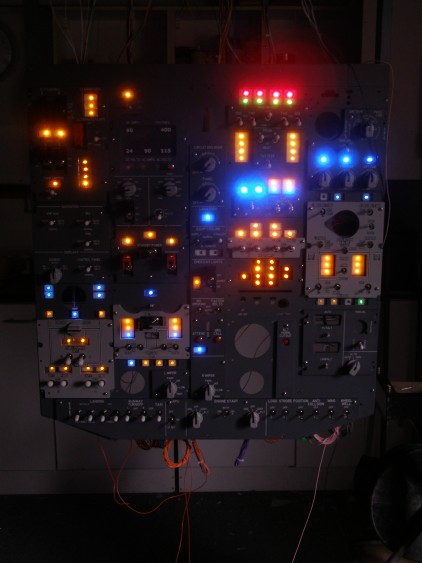
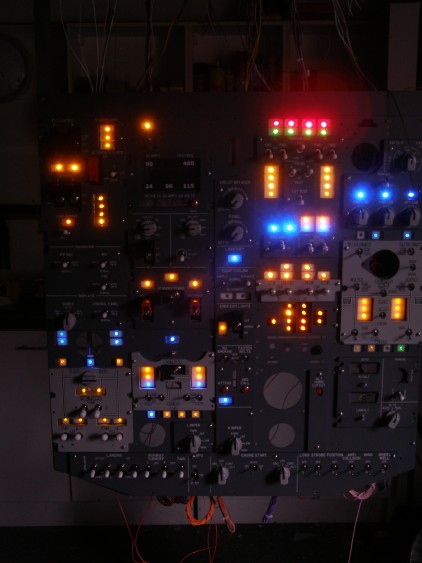
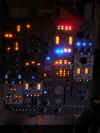
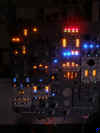
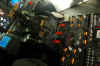
September 2007,
All my spare time this month seemed to be spent on wiring LED's.
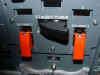
But it was worth it. A friend suggested that we build some
lifelike CONTROL COLUMNS. Well that started something...........


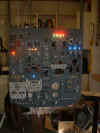
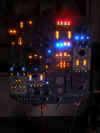
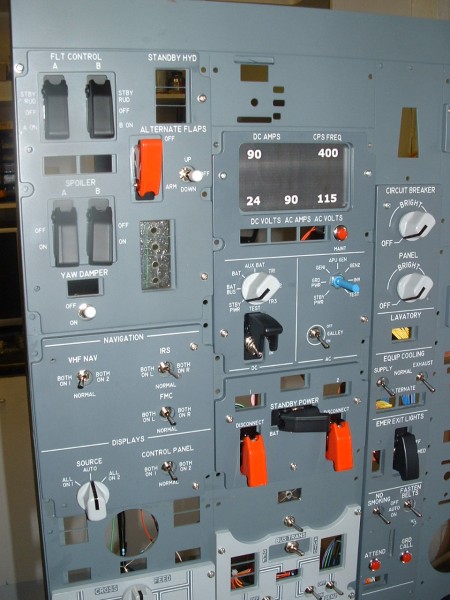
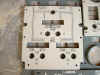
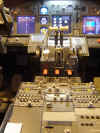
October 2007,
Ok IO Know there are a lot of Overhead Panel Pictures, But it was a
lot of work ! Not a lot done this month because I had another
holiday. I don't know how i find the time :o))
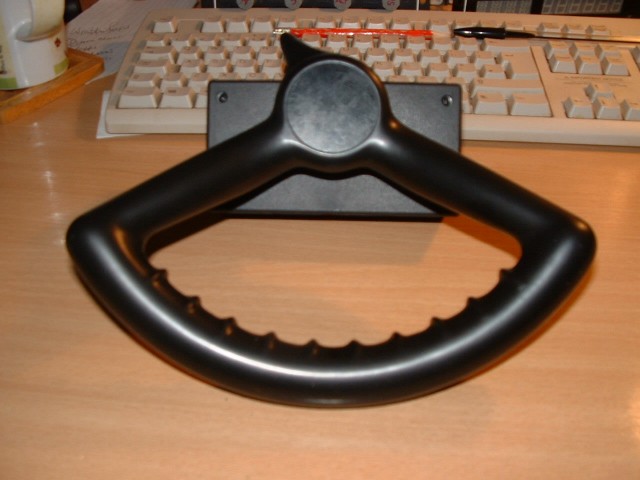
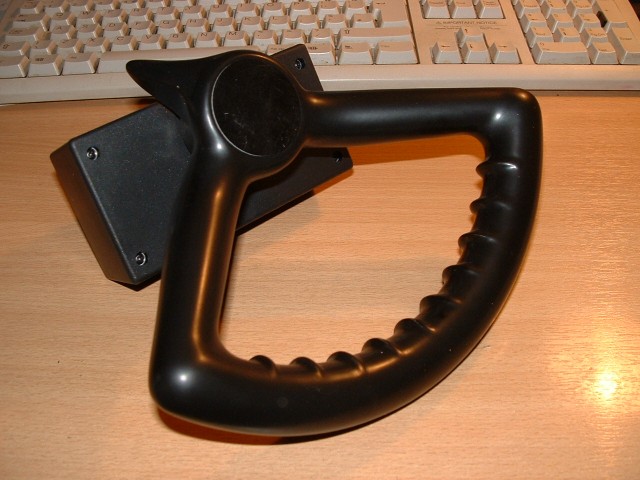
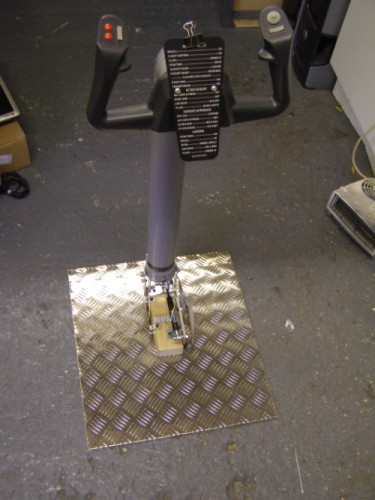
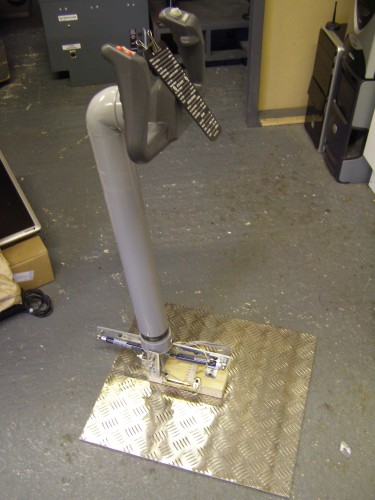
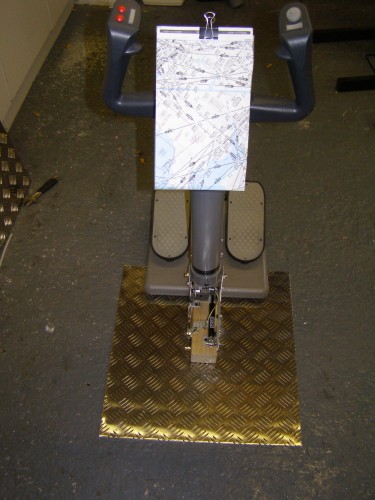
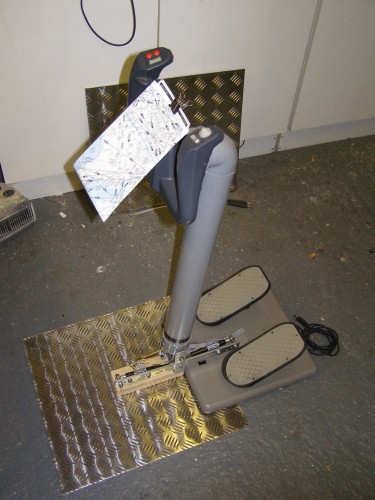
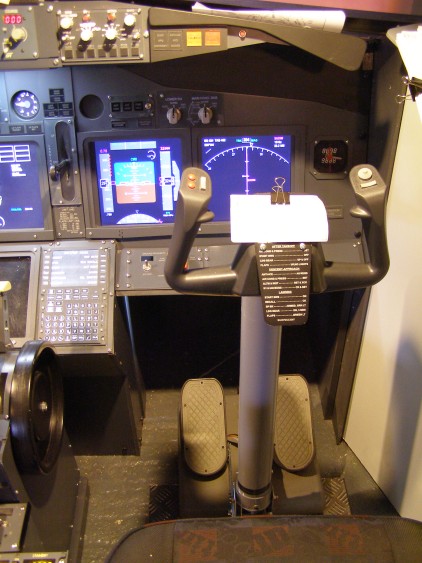
Nov 2007, November saw the
First 'Prototype' 737 Yoke. Ok I admit it's not perfect, but it
was just to prove the concept. Which it did admirably. So
into the cockpit to test it. It worked so well it
delayed the Mk2 by about two months :o)) 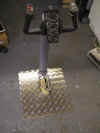


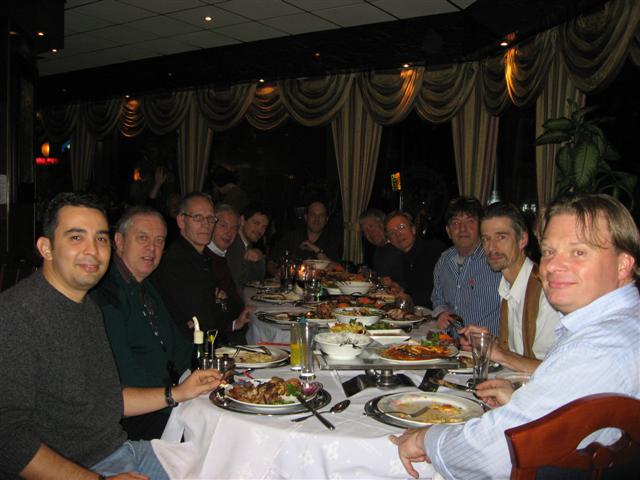
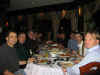
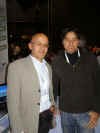 Then
of course November is the Lelystad Show.... It's great to
meet up with all your old friends and catch up on what is new in the
Flight Simulator world. Thanks to Gert Heijnis, Kay Hunze &
Marielle, Baris Imer, Bjorn Harlin, Alan Watson, Harry van der Sande
and everybody else for making this a great show. Then
of course November is the Lelystad Show.... It's great to
meet up with all your old friends and catch up on what is new in the
Flight Simulator world. Thanks to Gert Heijnis, Kay Hunze &
Marielle, Baris Imer, Bjorn Harlin, Alan Watson, Harry van der Sande
and everybody else for making this a great show.

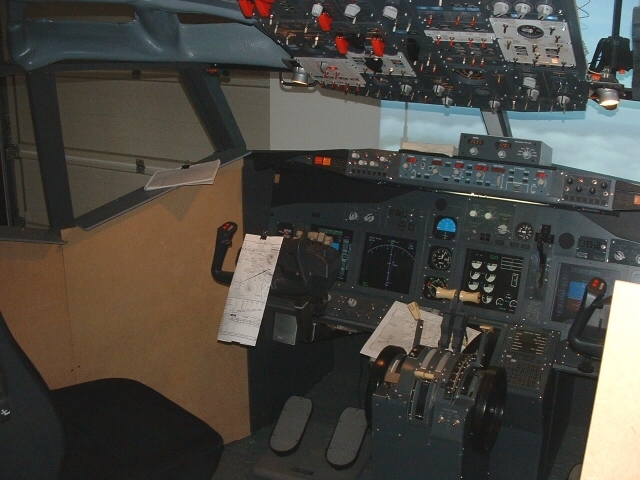
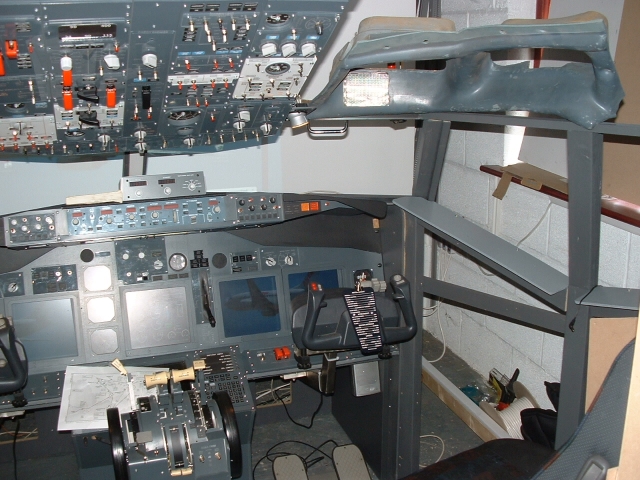
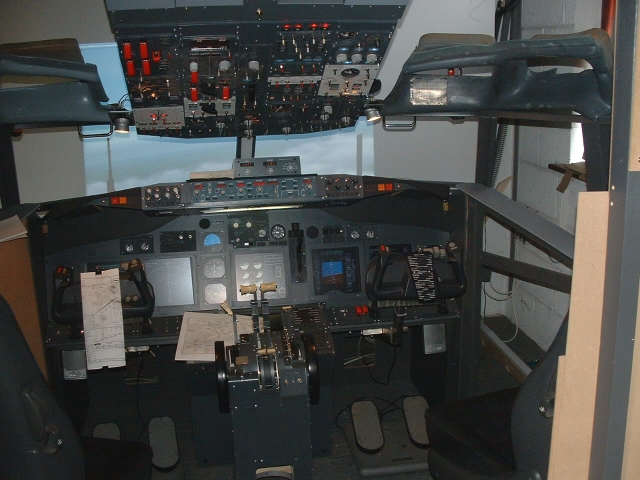
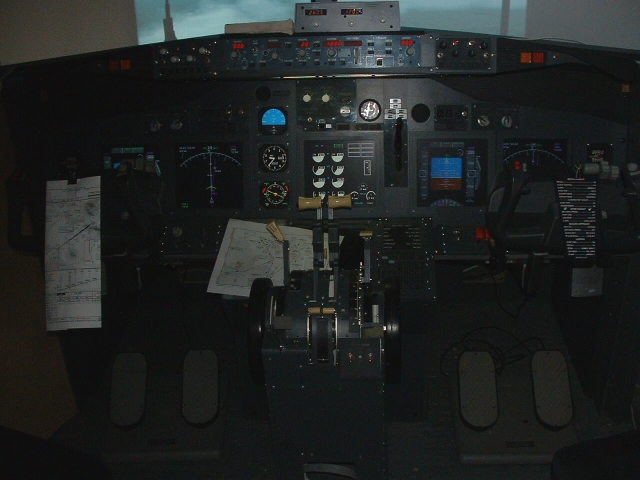
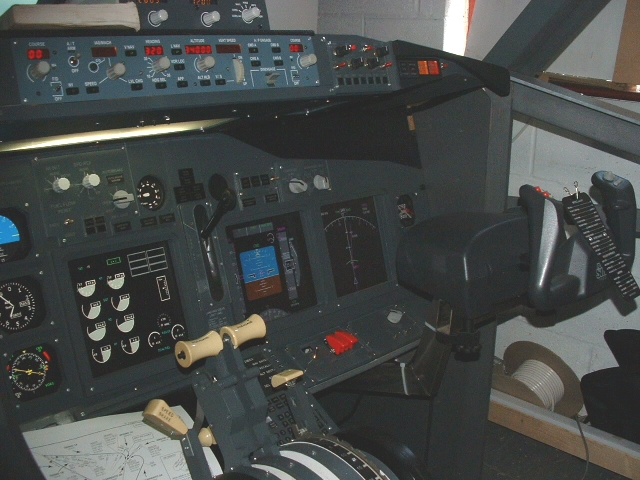
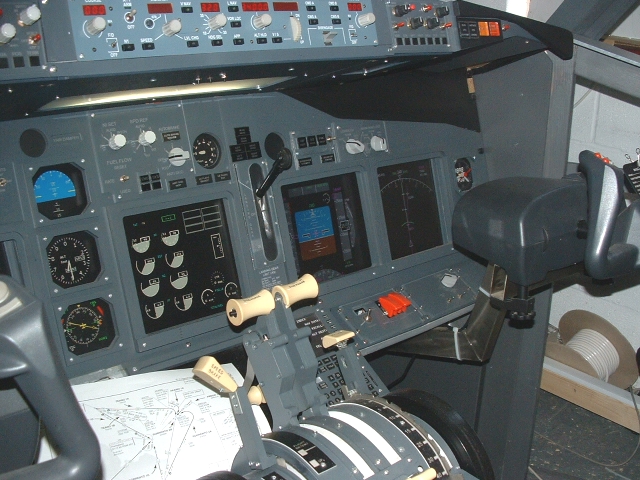
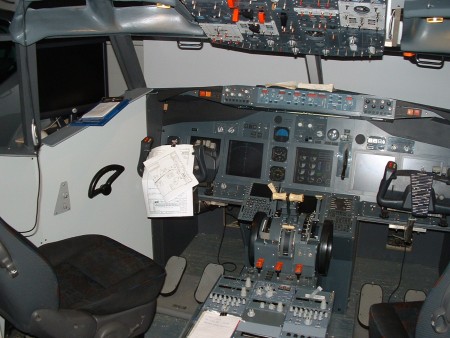
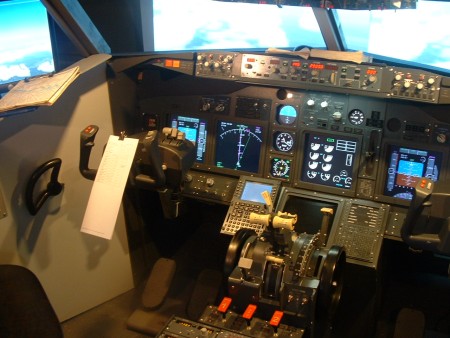
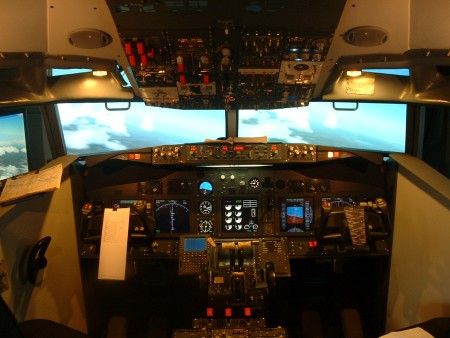
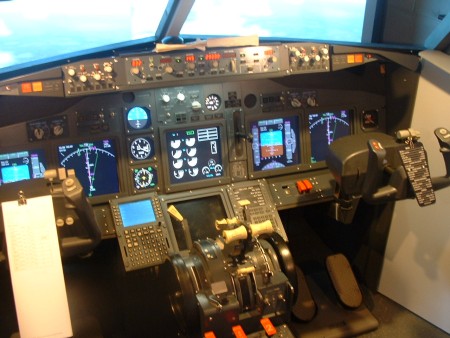
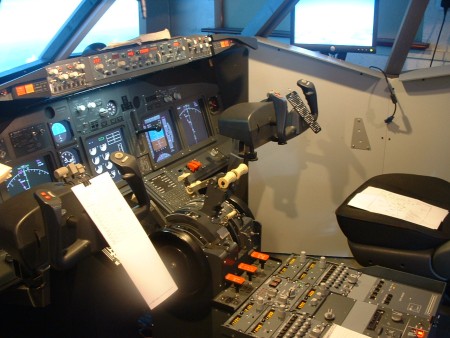
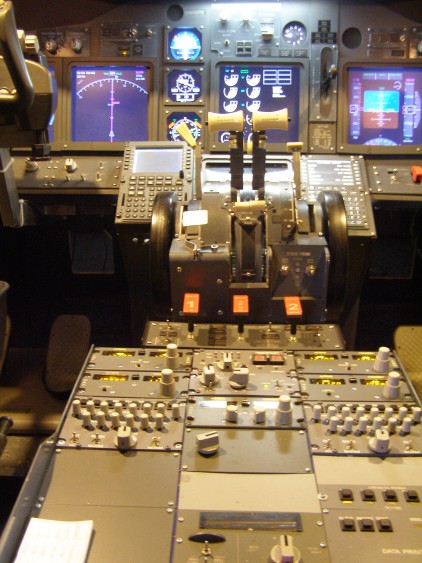
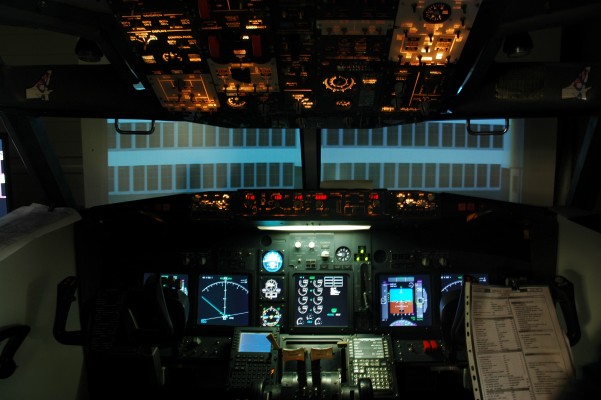
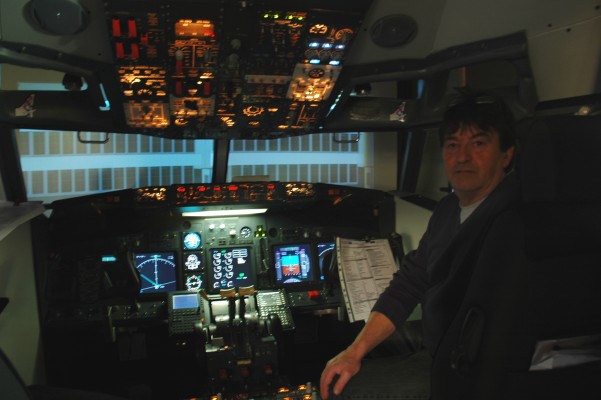
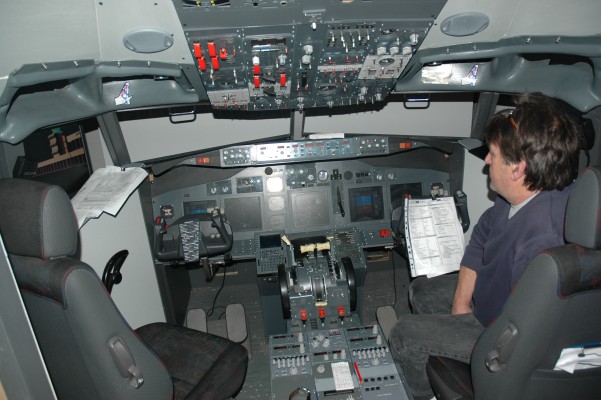
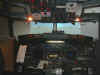
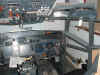
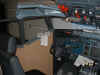
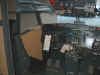
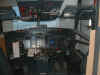
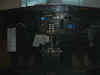
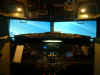
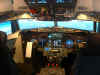
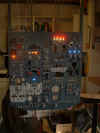
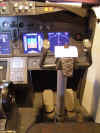
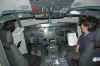
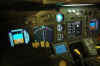
 December
2007, This is how far I have got as of the end of the
year. It appears the Floor will have to wait until next year. 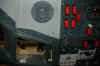


|